

NDI
Updated: 4 Sep 2026
Updated: 4 Sep 2026
NDI is an IP video streaming protocol developed by NewTek.
Notch accepts NDI sources into the nodegraph via the Video NDI Source node.
To test/experiment with NDI we recommend utilising the NewTek NDI Tools pack to test your NDI configuration.
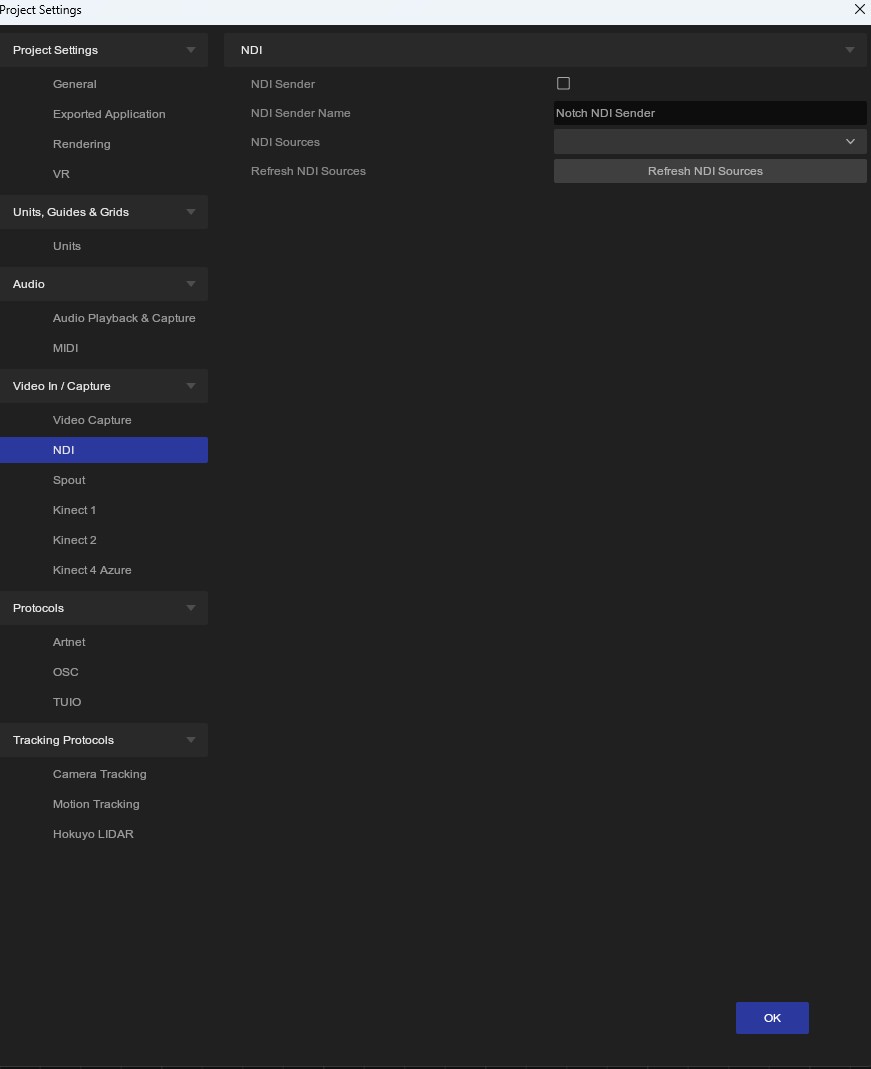
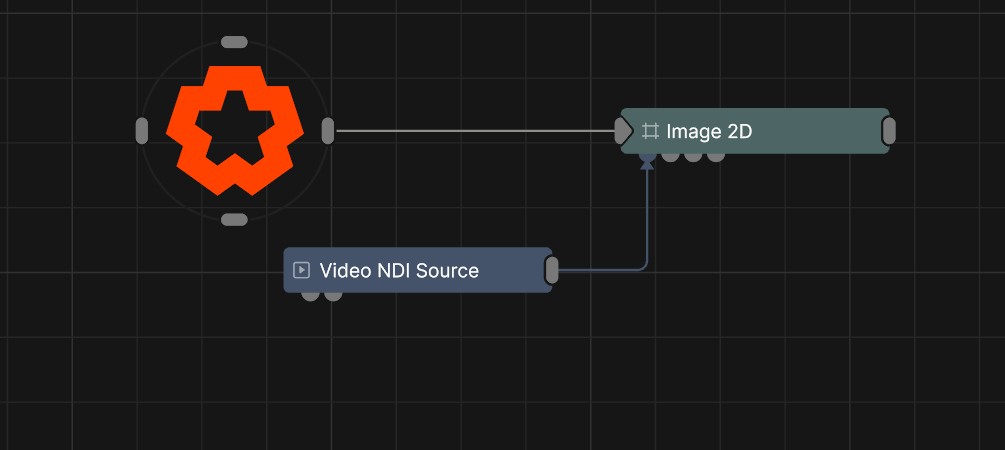
To refresh the NDI Source list in the Video NDI Source node, go to Project/Settings/NDI and click ‘Refresh Sources’.
Please note, NDI audio is not currently supported.
There are two methods of outputting NDI form Notch:
To output Notch’s main output to an NDI stream:
This will now output whatever is currently playing in your project, regardless of what composition your are in.
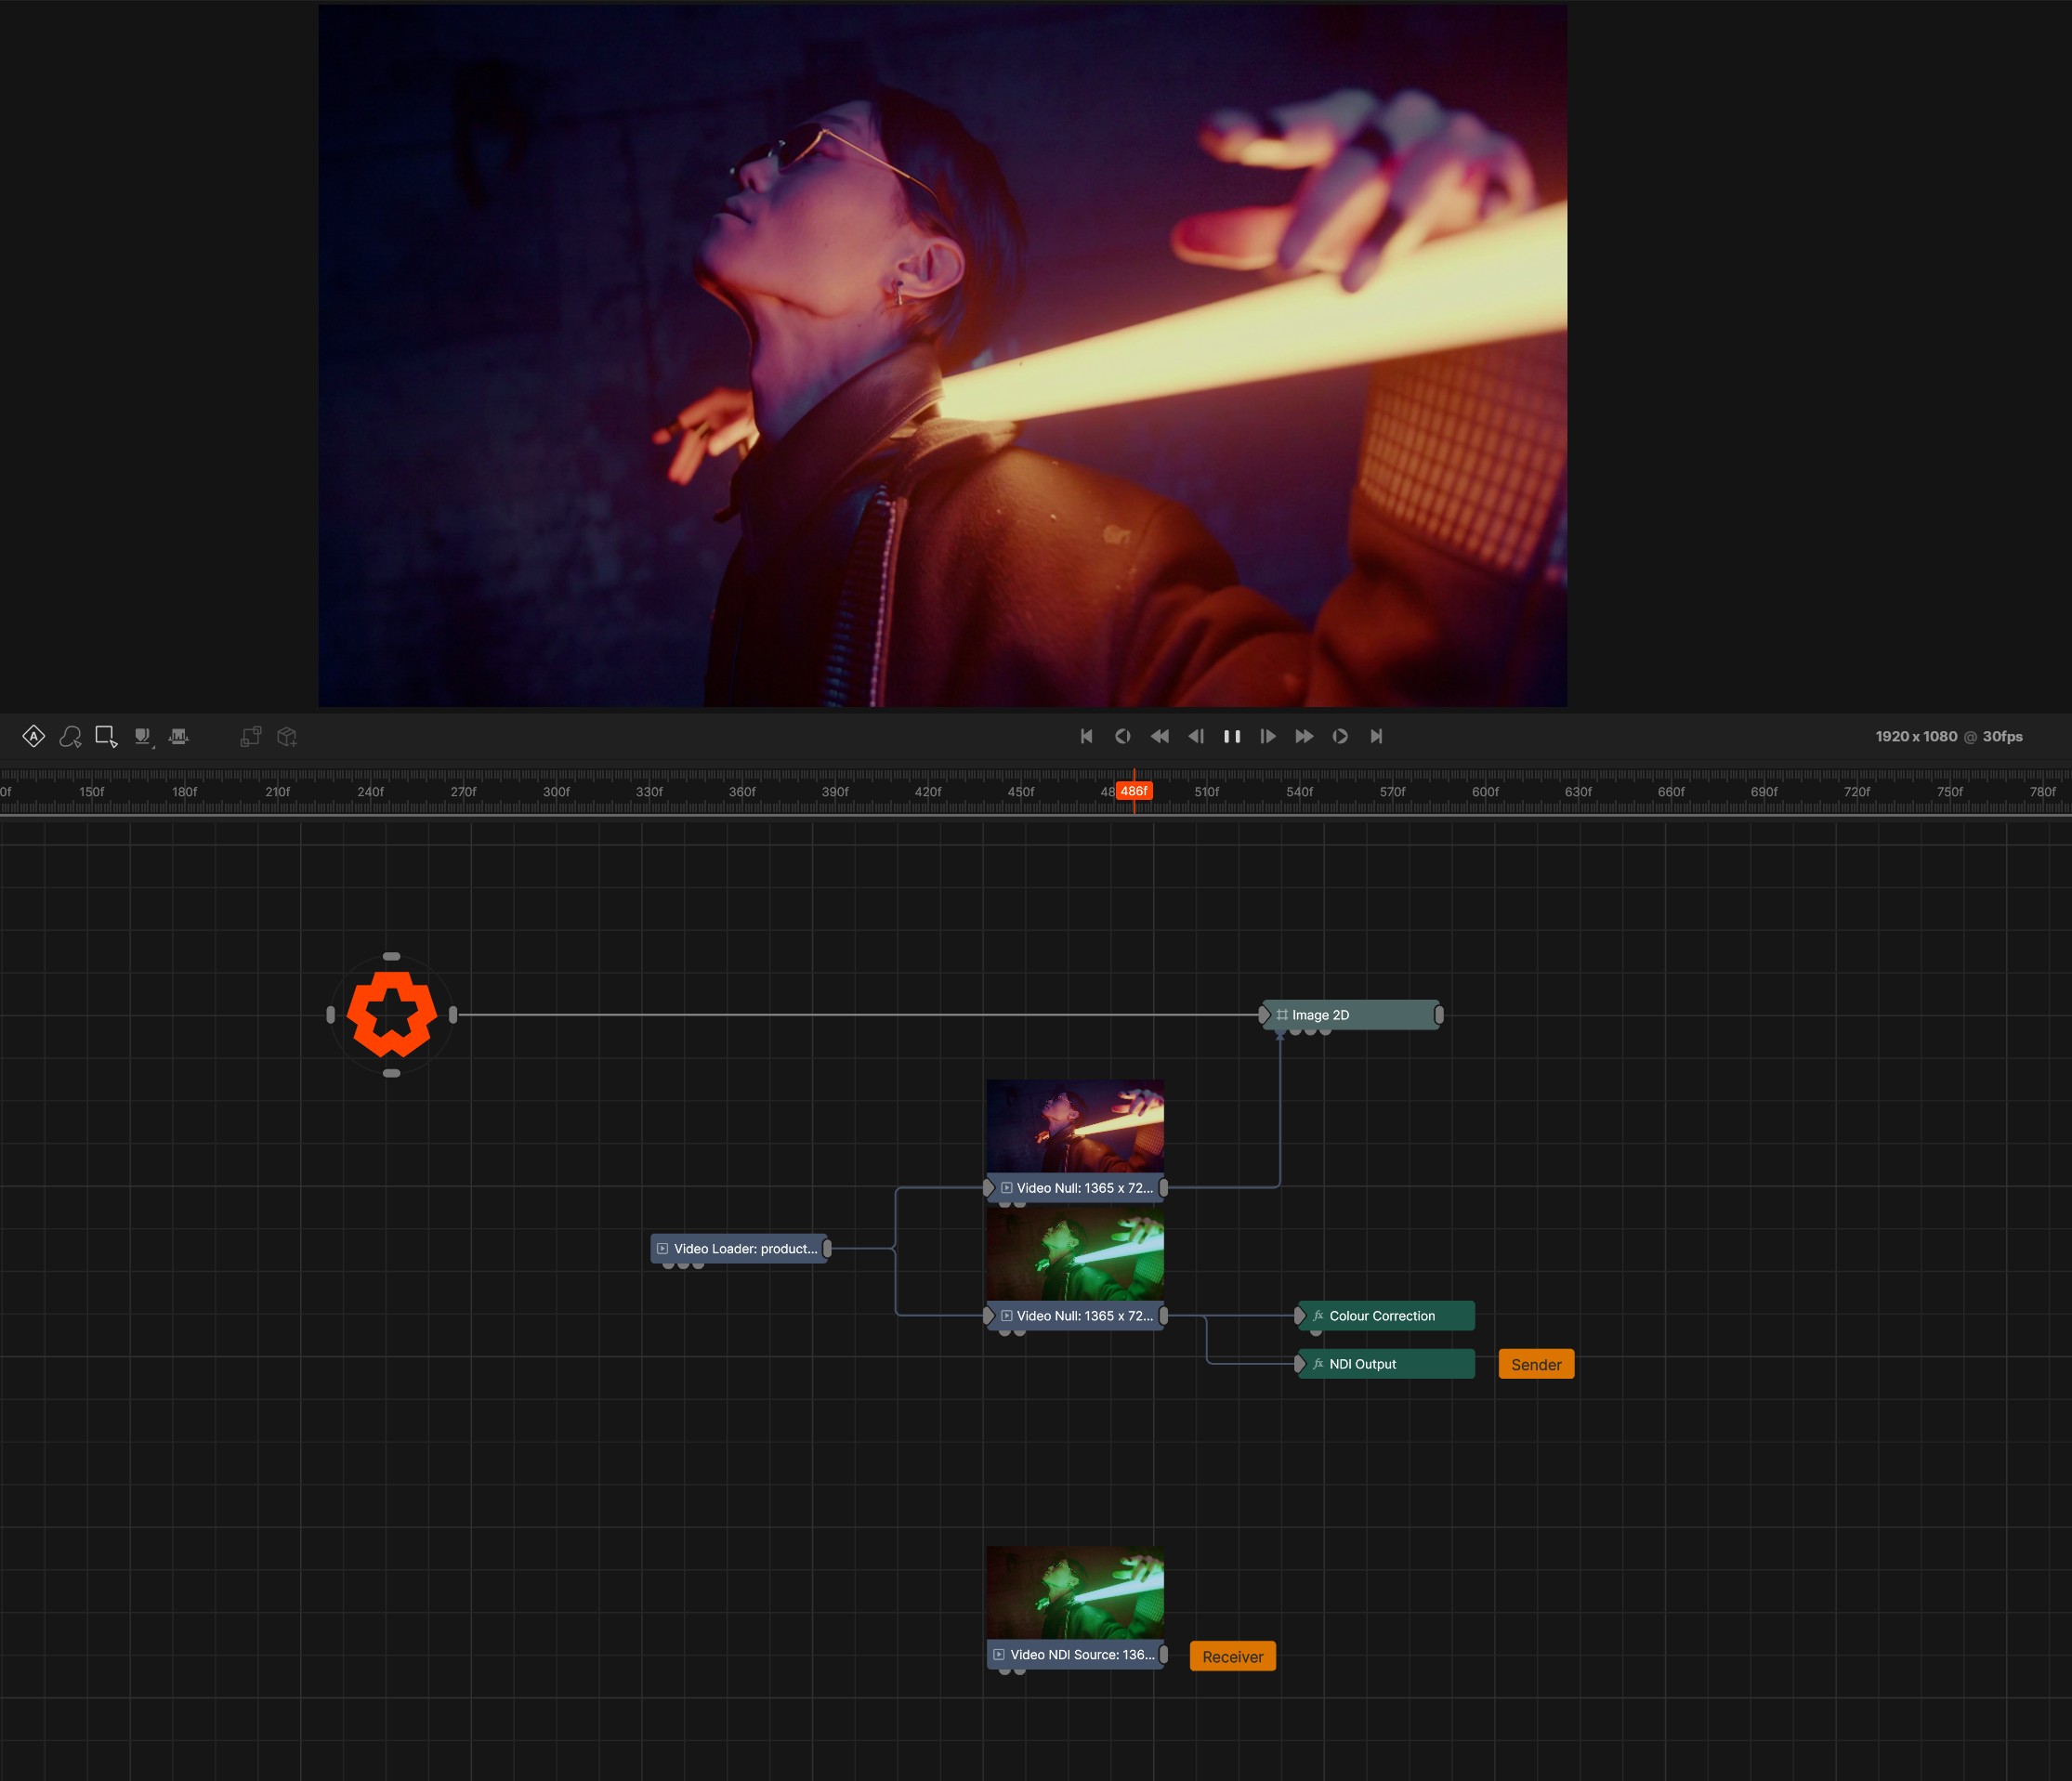
The NDI Output post-fx node allows you to selectively output textures from within your nodegraph, rather than just outputting the main output. To use this:
In this example you can see that the main output is displaying the original image, where as the NDI Output node is outputting the green colour corrected texture.
The Video NDI Source at the bottom is set up to receive the NDI output back into Notch.
When using NDI input/output with a standalone application, you may need to copy the following DLL to the same directory as your exported .exe file:
C:\Program Files\Notch\Processing.NDI.Lib.x64.dll
NDI cannot be passed directly to a Notch block using the Video NDI Source node when running inside of disguise. To use NDI in a Notch block running in disguise, the recommended method is to run NDI directly to disguise and pass the feed onwards into the Notch block using exposed parameters.