AI Model
Updated: 26 Jun 2026
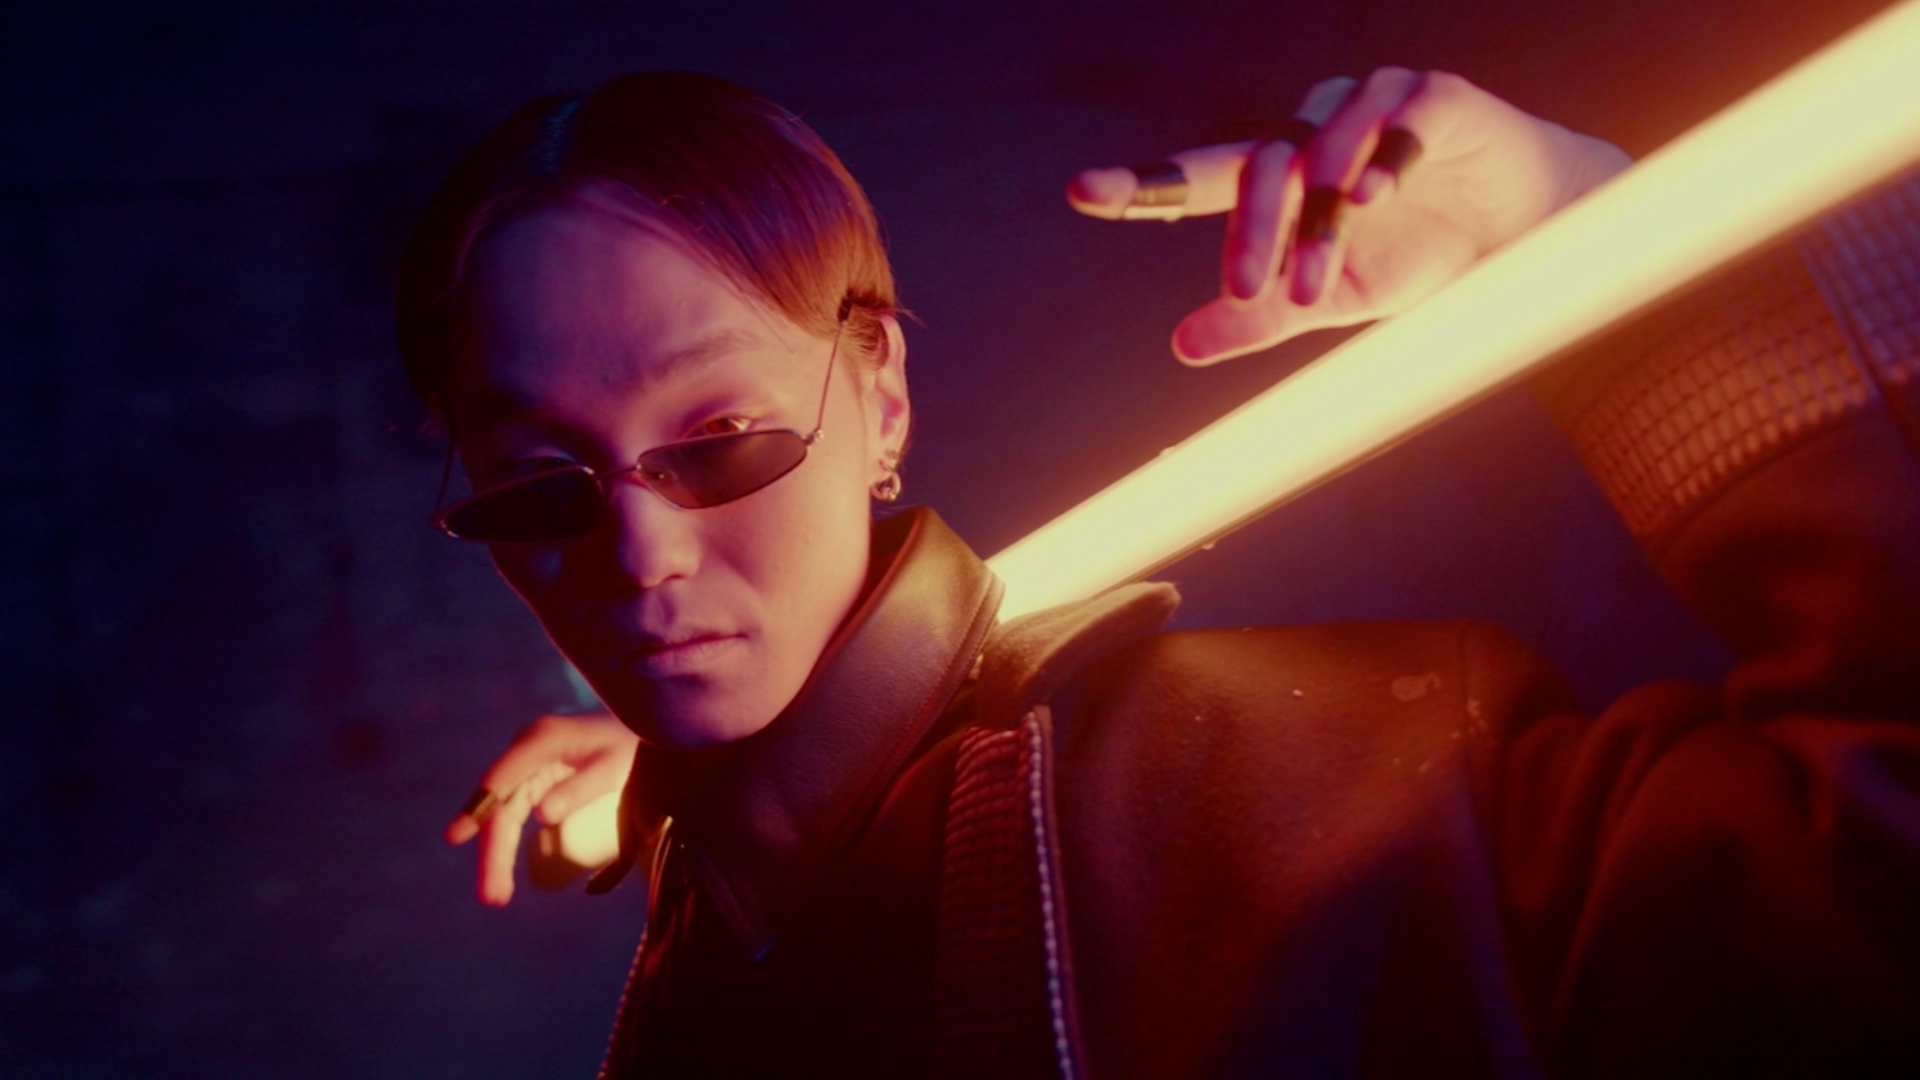
Load an ONNX AI model as a post effect
Updated: 26 Jun 2026
Load an ONNX AI model as a post effect
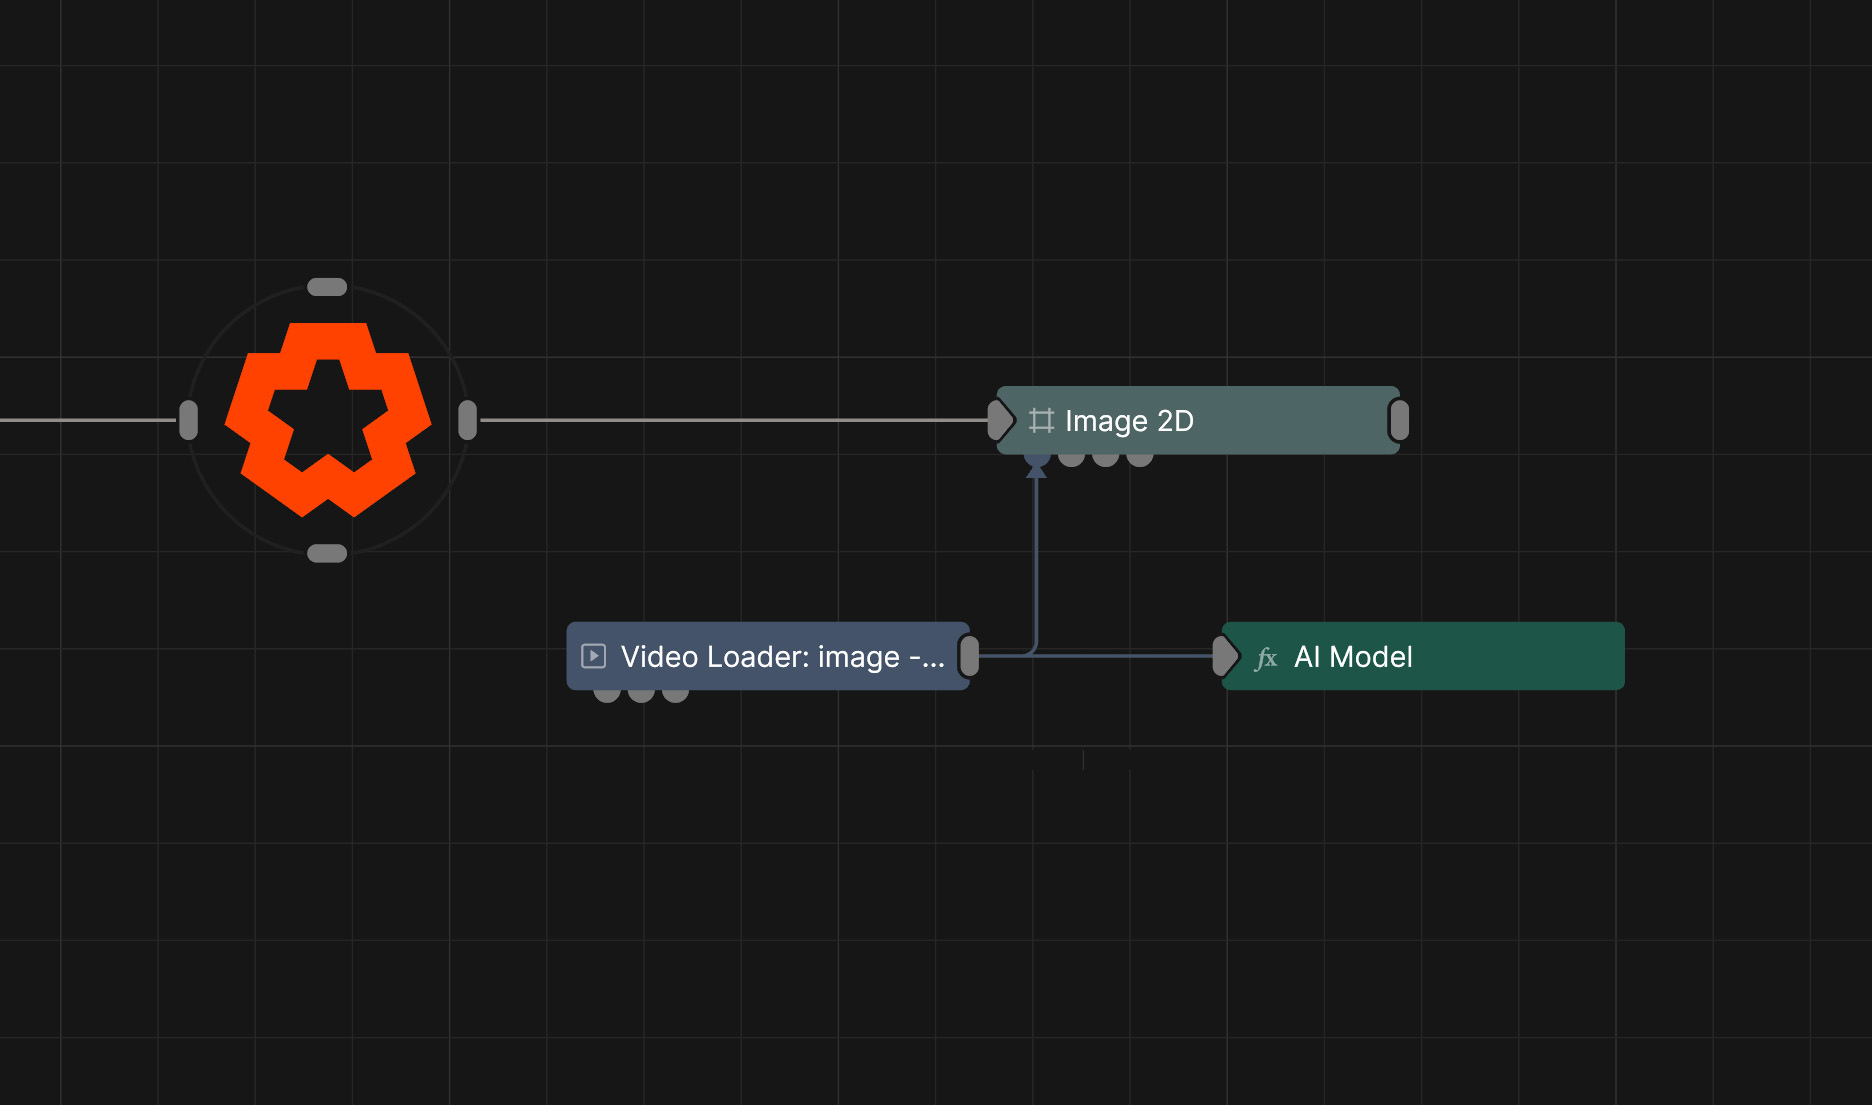
This node allows you to load an ONNX AI model to use as a post effect.
Detailed information about how to setup and use ONNX models in Notch can be found on the Working With AI Models page.
For a list of tested AI models that are known to work with the AI Model node, check out the Example Models page.
Please be aware that because of the wide range of applications of ONNX models, not all of them will be usable in Notch.
We support the integration and use of AI models within Notch. However, we do not provide support for creating, training, modifying, or troubleshooting custom ONNX models. Support is limited to the integration and use of compatible models within the Notch workflow.
Most AI models are trained to operate on images with a fixed input resolution and a specific colour normalisation scheme. These requirements are defined by the model itself and are typically determined during training.
The model always executes at a fixed resolution defined by the ONNX model. If the incoming image does not match this resolution, it will be resized before being passed to the model.
The Input Resizing properties allow you to control how the source image is transformed before inference. These settings determine how the input image is scaled, cropped, or padded to match the model’s required resolution.
Similarly, as the model outputs at its native resolution, the output resolution may need transforming back to a specific resolution to use further down the video pipeline.
The Output Resizing properties allow you to transform the output resolution of the model after inference.
Many AI models expect input pixel values to be transformed before inference.
Unfortunately, ONNX models do not reliably expose the normalisation parameters used during training, so these requirements cannot be automatically determined from the model file.
The Input Normalisation settings allow you to manually configure the transformation applied to the input image before it is passed to the model. The correct settings depend on how the model was trained and may need to be obtained from the model’s documentation or training pipeline.
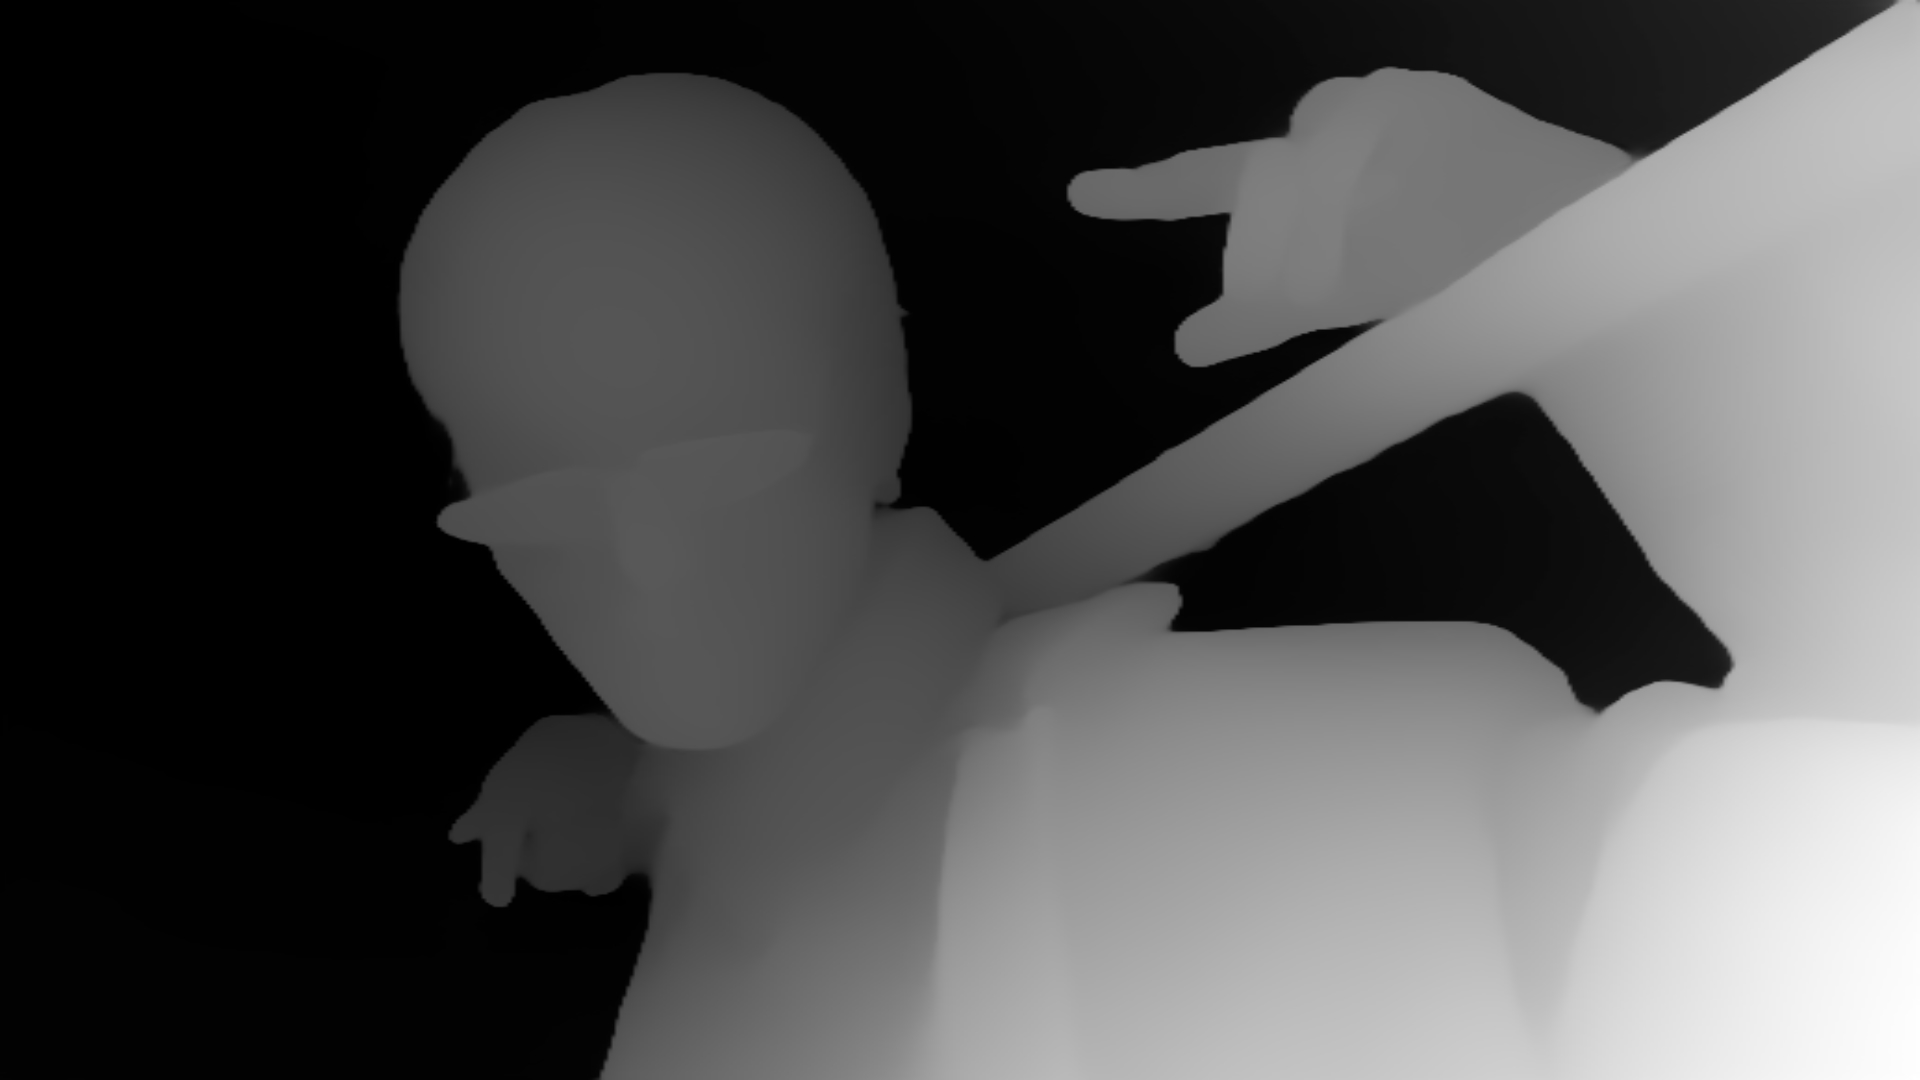
Similarly, model outputs may not always represent directly displayable image data. Some models output values in a normalised range or require additional post-processing before they can be viewed correctly.
The Output Transform settings control how the model output is converted into an image. These options allow you to remap value ranges and apply common output conversions so that the result can be displayed or used elsewhere in the pipeline.
Notch cannot automatically determine the required input normalisation or output transformation from an ONNX model. These settings must be configured to match the expectations of the specific model being used.
These properties control the core behaviours of the node.
| Parameter | Details |
|---|---|
| Active | Enables or disables the effect. Disabling the effect means it will no longer compute, so disabling a node when not in use can improve performance. |
| ONNX Model | Select an AI model from the resource browser. |
| Input Normalisation |
Scale the range of values coming into the model.
|
| Input Resizing |
How the input texture is resized to fit the target size.
|
| Output Resizing |
How to resize the output of the model.
|
| Normalise Output Colour | Remap the value range of the output texture to be between 0 and 1. |
| Output Format |
Change the colour bit depth and channel amount of the output texture.
|
The properties control the time at which the node is active. See Timeline for editing time segments.
| Parameter | Details |
|---|---|
| Duration |
Control the duration of the node’s time segment.
|
| Node Time | The custom start and end time for the node. |
| Duration (Timecode) | The length of the node’s time segment (in time). |
| Duration (Frames) | The length of the node’s time segment (in frames). |
| Time Segment Enabled | Set whether the node’s time segment is enabled or not in the Timeline. |
This node has no inputs.