

UV Remapping Workflow (AOVs)
Updated: 12 Oct 2026
Updated: 12 Oct 2026
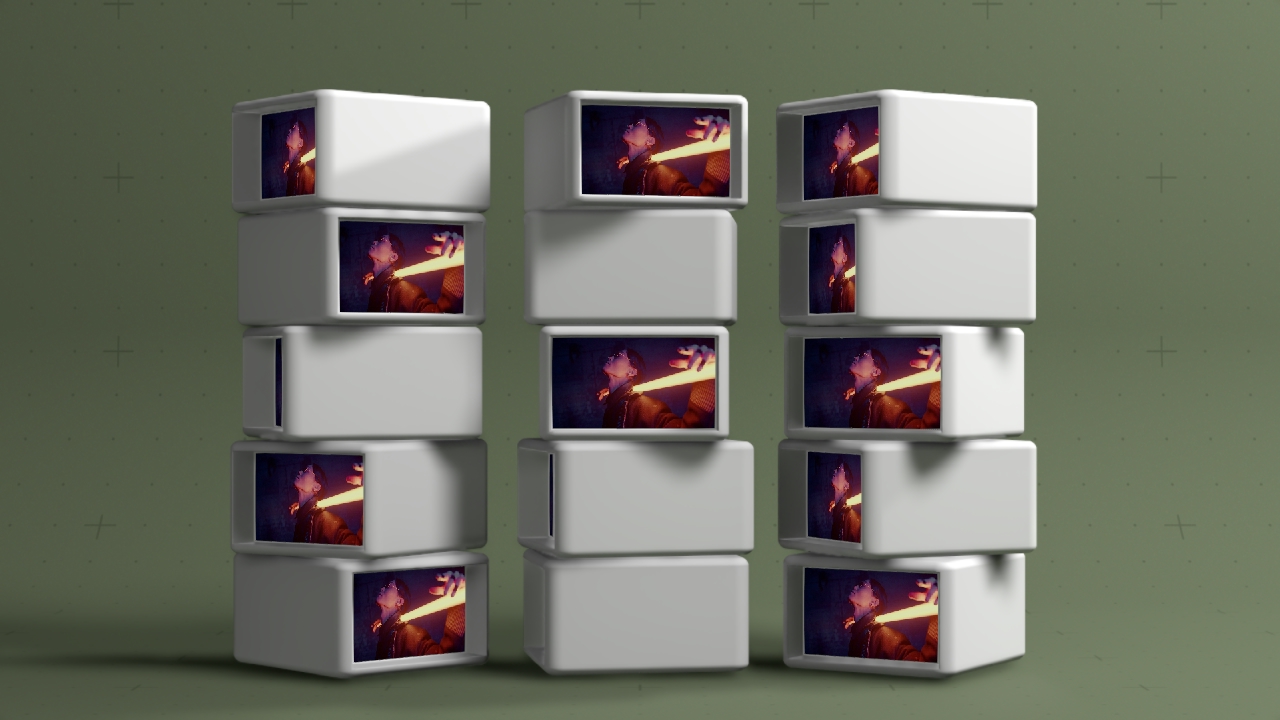
As of Notch 2026.1, you can now output a UV pass and an Object Mask pass as part of the main render using AOVs. This allows for a more streamlined UV remapping workflow compared to the legacy workflow.
The Legacy Workflow is still a valid workflow in cases where outputting object’s UV AOVs as the remapping texture doesn’t make sense. It is also useful to explain how to export UV Remapping textures from other softwares that don’t support AOV output.
Using AOVs to output UV remapping textures from notch has a number of advantages:
Build a scene that you want to add a UV remapping pass to
Add a correctly UV’d object anywhere you want to output UV remapping data
Use this object to create a Custom Object Mask AOV
Set your render to output the main pass, plus a UV AOV pass, plus the Custom Object Mask AOV. This will give you all the passes you need from a single render.
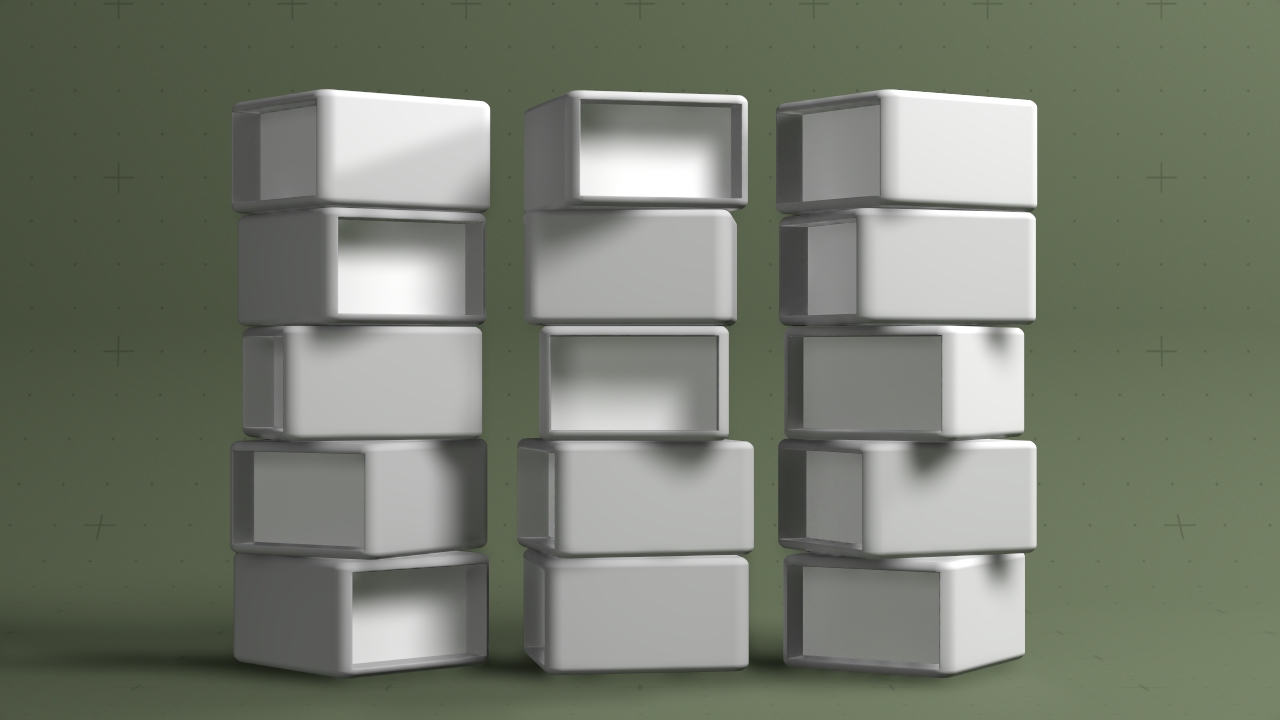
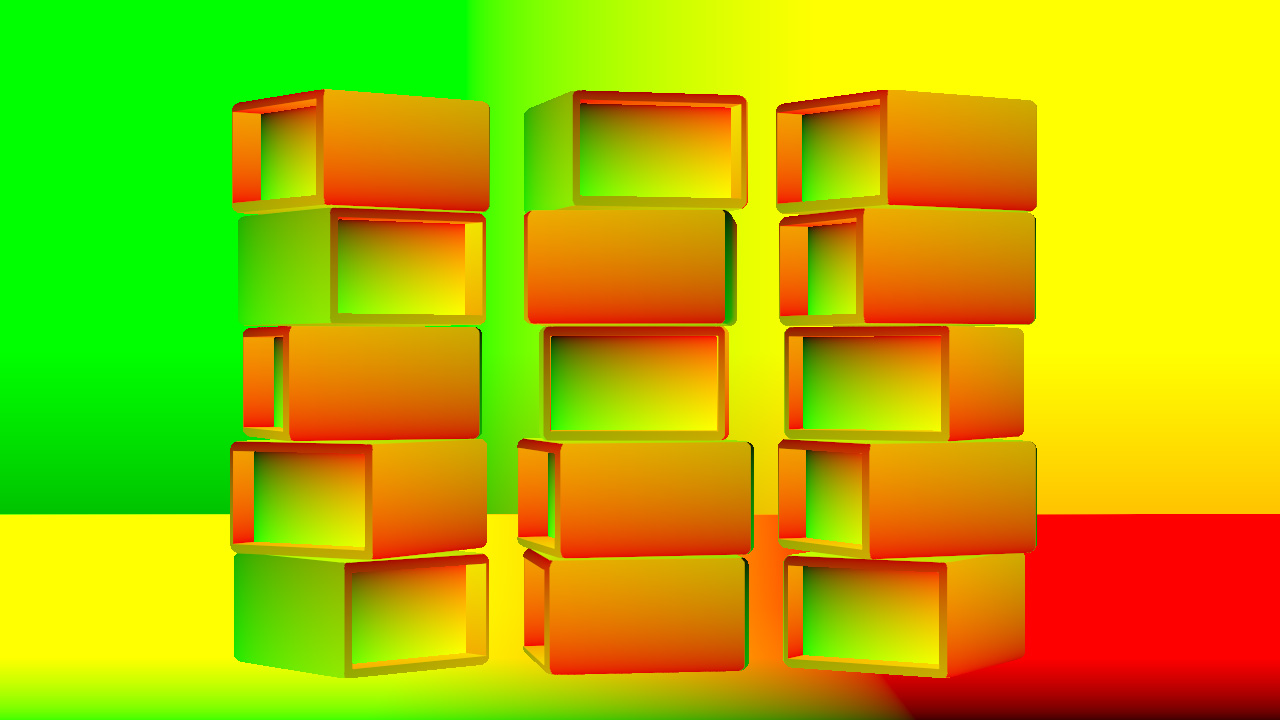
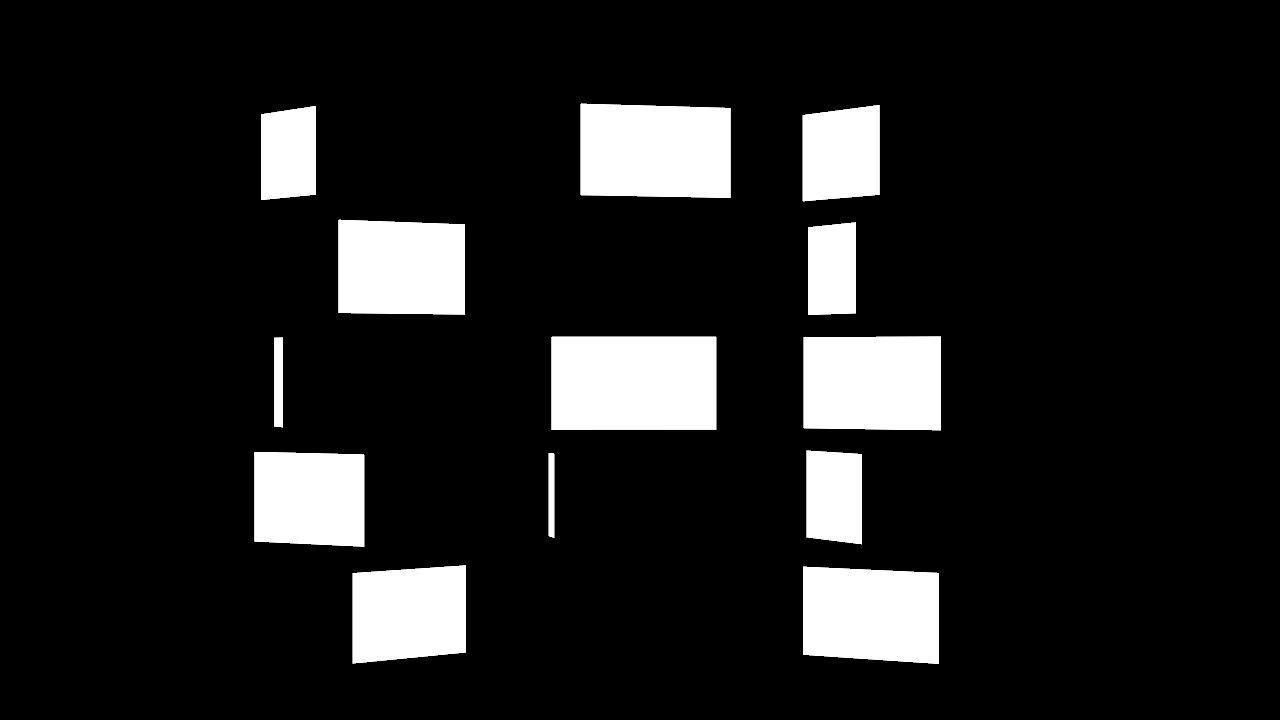
Use the Object Mask pass to remove unwanted data from the UV pass
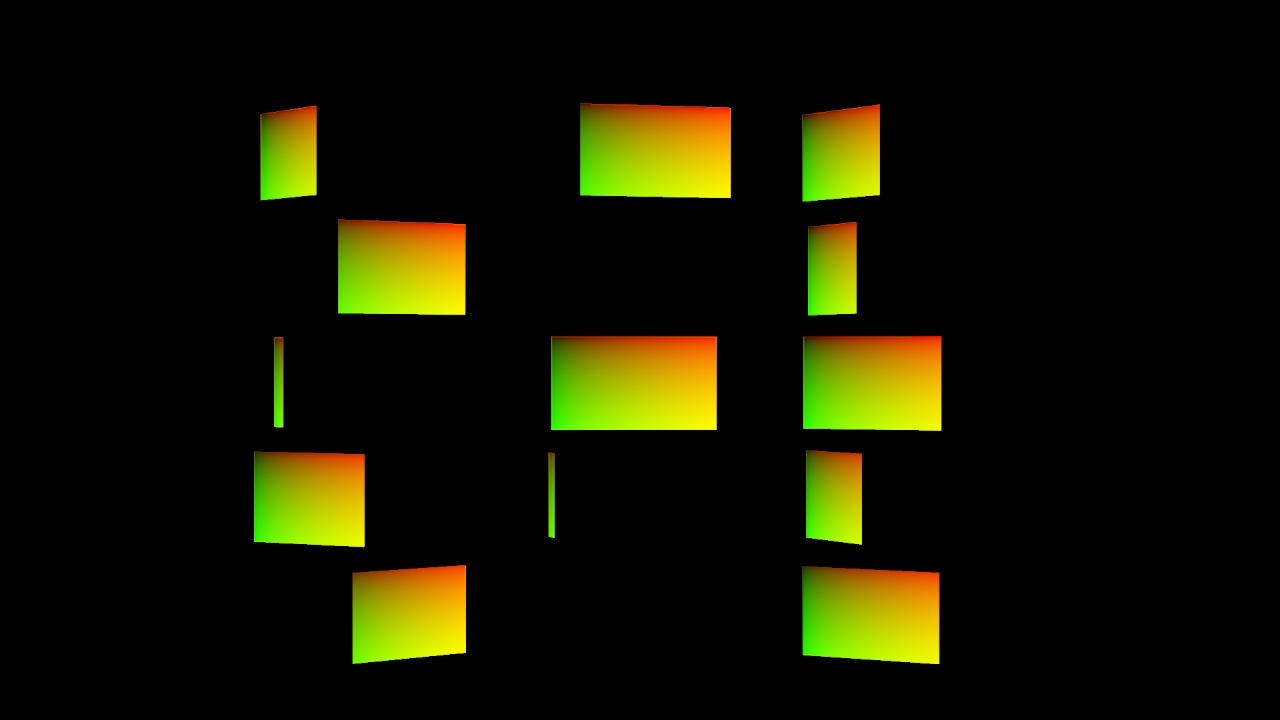
Use the masked UV pass to remap your desired texture
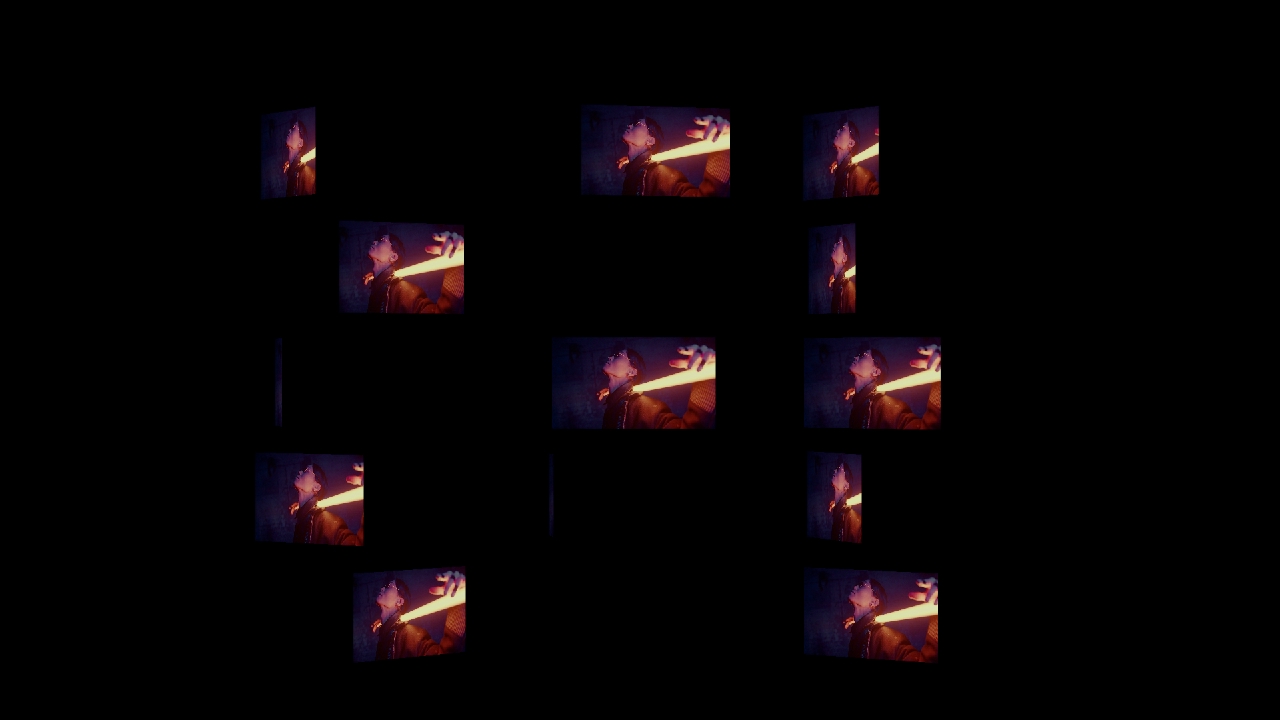
Composite the newly remapped texture on top of the Main pass
More detail on how to composite these textures can be found here.
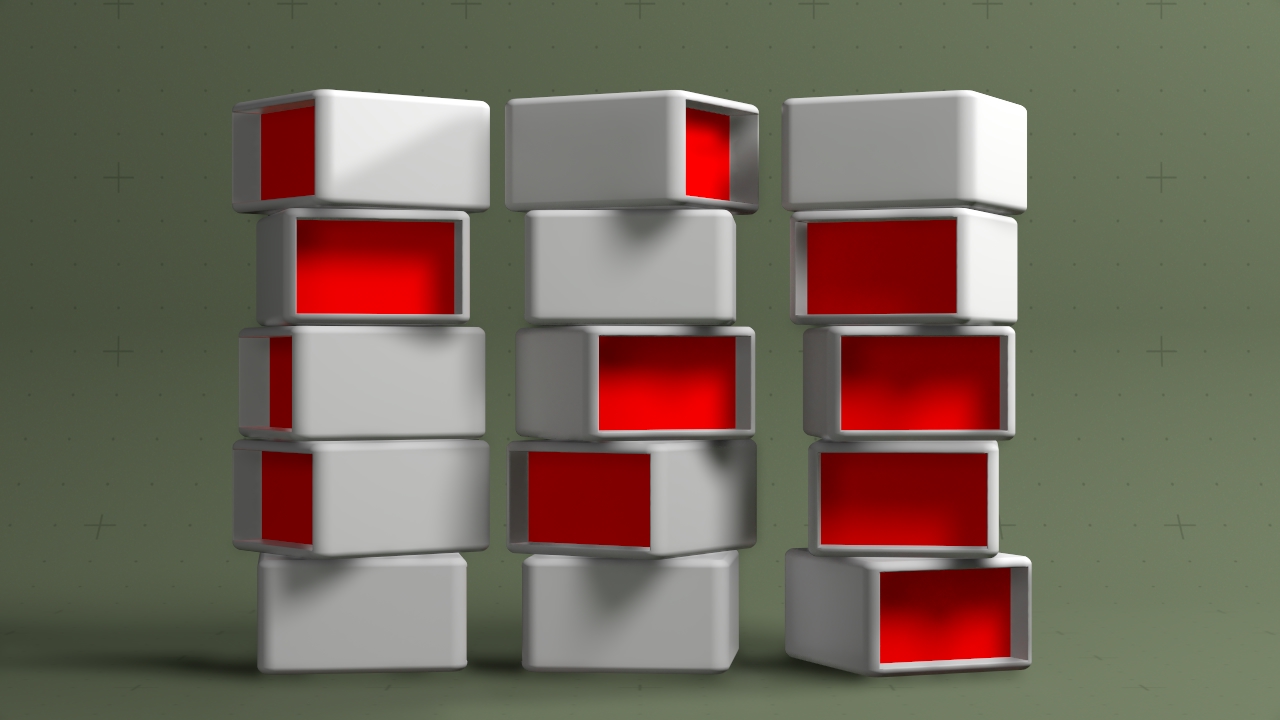
In this example project, there is a simple cloner system that creates the rotating boxes. For each box there is also a separate 3D Primitive “screen” plane that sits exactly where I want my content to be added to the boxes later.
The UV map of this object is important as we are going to be outputting the UV coordinates of this object to a texture. An incorrectly UV mapped object will cause an incorrect UV Remapping texture later down the line.
In this image you can see the “screens” objects are highlighted in red to show their location compared to the boxes.
These are the areas that we want to output a UV Remapping texture from so that we can map video content back onto those areas afterwards.
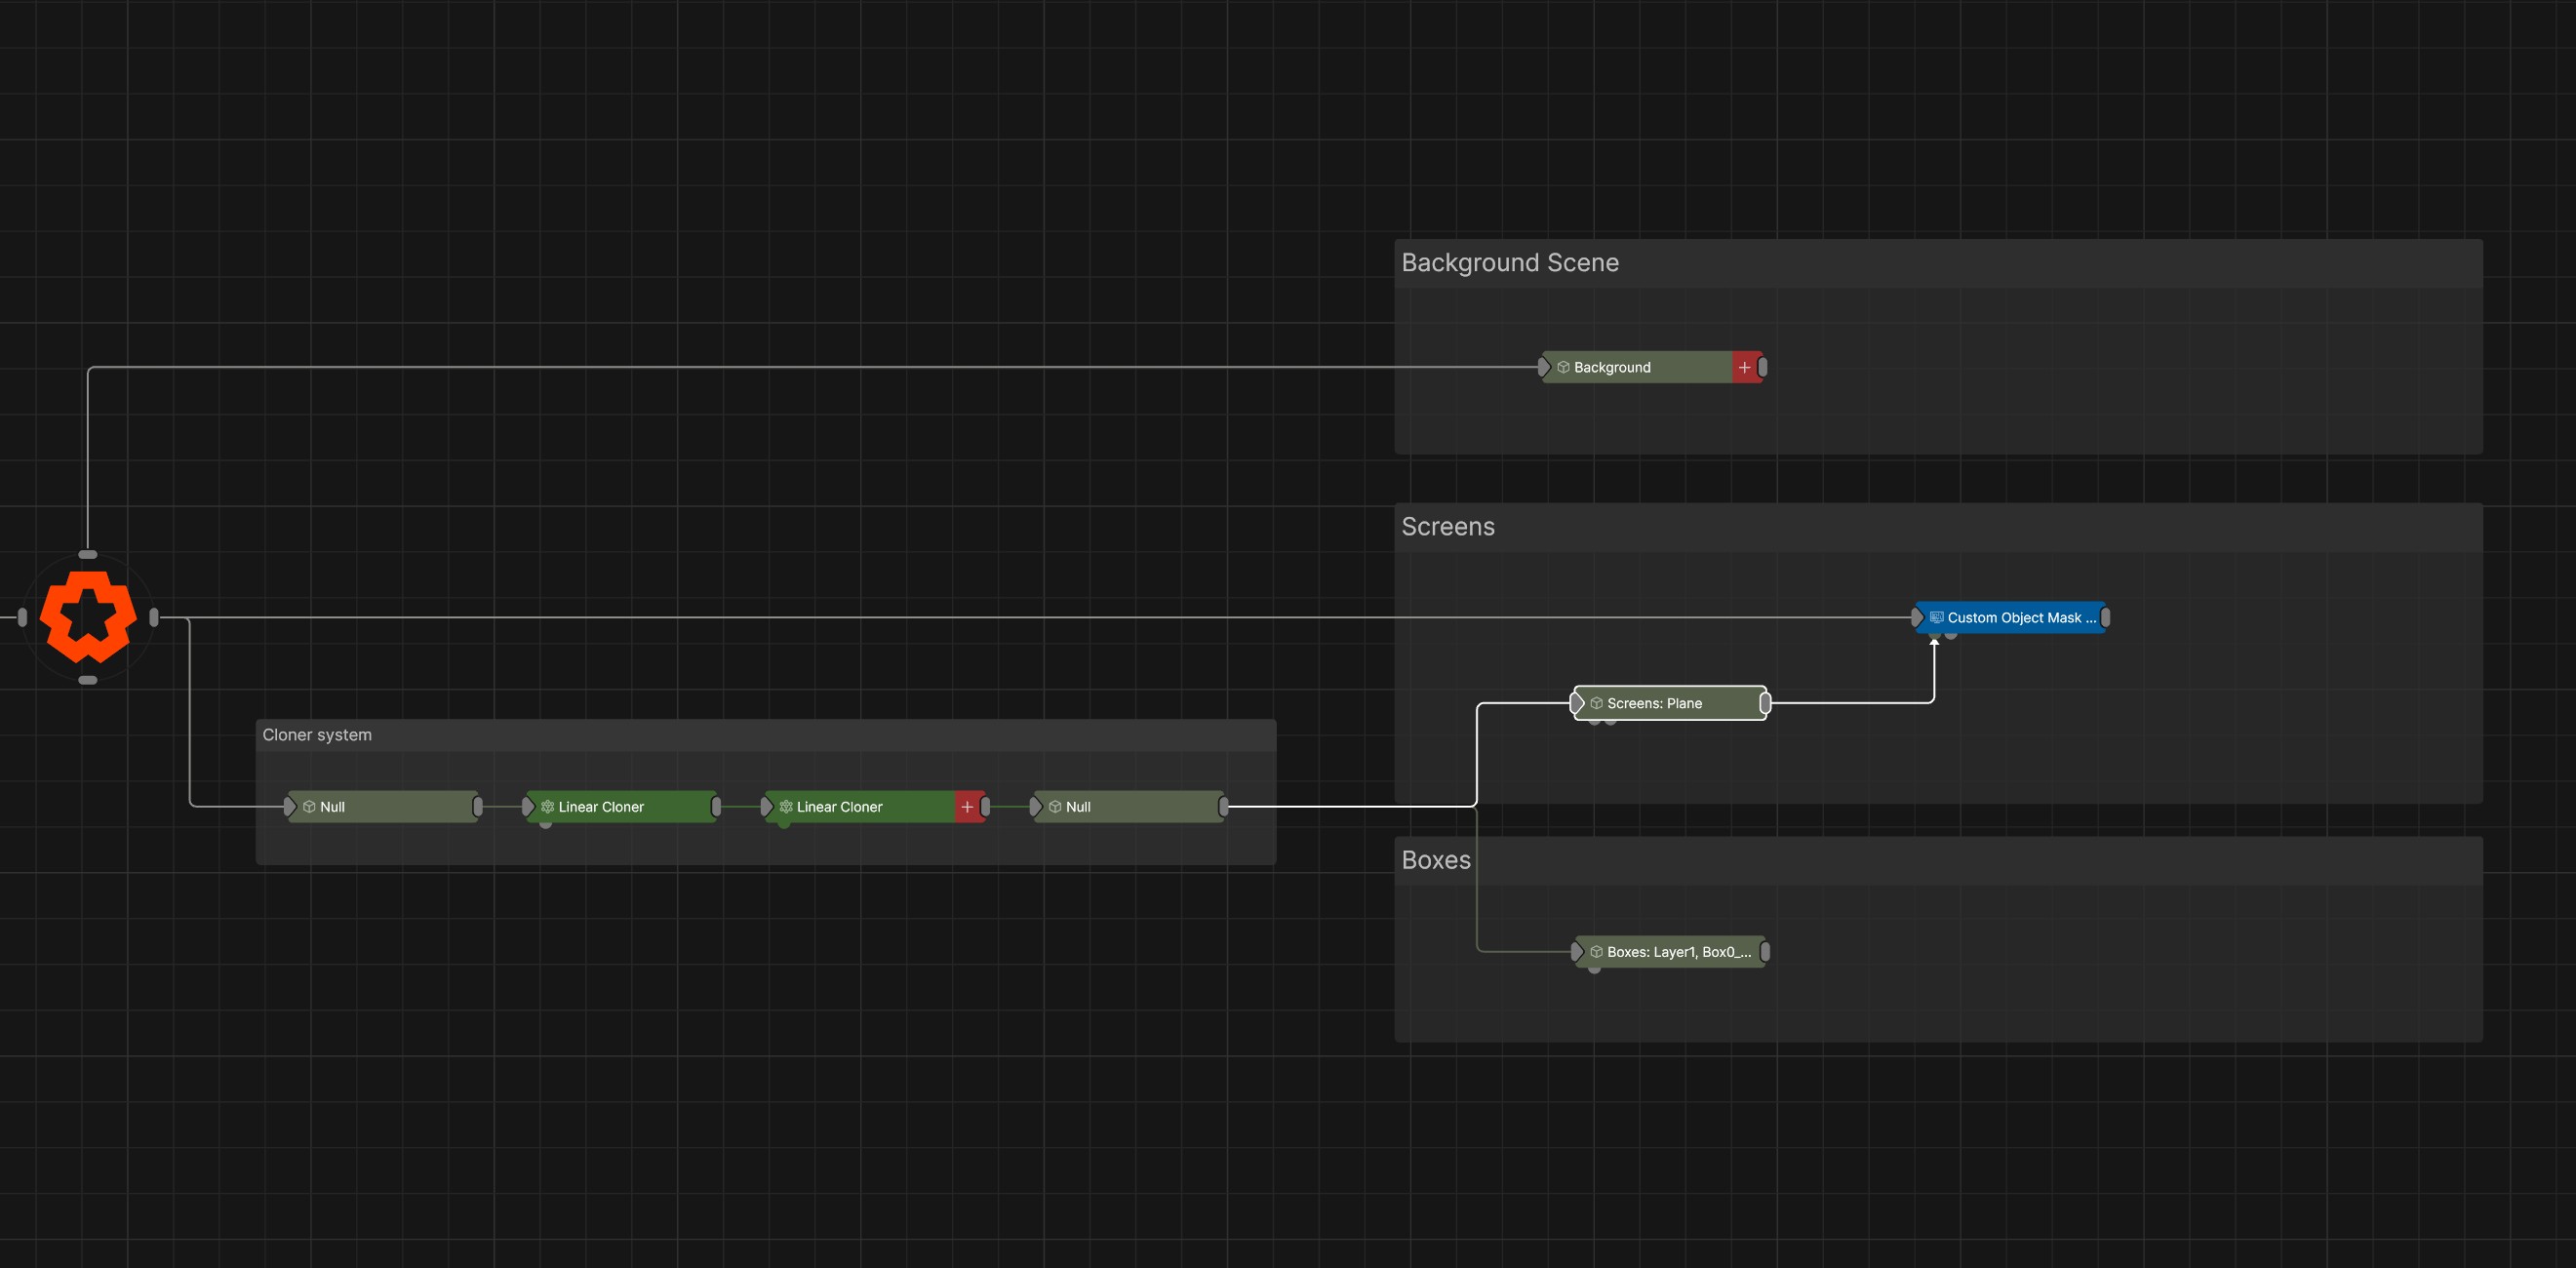
The only other important part of the project is the Custom Object Mask AOV node which is connected to the “screens” primitive. This will allows us to output a black and white mask of any pixels that contain the “screens” object. See Creating An Object Mask for more info.
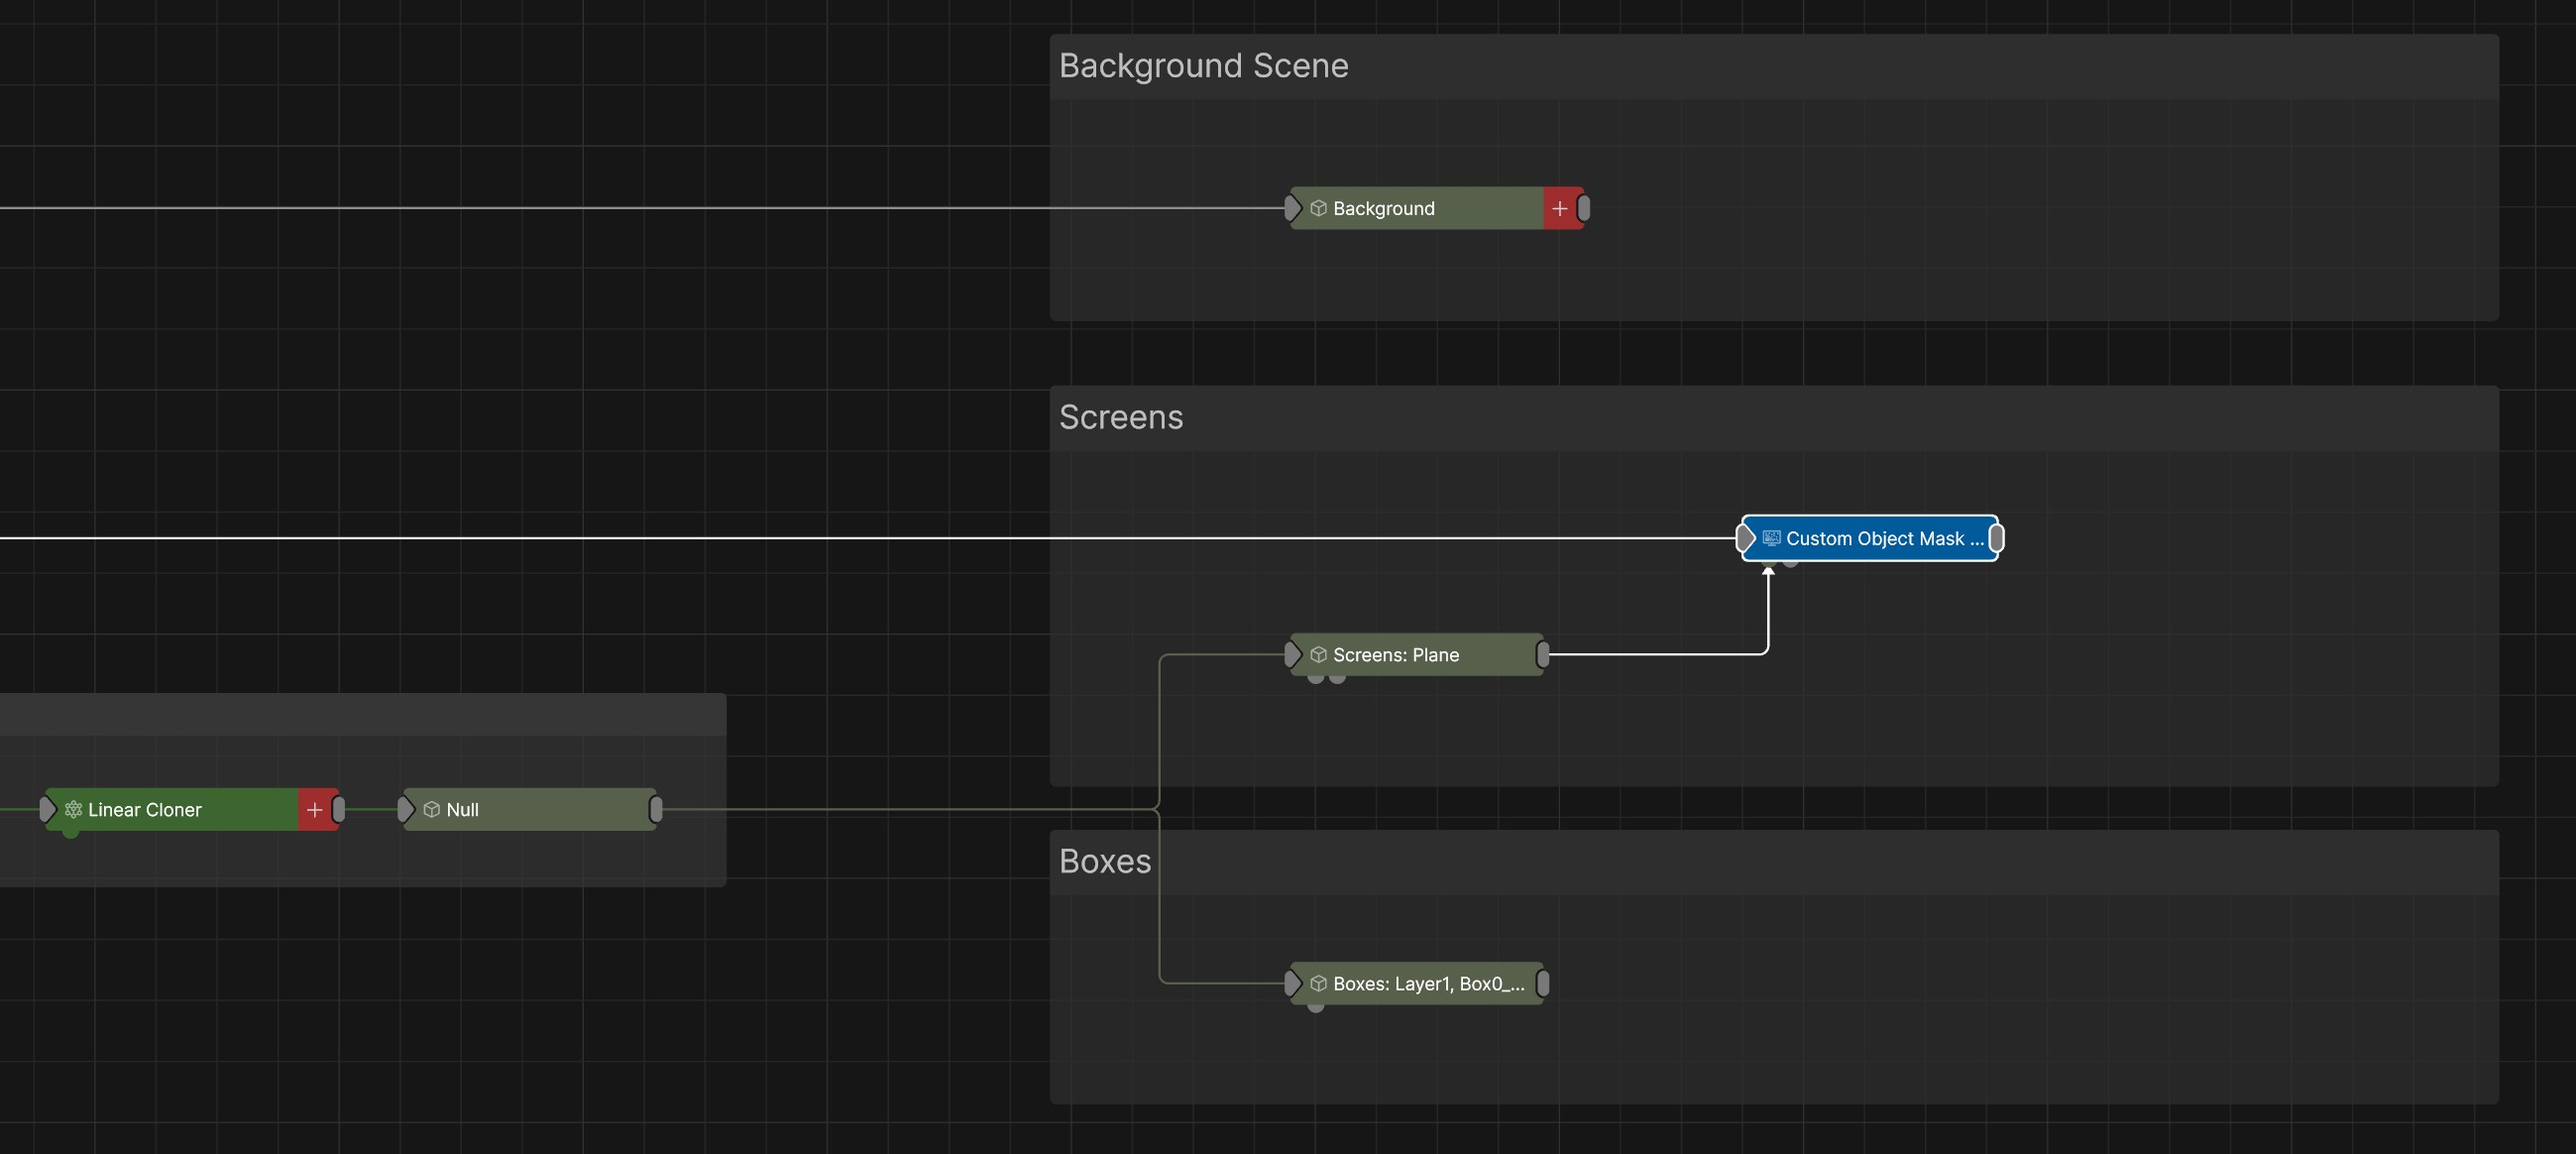
Because we are going to render out the UVs of all objects in the scene to one UV pass, we need a way to mask out only the objects that we want to use as UV Remapping texture. To do this, we can render out one or more Custom Object Mask AOV passes.
The Custom Object Mask AOV node takes in objects, and then creates a black and white mask which can be rendered out as an AOV. It will be white where the objects are, and black where are not.
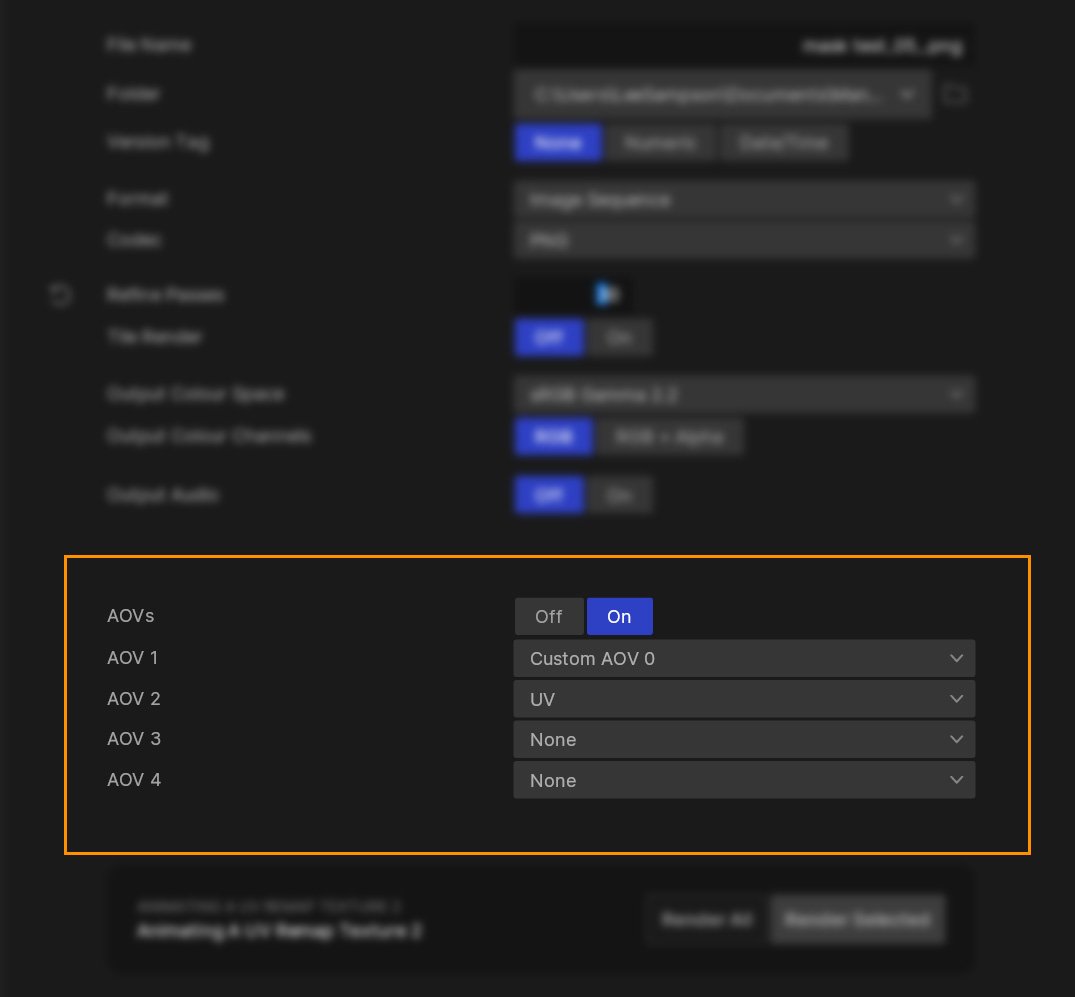
To render out the UV and Object mask passes, we are going to use AOVs.
To do this, first turn on AOVs in the render settings. Then add the following:
All of these passes will output along side your main render pass. So now you have these set, you can just hit render as normal and get these extra passes as well.
UV Remapping textures will output as an EXR image sequence by default. This is to preserve the maximum amount of UV data possible.
UV Remapping textures store UV coordinate data in an image format, rather than just colour data like normal textures. Because of this, any normal image compression can affect the integrity of the UV data, and thus give you an incorrectly mapped output.
For realtime playback, it is recommended to transcode UV EXR sequences to the “UV Animation” codec in Notch.
You can import and playback EXR sequences in Notch, but the performance of this will not be great. EXRs are not optimised for realtime playback.
The UV Animation Codec is specifically designed to store and playback UV data realtime. It spreads the data across all the channels of the image, allowing for more detailed data to be stored. Normal realtime video formats cannot sufficiently compress and playback the data without compromising its integrity, so should not be used for this workflow.
All other passes can be transcoded to NotchLC, or the relevant codec for your workflow.
For use in realtime applications, it is best practice to transcode your EXR sequence to Quicktime UV Animation. This codec is optimized for this workflow and has various setting for compression which optimize its playback performance.
To do this:
You now have a compressed UV Animation file that can be used in Notch as a realtime UV remapping texture.
UV remapping textures that are transcoded to UV Animation will need to be decompressed using the Decompress UV Animation node.
UV Remapping is achieved by using an Image 2D. This node can take in a source video, and then use a UV Remapping texture to rearrange the pixels onto the screen.
At this point you should have your source video remapped onto the screen based on your UV Remapping texture.
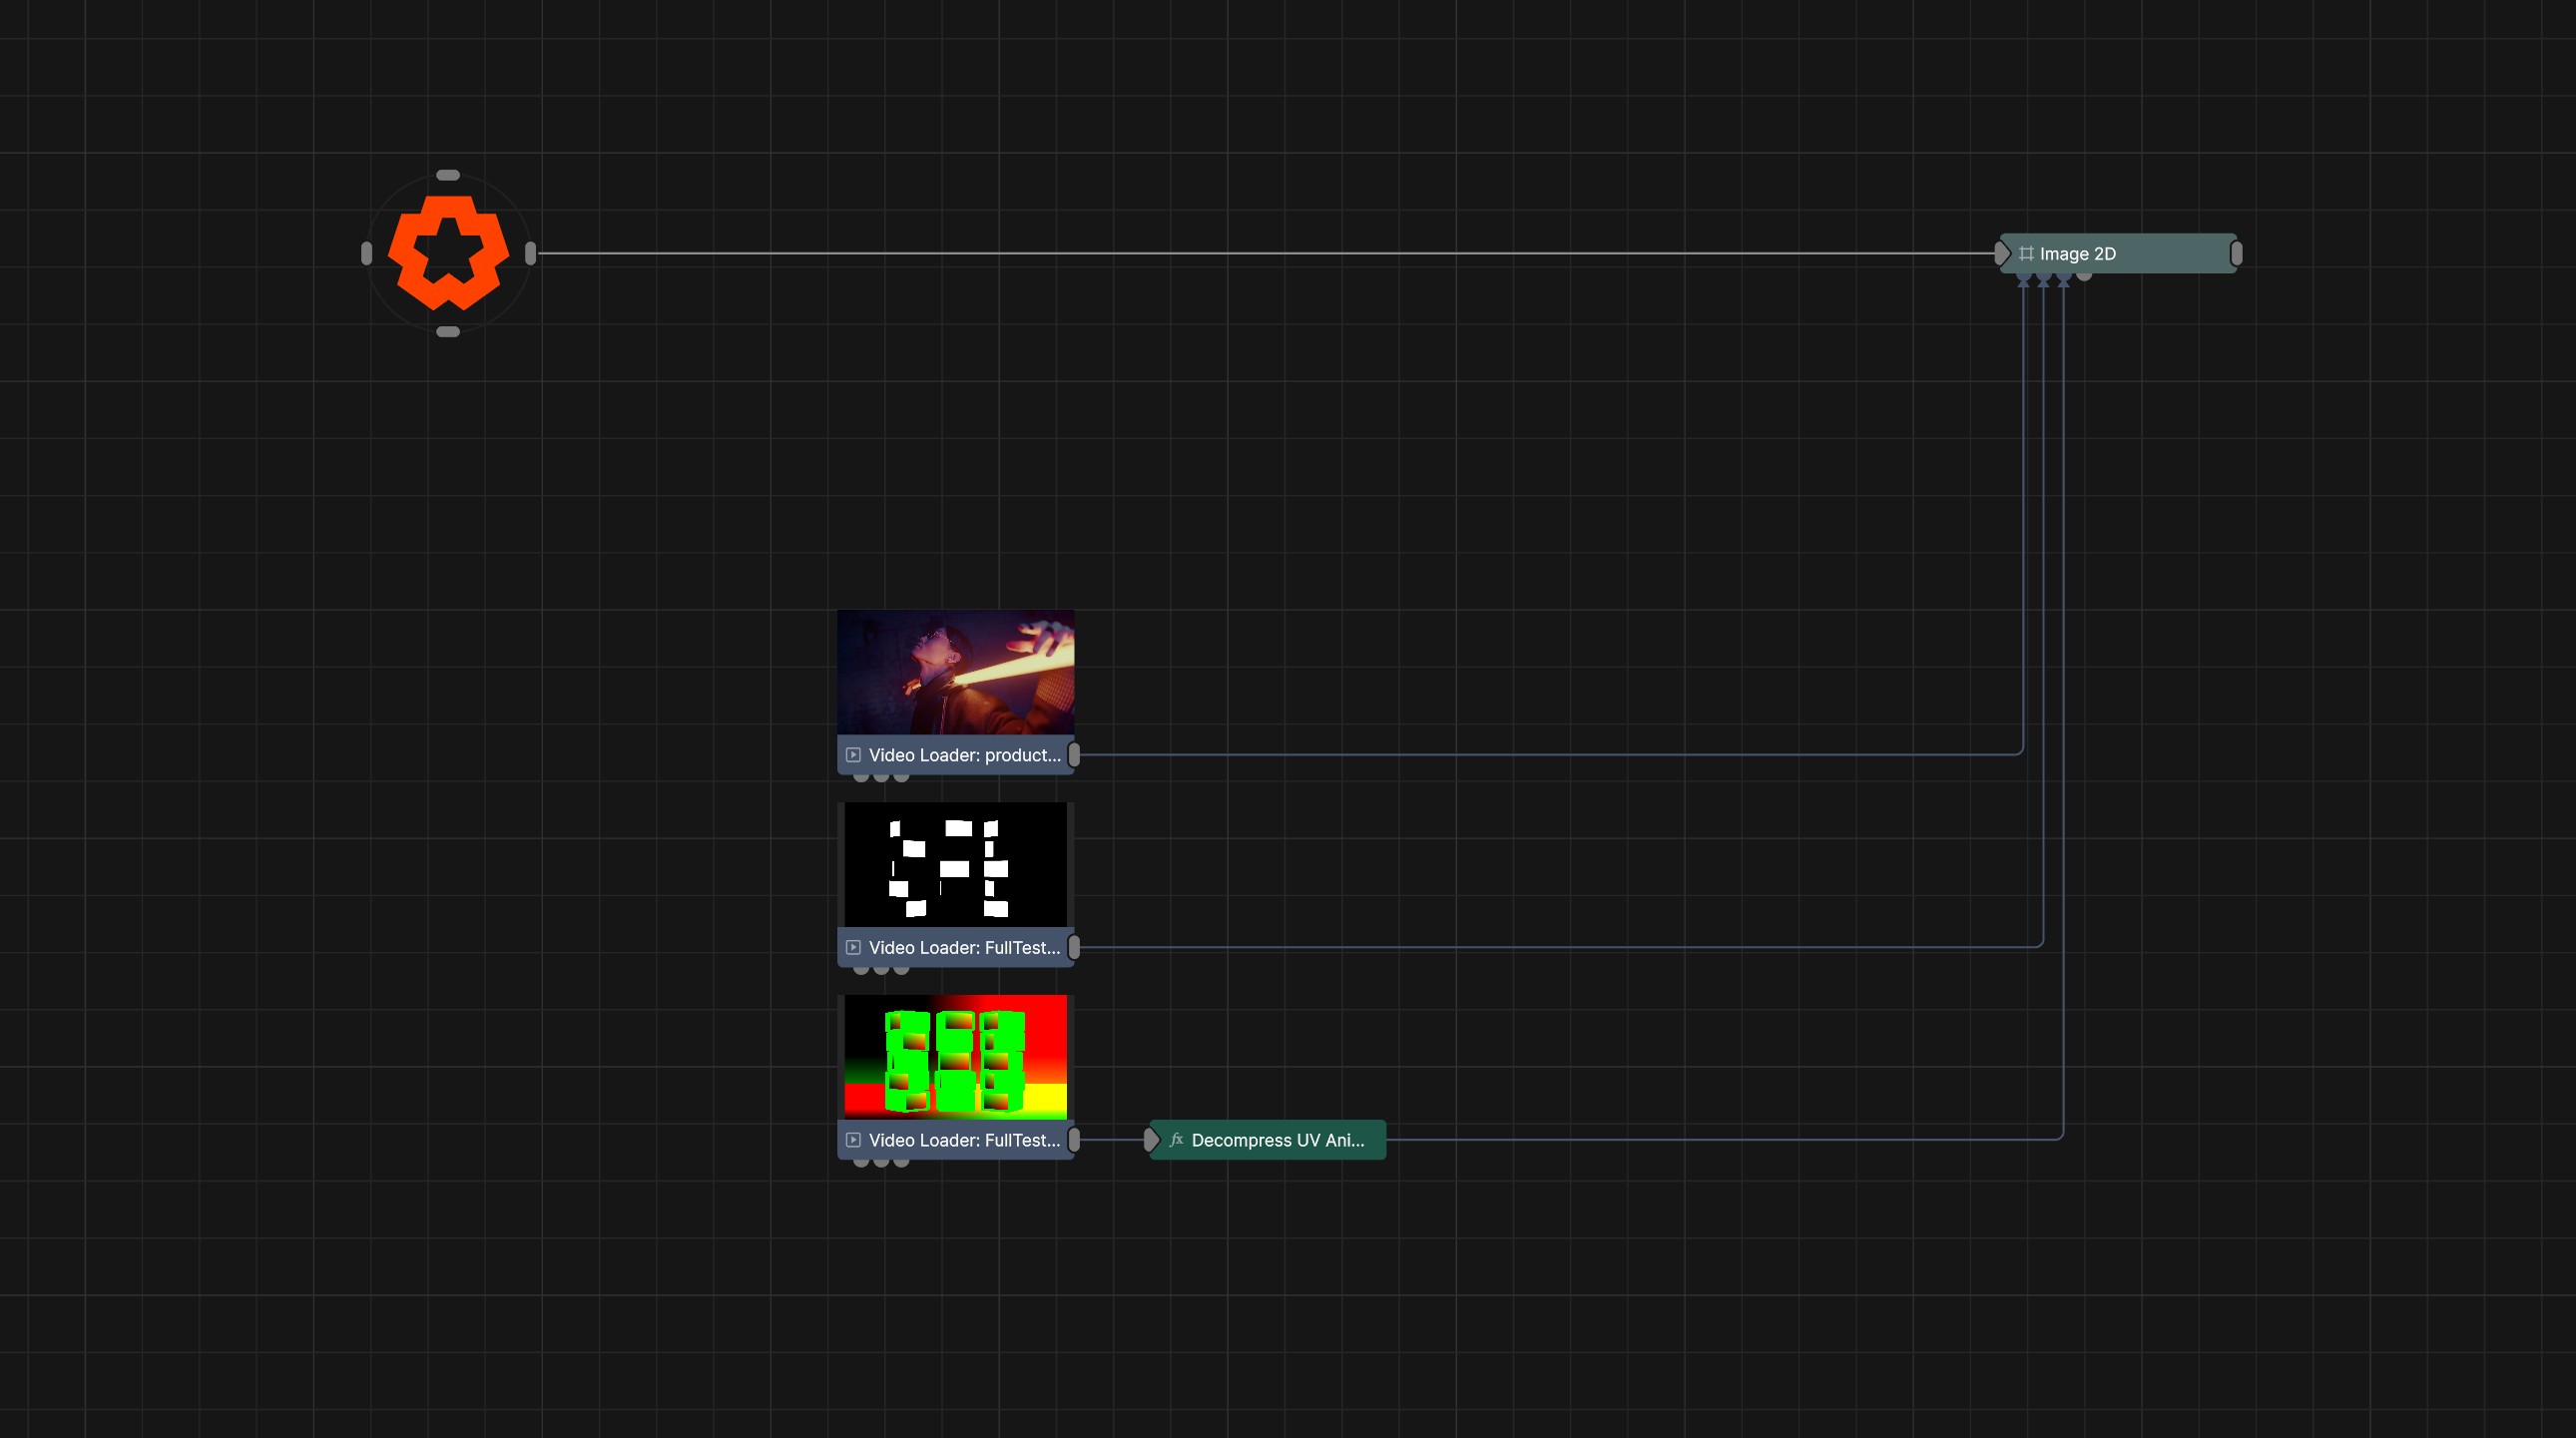
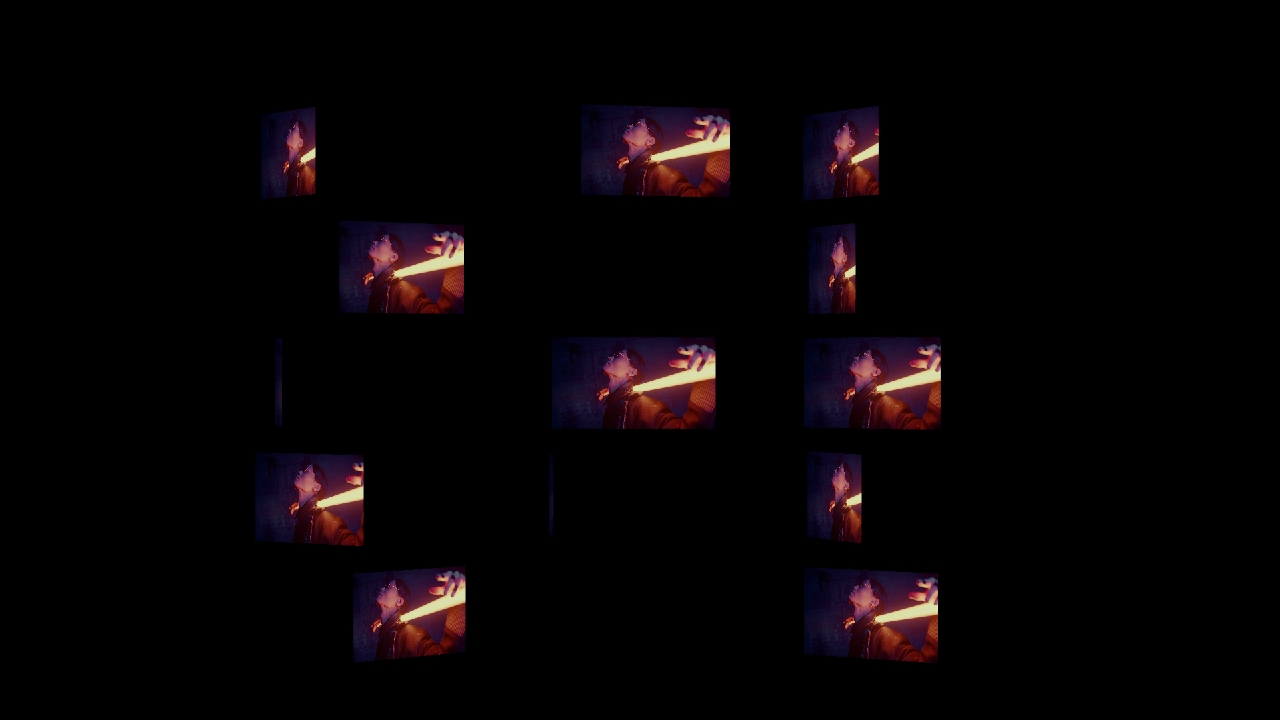
If your UV Remapping texture is producing a flipped texture on the X or Y axis. you can use an Invert post-fx node to flip the red or green channel of the UV remapping texture. See Tips And Tricks
Now you just need to add the background video underneath this layer.
You should now have your source video mapped correctly onto your background video.
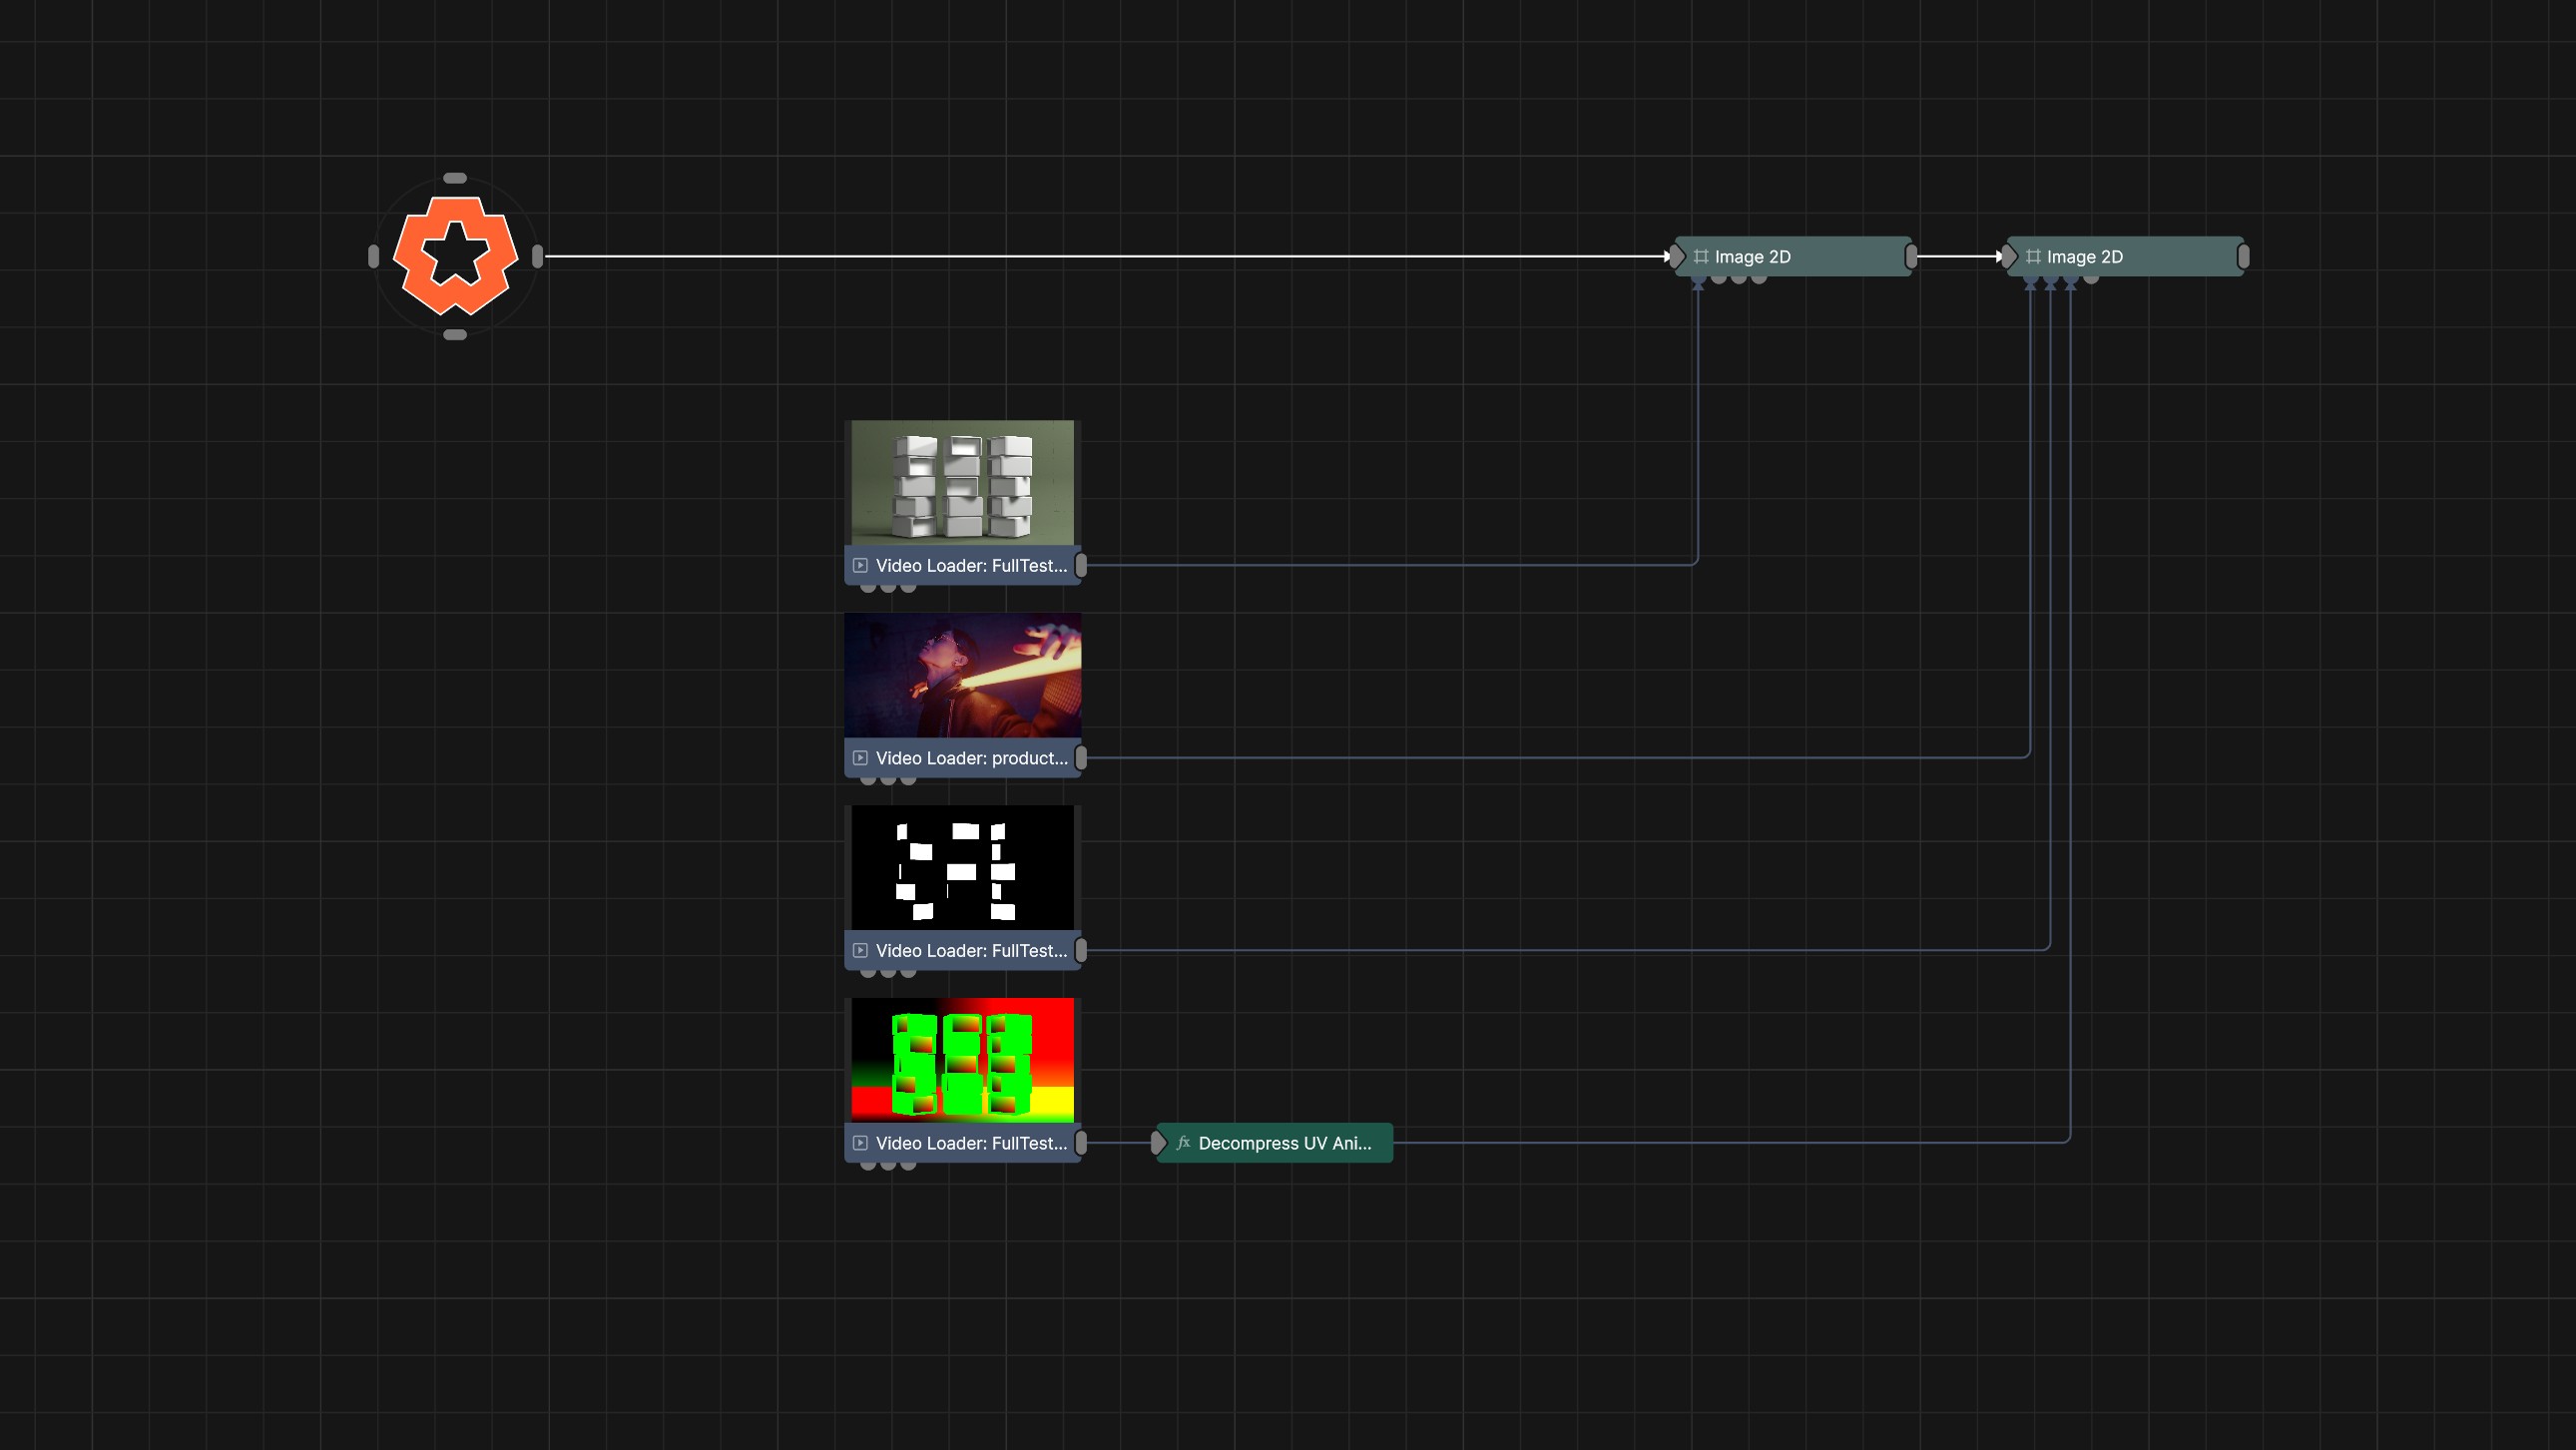
Because the UV remapping texture stored UV data in an image, you can use the Invert Post-fx node to flip the red channel (UV X), or the green channel (UV Y). Just add an Invert node to the UV Remapping texture, after the decompress node. Then select either red, or green, or both in the “Affected Channels” property.
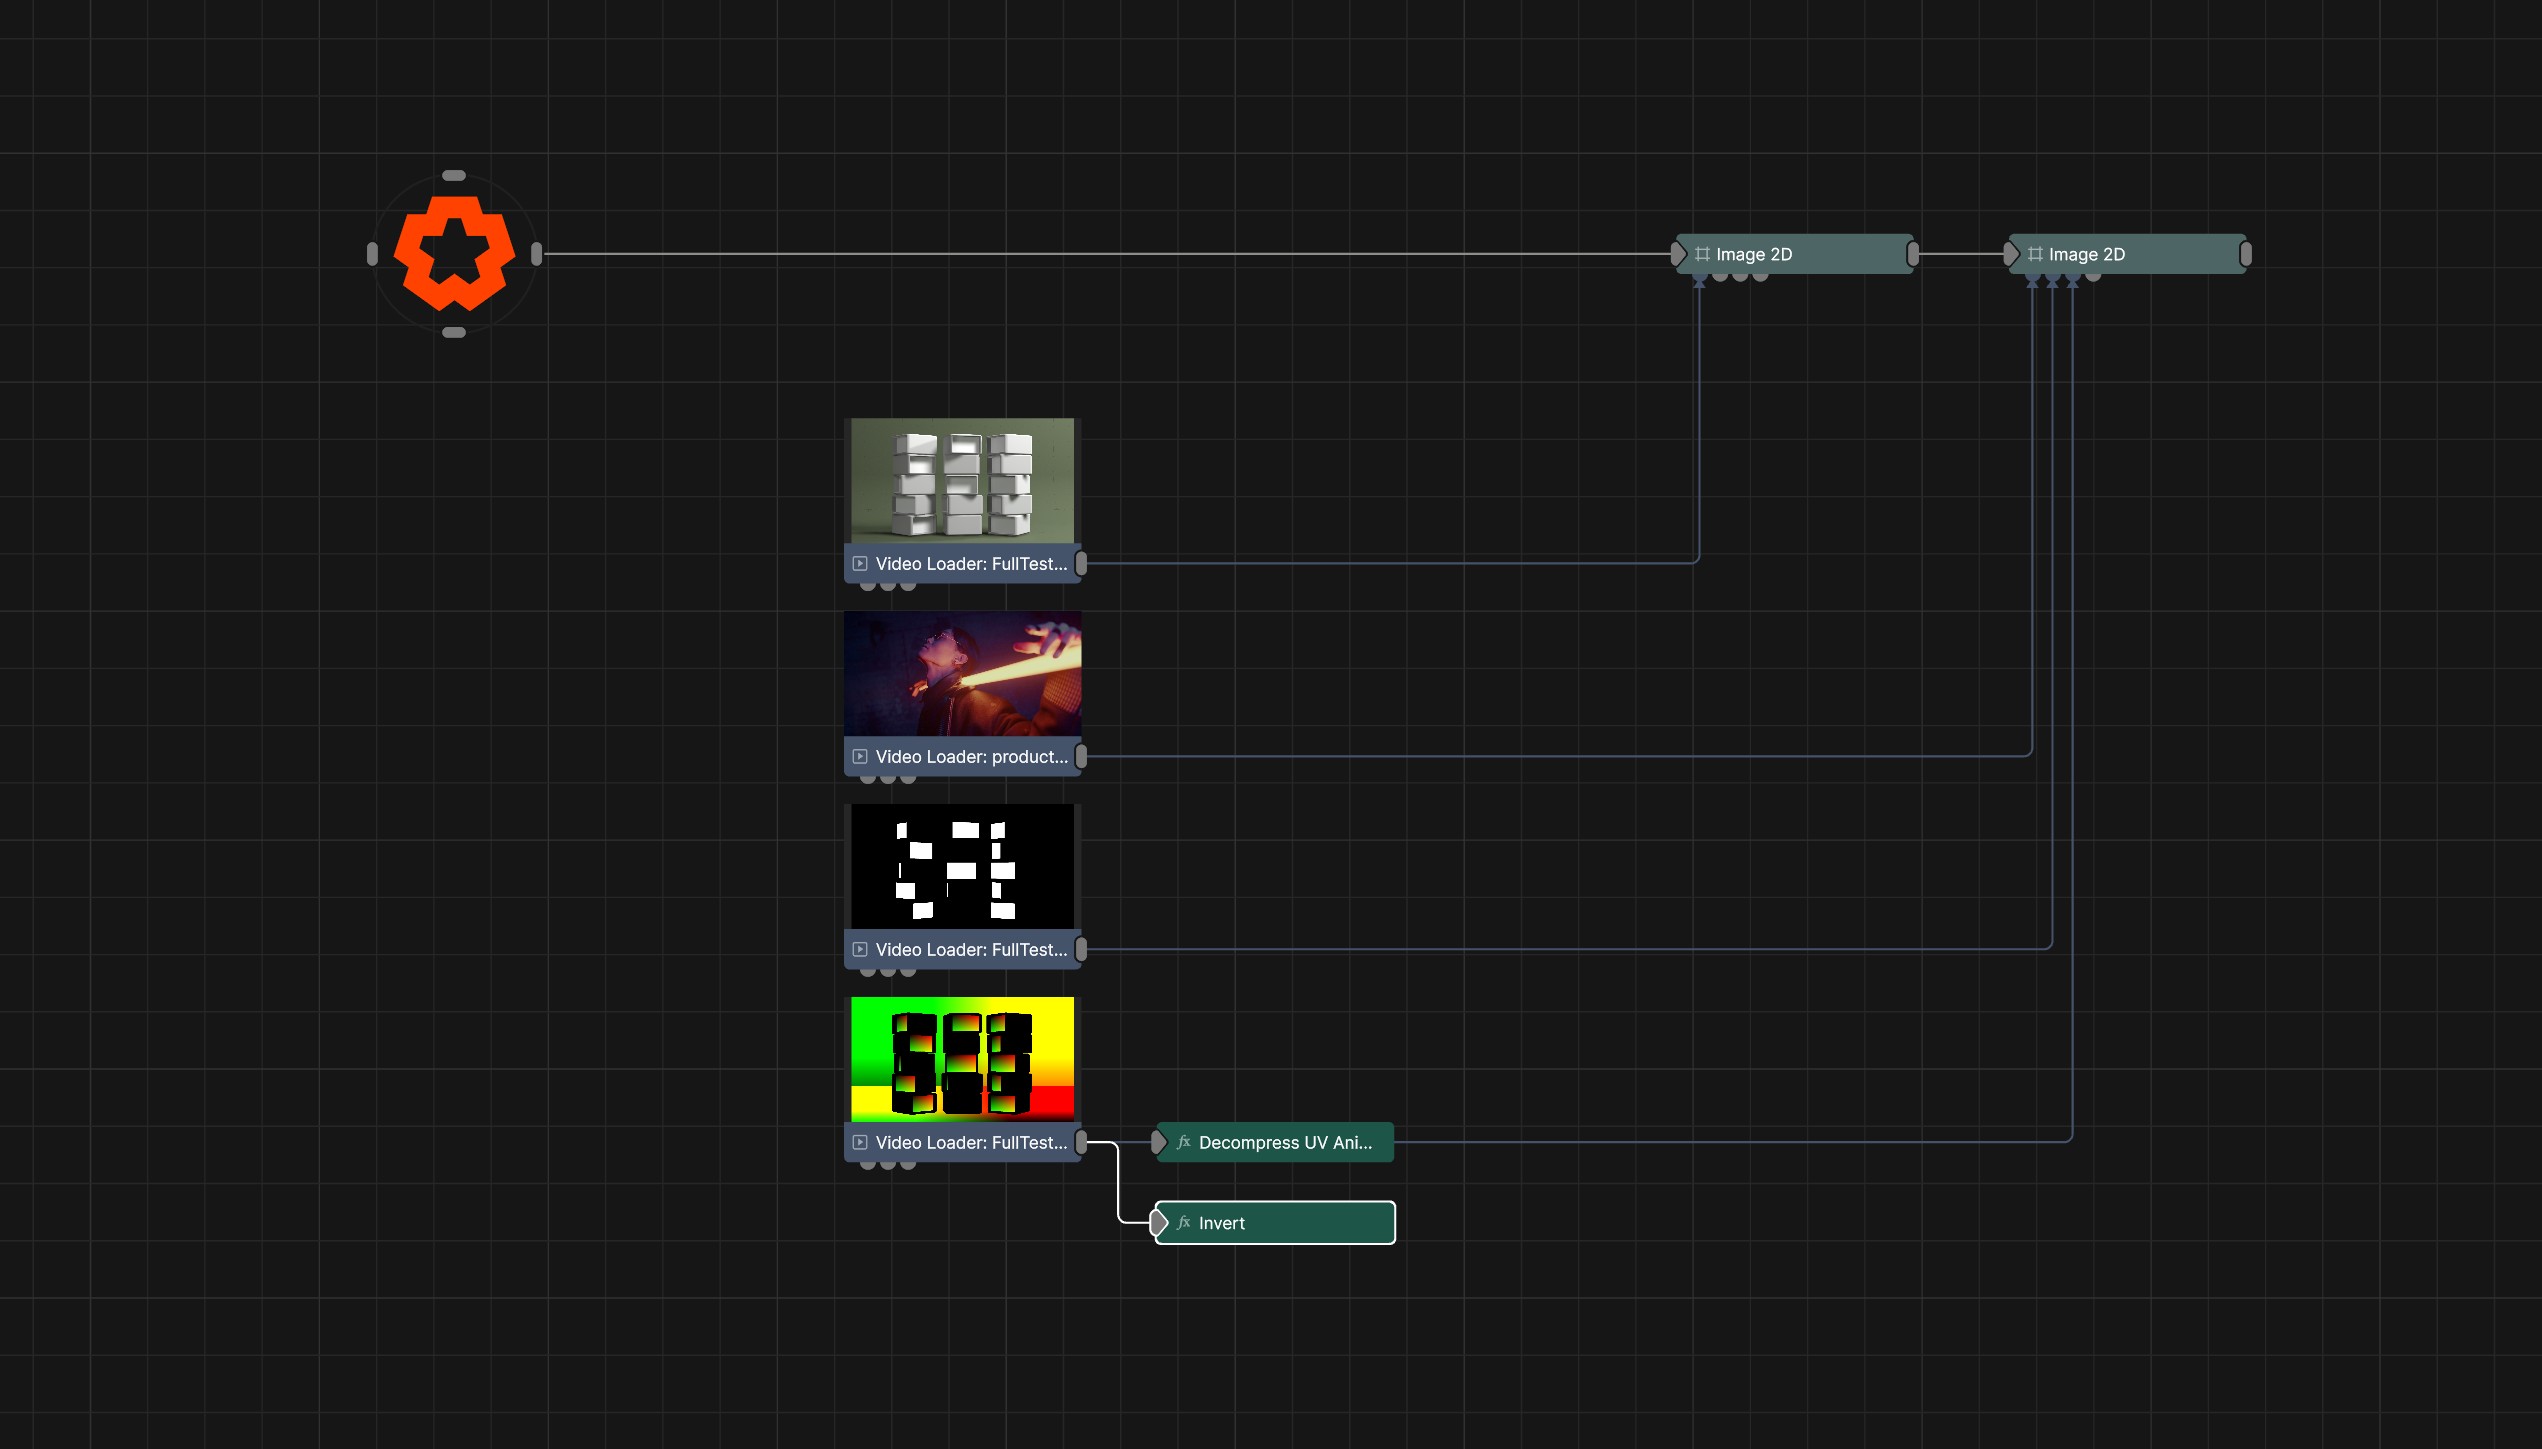

In some cases it might be preferable to slightly contract the object mask, and add anti-aliasing to smooth the edges. This can be achieved using an Erode node, and an FXAA Antialiasing node.
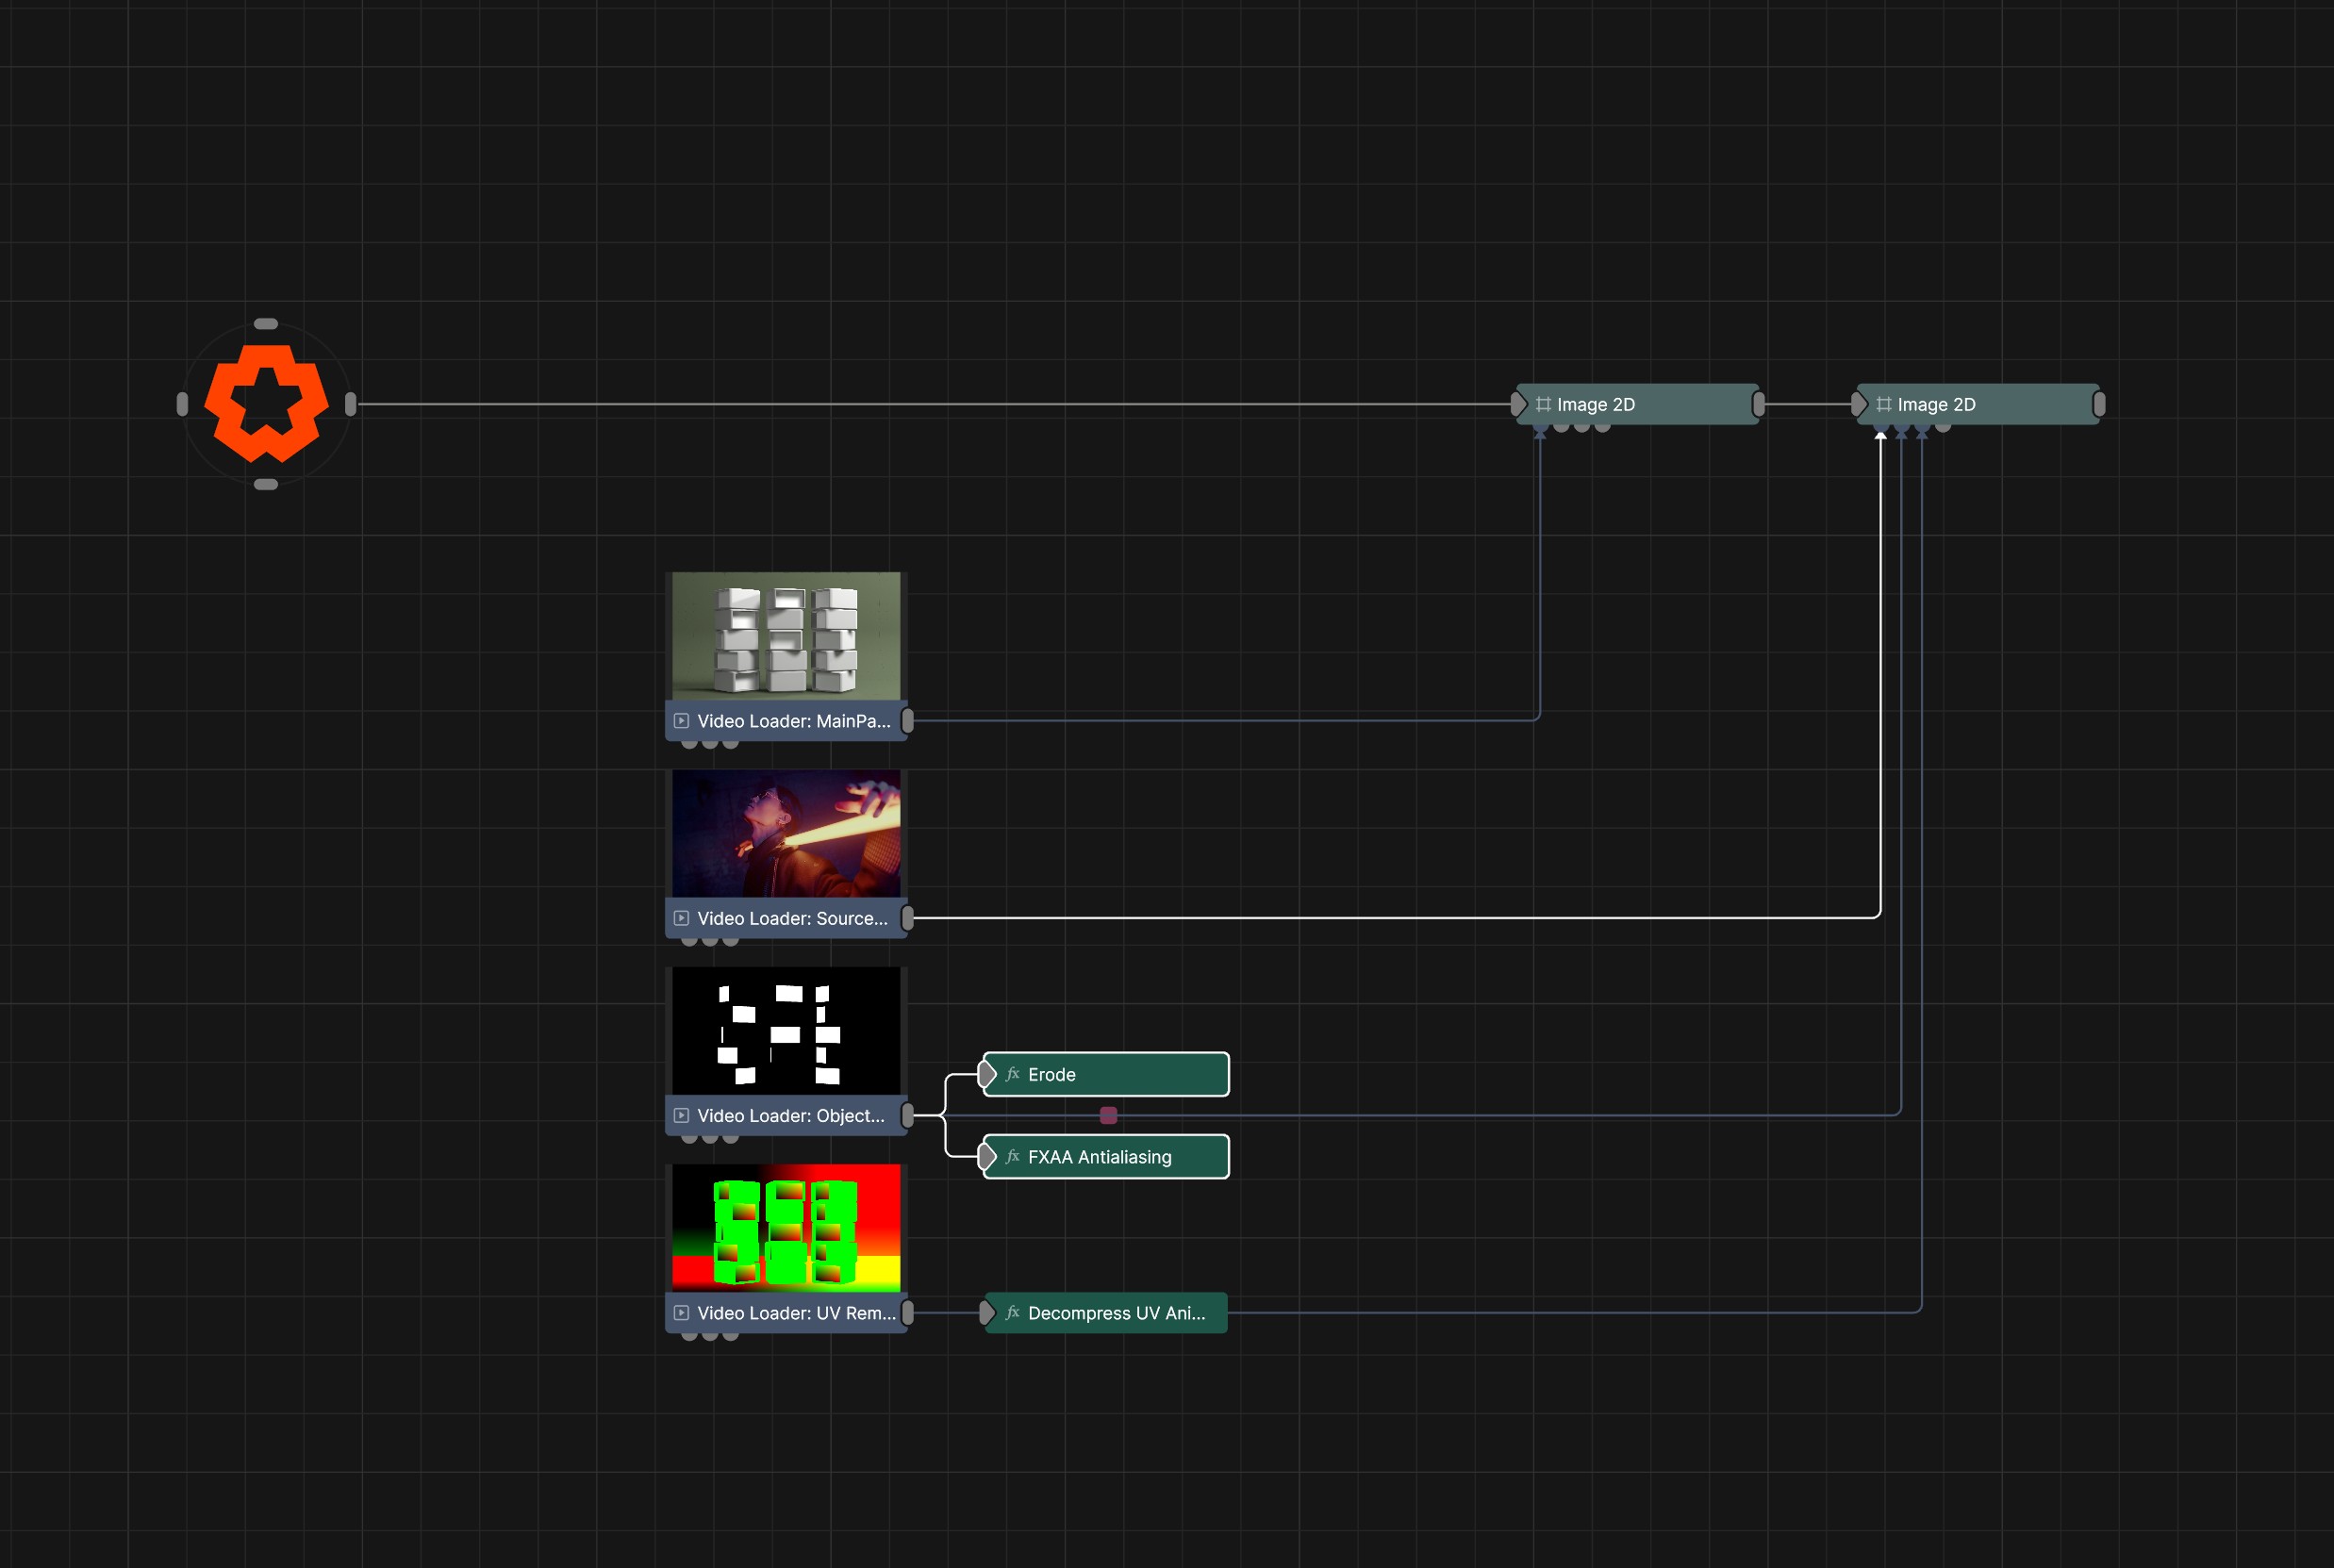
The Erode node allows you to contract the mask inwards, making it mask more of the UV remapped area.
The FXAA Antialiasing node applies smoothing to the edges of the mask.