Example 1 - Depth Anything
Updated: 30 Jun 2026
Updated: 30 Jun 2026
Please note that we provide an integration to load ONNX AI models in Notch. However, we do not provide support for creating, training, modifying, or troubleshooting ONNX models. We do not guarantee that all ONNX models will be compatible with Notch, specific GPU architectures or driver versions. The AI model space is highly dynamic and you should undertake significant testing before attempting to deploy a specific model in your production environment. See Overview and Setup of the manuals for a guide to the setup of, and requirements of, ONNX models.
There is also complete integrations of AI models already inside of Notch, for example in the Yolo, AI Hand Tracker and AI Face Tracker nodes. There is information on using those nodes in their respective sections. But this guide is focussed on using other models.
Depth Anything V2 is a monocular depth estimation model created by Lihe Yang, Bingyi Kang, Zilong Huang, Zhen Zhao, Xiaogang Xu, Jiashi Feng and Hengshuang Zhao, and is available under the Apache License.
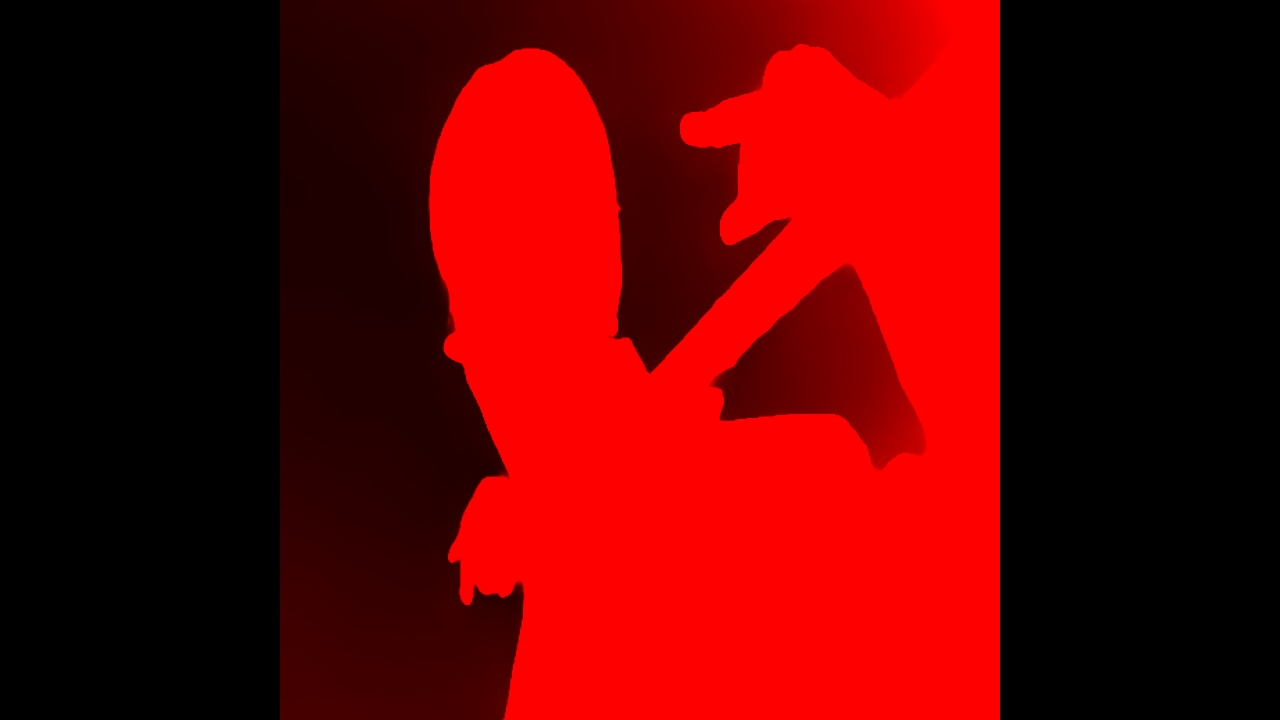
The model takes in an RGB image resized to 518 x 518 pixels, and estimates the depth, outputting a depth image. The output is a single channel image where high values represent close objects and low values represent far objects.
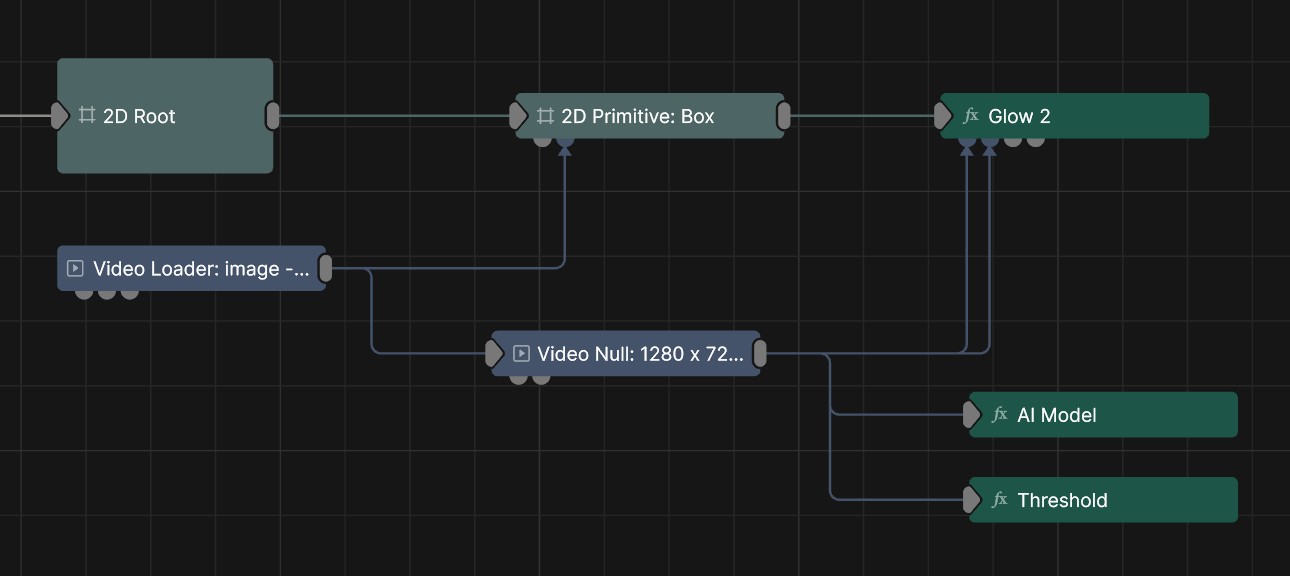
This model can be used for creating depth-based effects from images. This example uses the output of the model to set the amount and Effect Amount Image and Glow Mask Image inputs of the Glow 2 Post-FX model.
This version of the Depth Anything V2 model is the smallest and most lightweight version, which makes it suitable for real-time use. Other versions are available that can be higher quality, at the expense of performance. But we’ll use this version for the example as it should be performant in most set-ups.
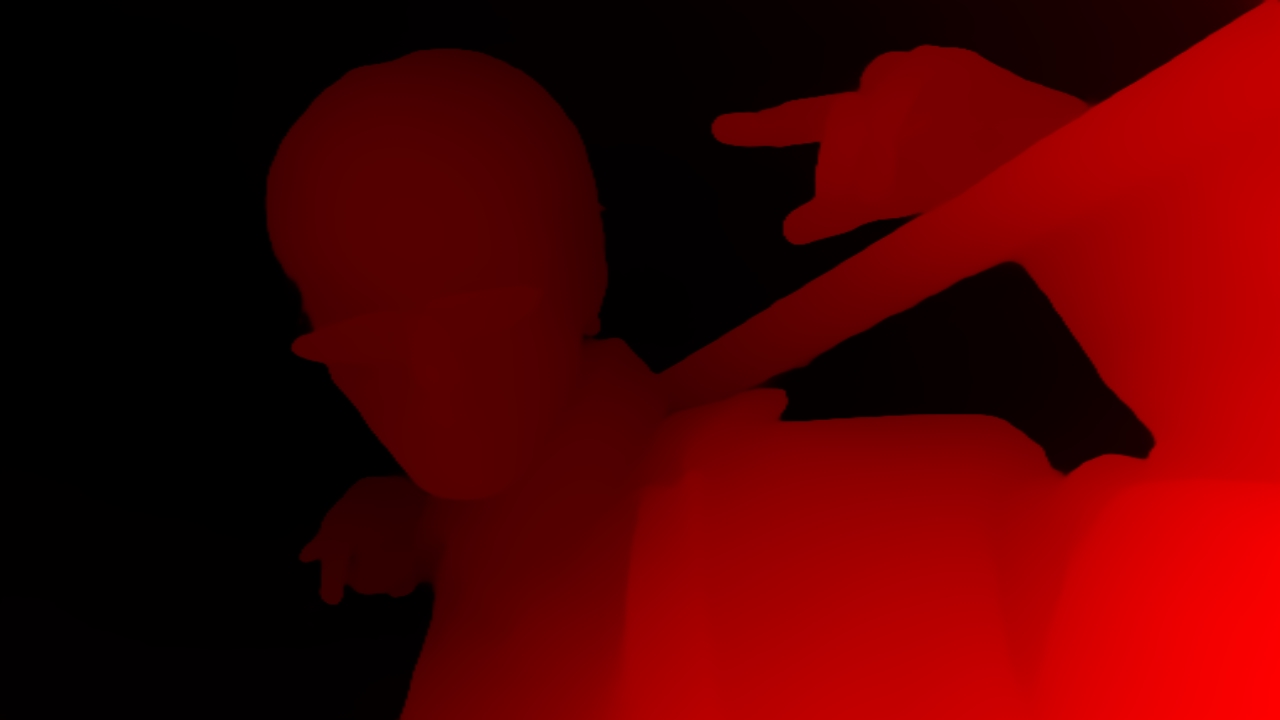
Download Example ProjectDrag and drop the model from the Resource Browser and connect it to a Video Loader with an image. If you are all set up correctly, you should see the output of the model in red.
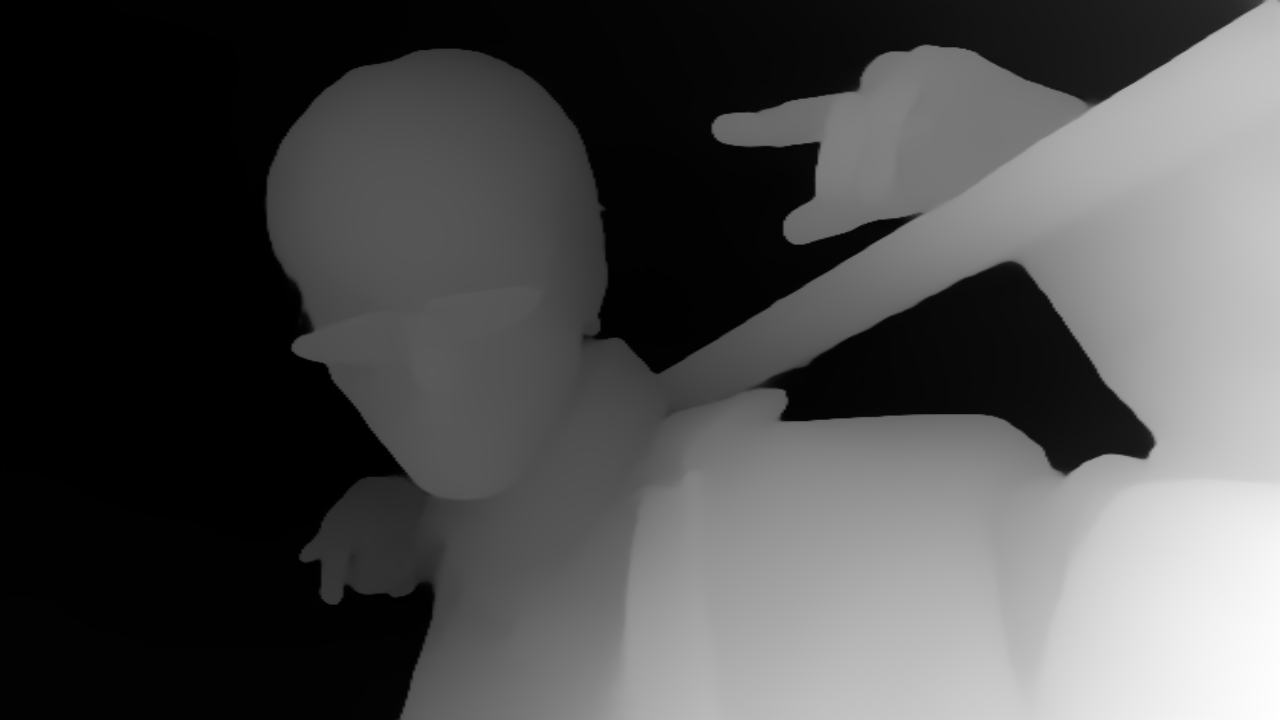
The Depth Anything model will always output a 518 x 518 image. To make it more easily usable in other workflows, set the Output Resizing property on the AI model node to “Input Size”.
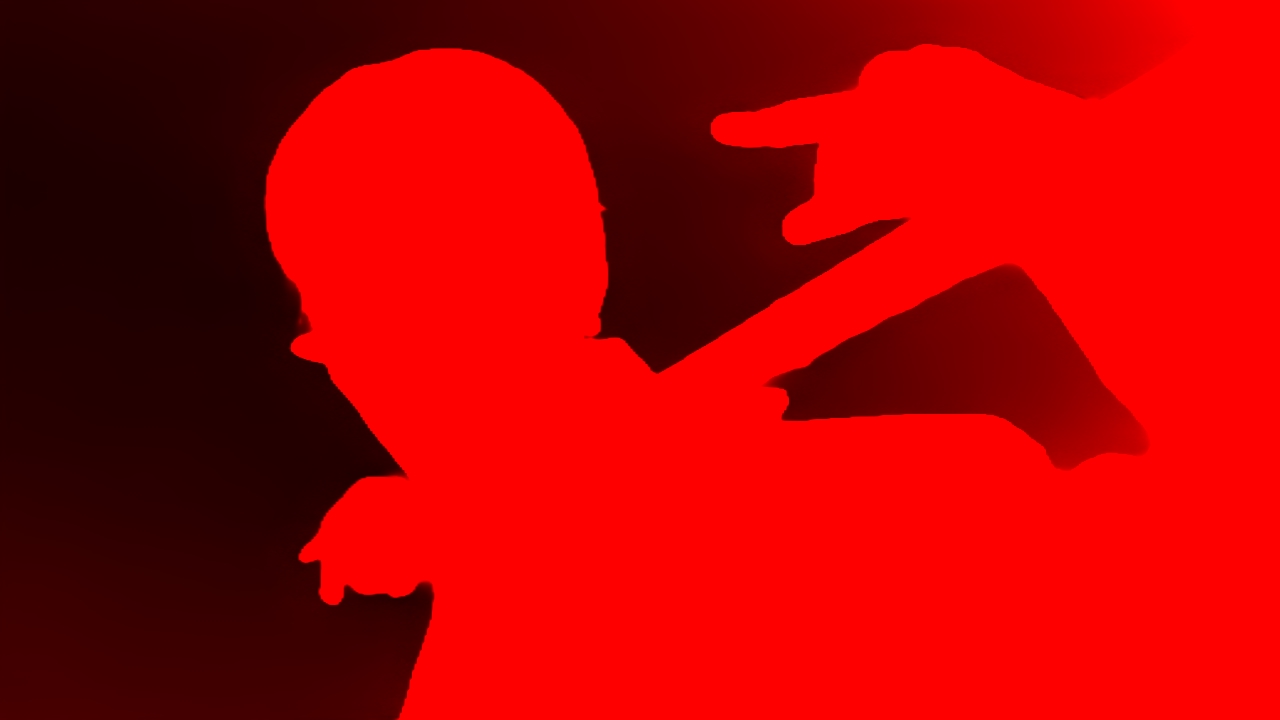
To get the image data into a usable format, enable Normalise Output Colour on the AI Model node. This will ensure that the pixel with the closest depth value will be 1, and the furthest pixel will be 0.
This can also be done with the Normalise Colour node.
By default the model will output only in one channel, the red channel. Do this by changing teh Output Format to RGBA 16-bit float.
This can also be done with the Change Image Format node.
To make the basis of the effect, we’re going to add a Threshold Post-FX after the AI model.
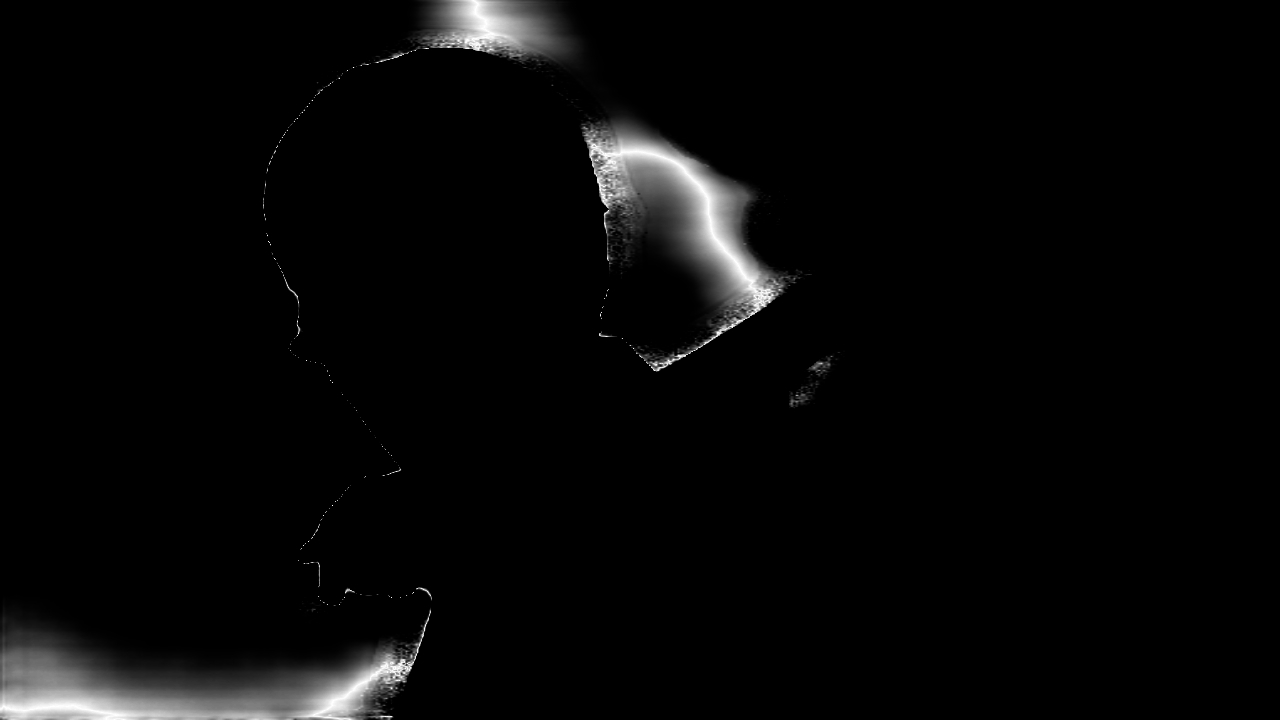
Now that we have the output of the AI model in a usable format, we can start to build a creative effect with it. By setting the threshold to “Band” mode, and key-framing the threshold from 1 to 0. This will create a depth based mask, that moves from the closest point to the furthest point.
In this example, the depth based mask is used as the Effect Amount Image and Glow Mask Image for the Glow 2 Post-FX.