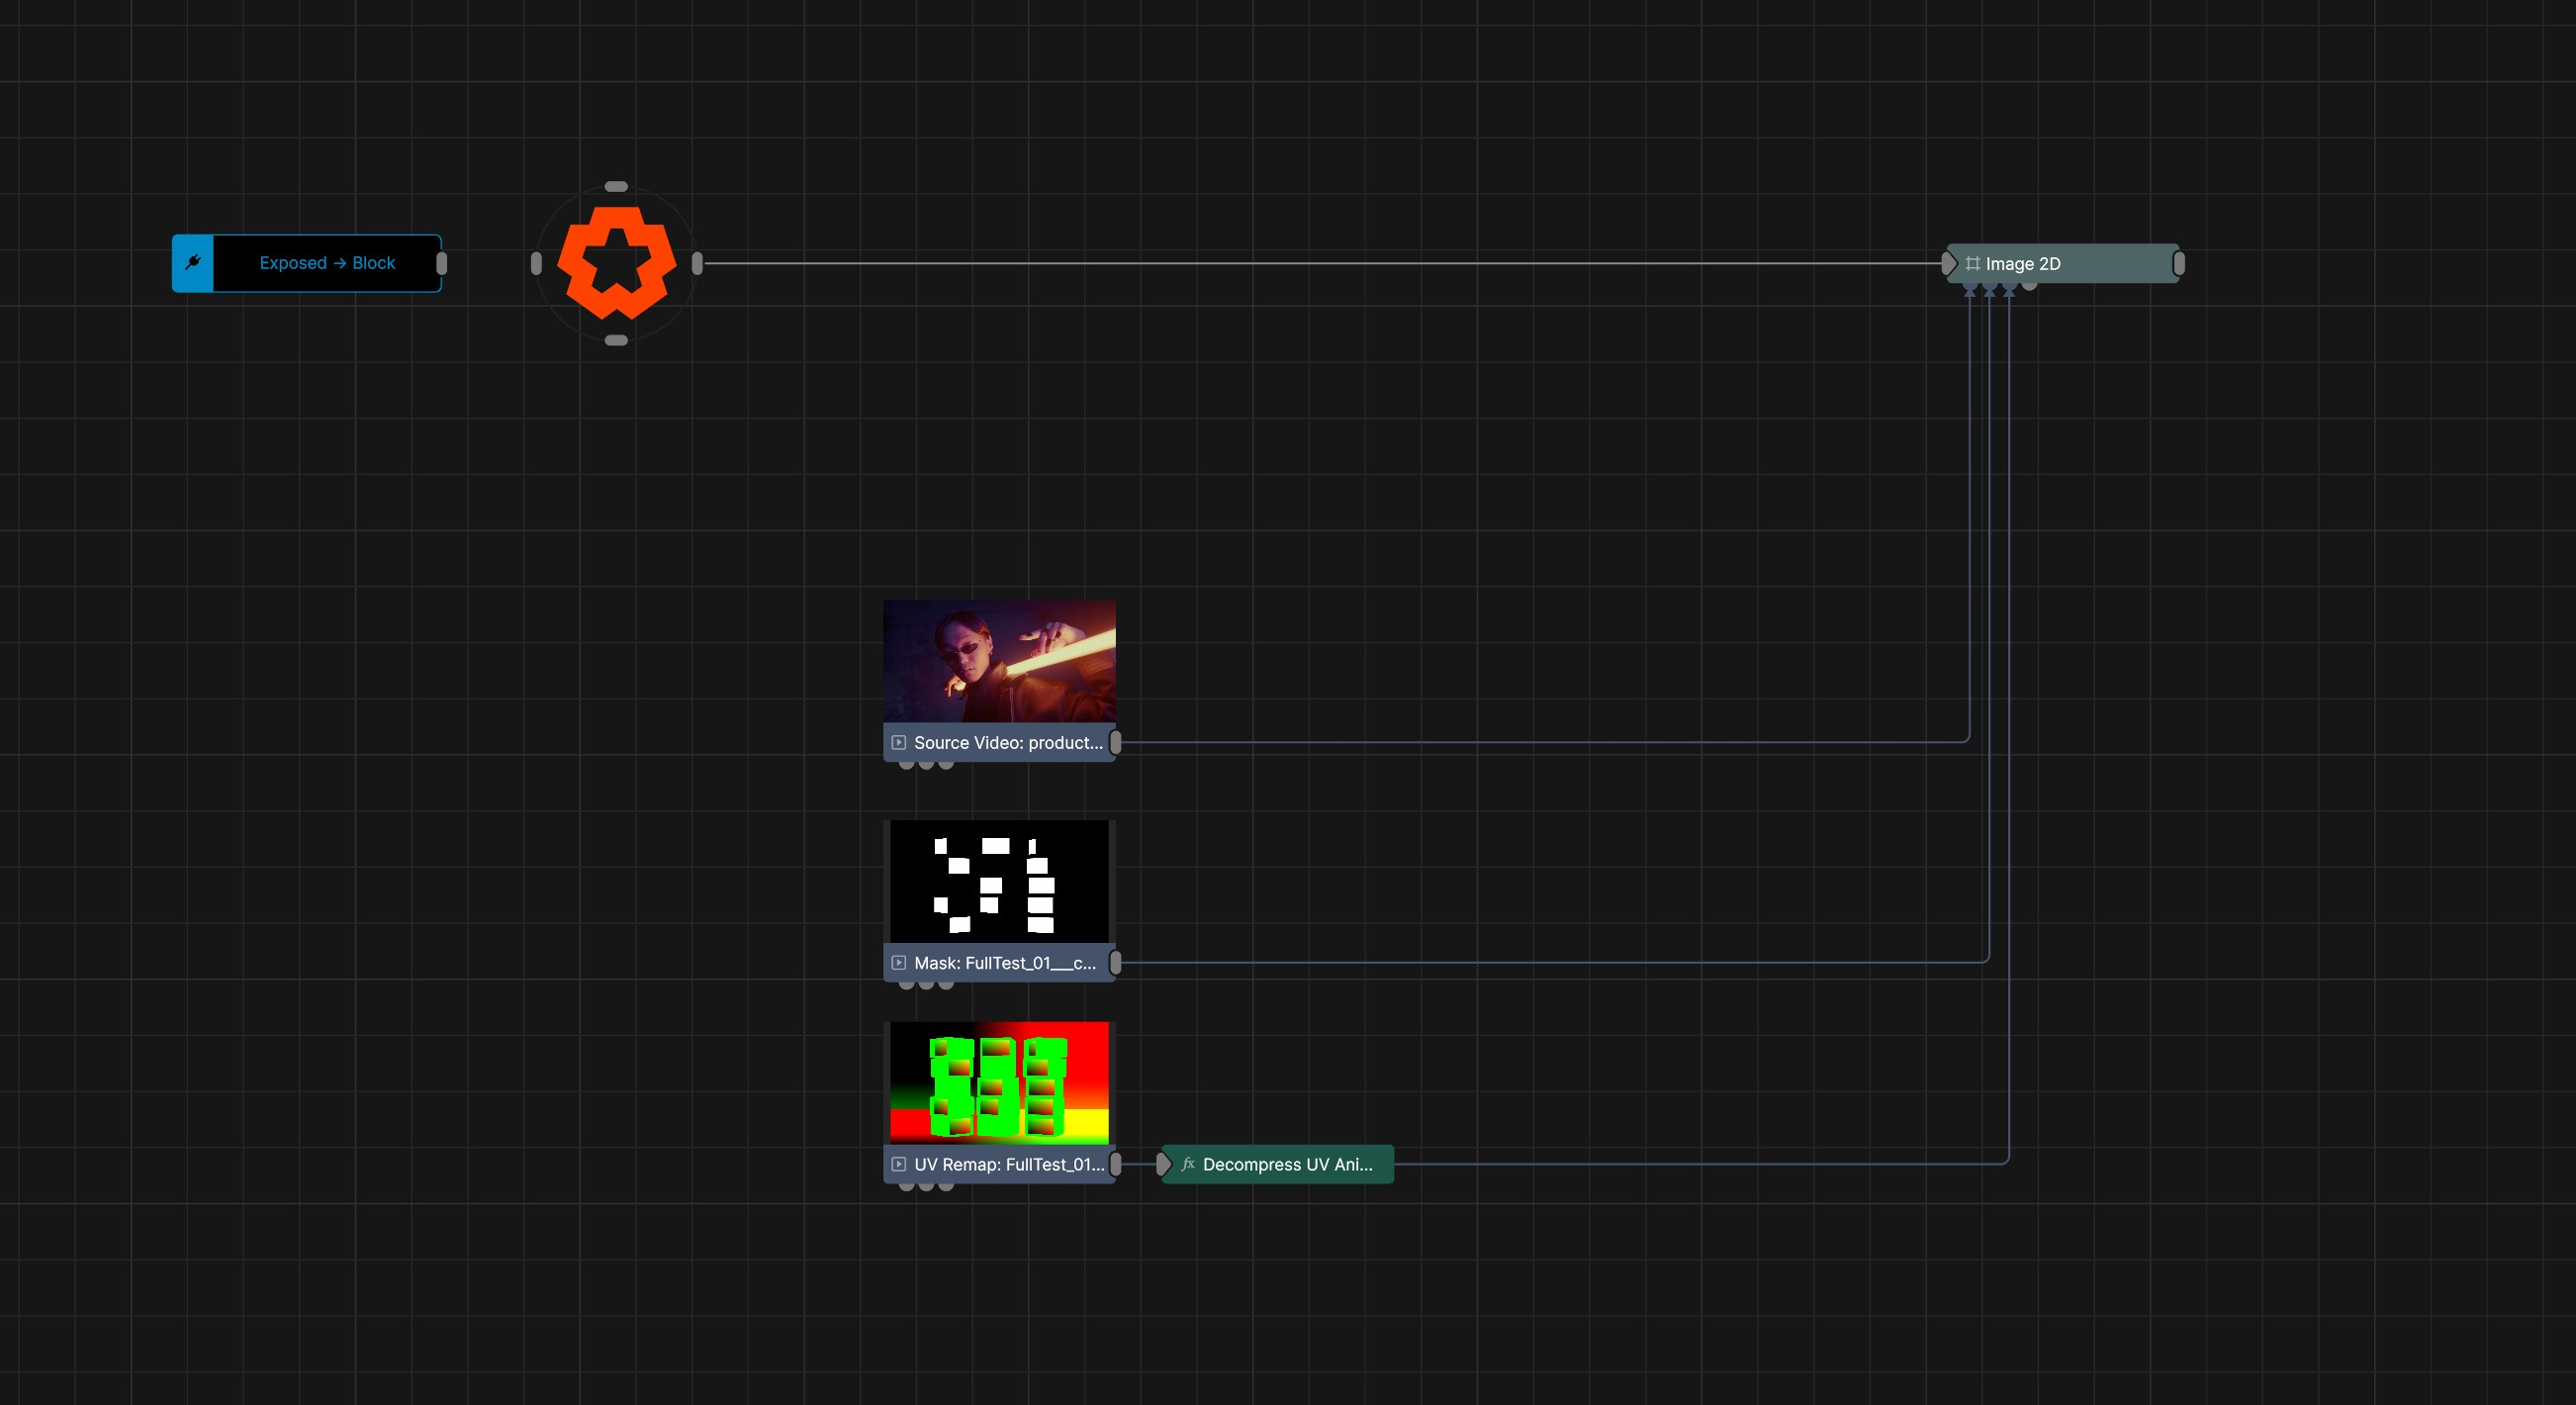
UV Remapping is achieved by using an Image 2D. This node can take in a source video, and then use a UV Remapping texture to rearrange the pixels onto the screen.
First connect your source video into the “Video Node” input of the Image 2D
Then connect your UV Remapping texture into the “UV Remap Image” input (Should be converted to UV Animation).
Then add a Decompress UV Animation node to the UV Remapping texture (This is used to decompress the UV Animation codec and is necessary to play back UV Animation files)
Finally add your mask video to the “Alpha Image” input to mask out the unwanted parts of your remapped video.
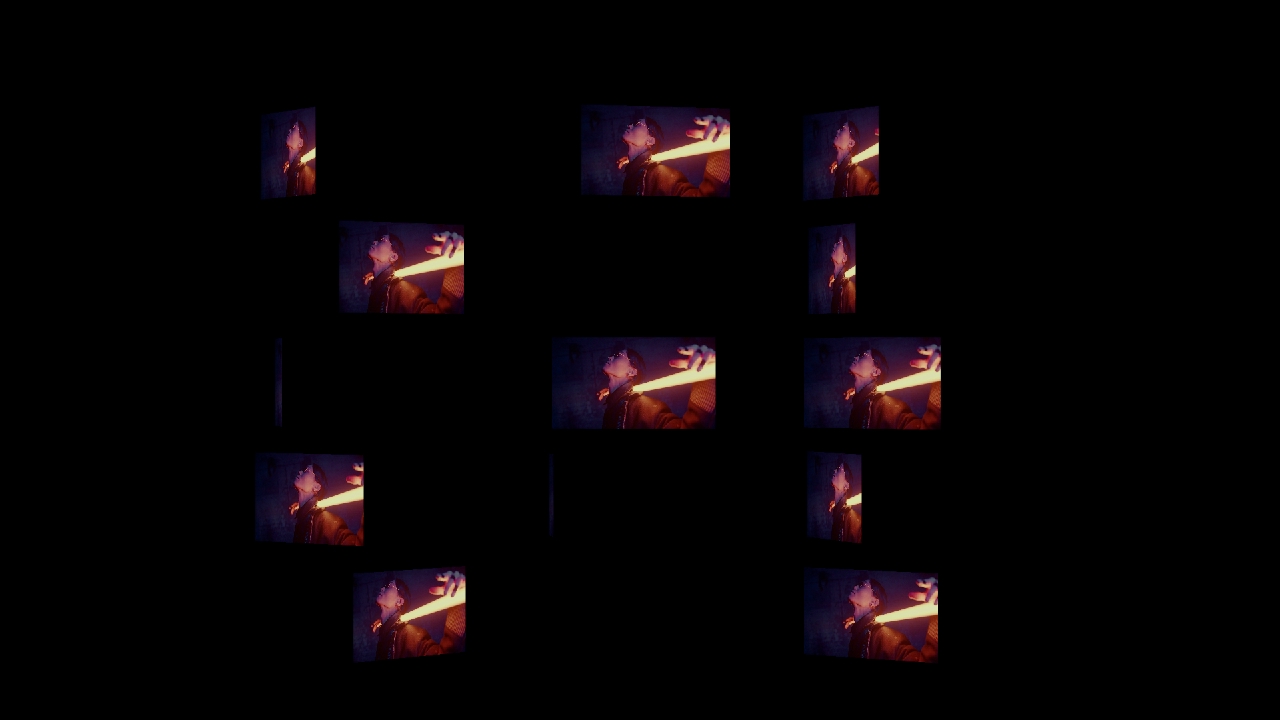
At this point you should have your source video remapped onto the screen based on your UV Remapping texture.
Set Up
Remapped Texture Output
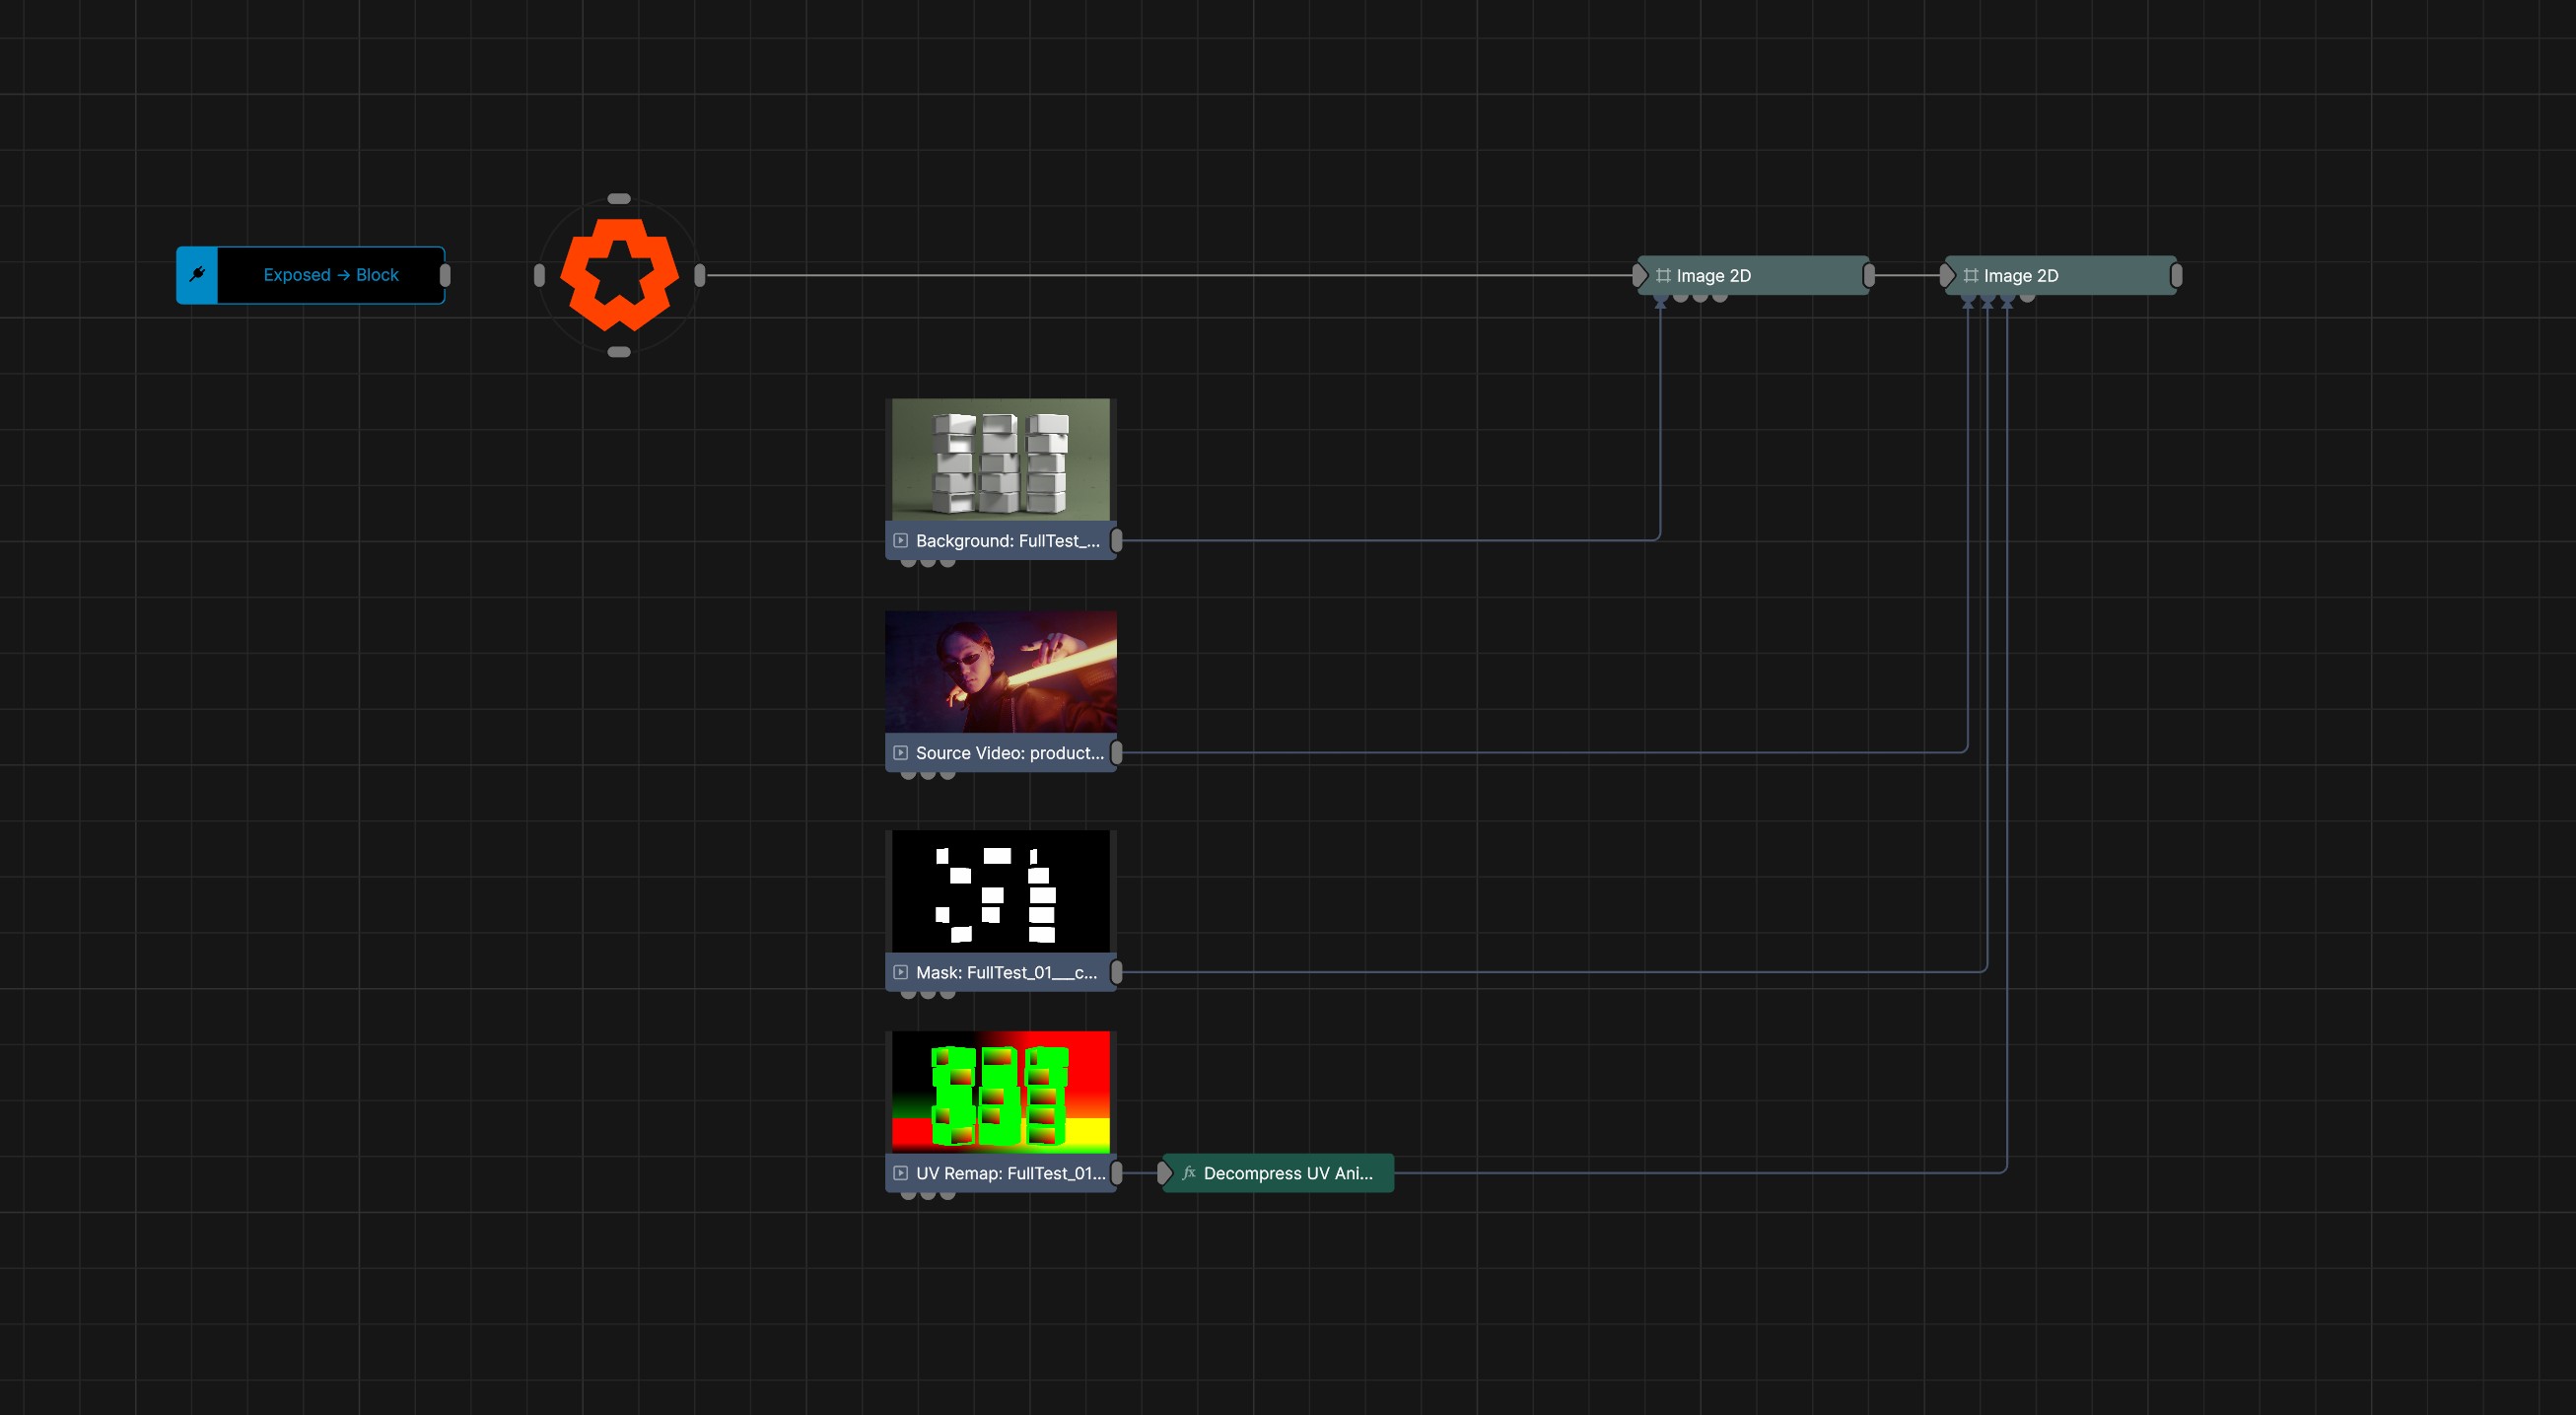
Now you just need to add the background video underneath this layer.
Add another Image 2D (this needs to be before the other Image 2D in the hierarchy.)
Connect your background video into the “Video Node” input of the new Image 2D
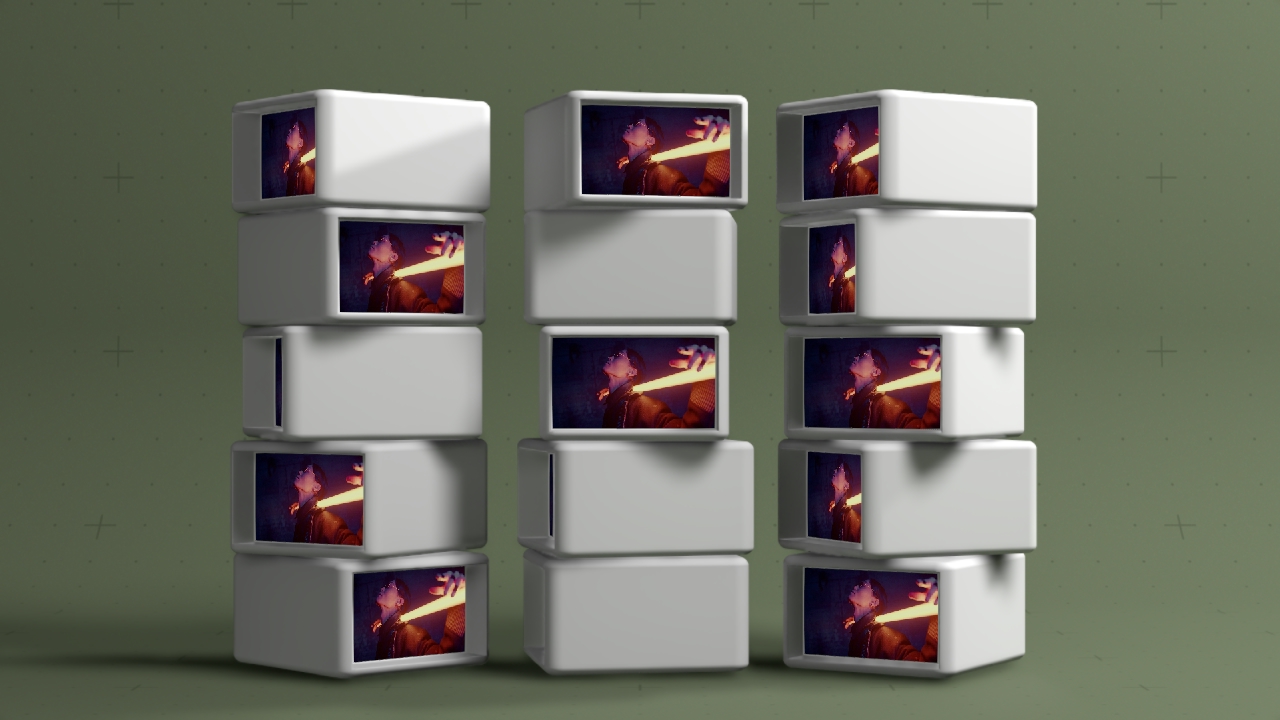
You should now have your source video mapped correctly onto your background video.
For realtime playback of UV Remapping textures, you should transcode your UV Remapping textures to the “UV Animation” codec in Notch.
UV Remapping textures store UV coordinate data in an image format, rather than just colour data like normal textures. Because of this, any normal image compression can affect the integrity of the UV data, and thus give you an incorrectly mapped output.
There are two steps to making sure your UV Remapping textures maintain the integrity of the data stored within them:
Make sure the original output of the UV pass (from Notch or other software packages) is in a high bit depth, low compression, linear format such as an 16/32 bit EXR sequence.
Transcode the image sequence to the UV Animation codec in Notch.
The UV Animation Codec is specifically designed to store and playback UV data realtime. It spreads the data across all the channels of the image, allowing for more detailed data to be stored.
Normal realtime video formats cannot sufficiently compress and playback the data without compromising its integrity, so should not be used for this workflow.
For a UV Animation formatted video to be played back correctly in Notch, it must be decompressed using a Decompress UV Animation node.
My UV Remapping texture is producing a warped output. #
Make sure that both your original UV pass output, and the transcoded UV Animation files are both Linear. None linear video files will result in the UV coordinates being non linear, resulting in a warped remapping. See Preparing A UV Remapping Video
My remapped texture is upside down or back to front. #
This means that the UV data in the UV remapping texture is flipped. You can easily flip the UV data using an Invert node. Just set it to invert the red channel for horizontal flipping, and the green channel for vertical flipping.
My UV Animation file is just outputting what looks like noise. #
UV Animation files need to be decompressed to work correctly. Make sure to use a Decompress UV Animation node with your Video Loader and set it to the correct bit depth in its properties. Failing to do so will output garbage UV data and remap the texture incorrectly.
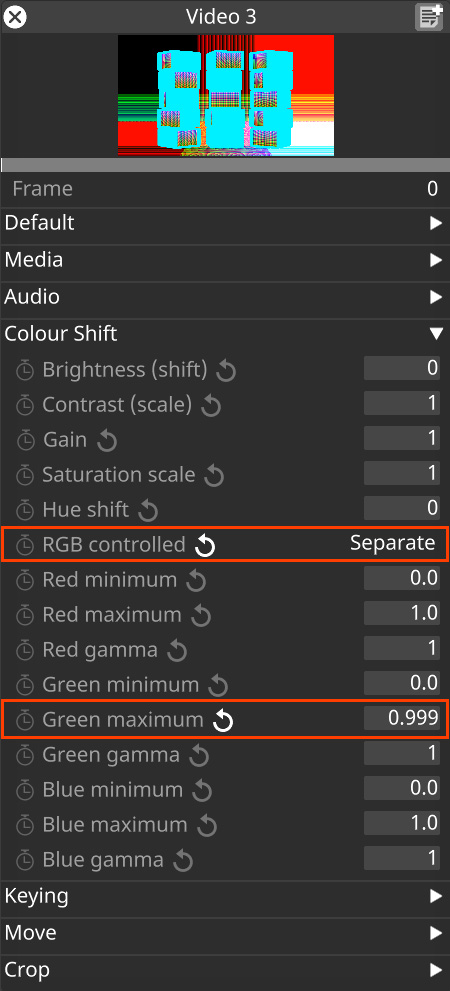
Notch’s UV remapping workflow works just fine in Disguise, but there a few default settings that need changing for it to work correctly.
Notch’s UV Animation codec is not the same codec that Disguise’s UVlookup layer uses, so exporting UV animation files from Notch to use in the UVlookup layer is not a compatible workflow.
However, the UV remapping workflow described in this page does work.
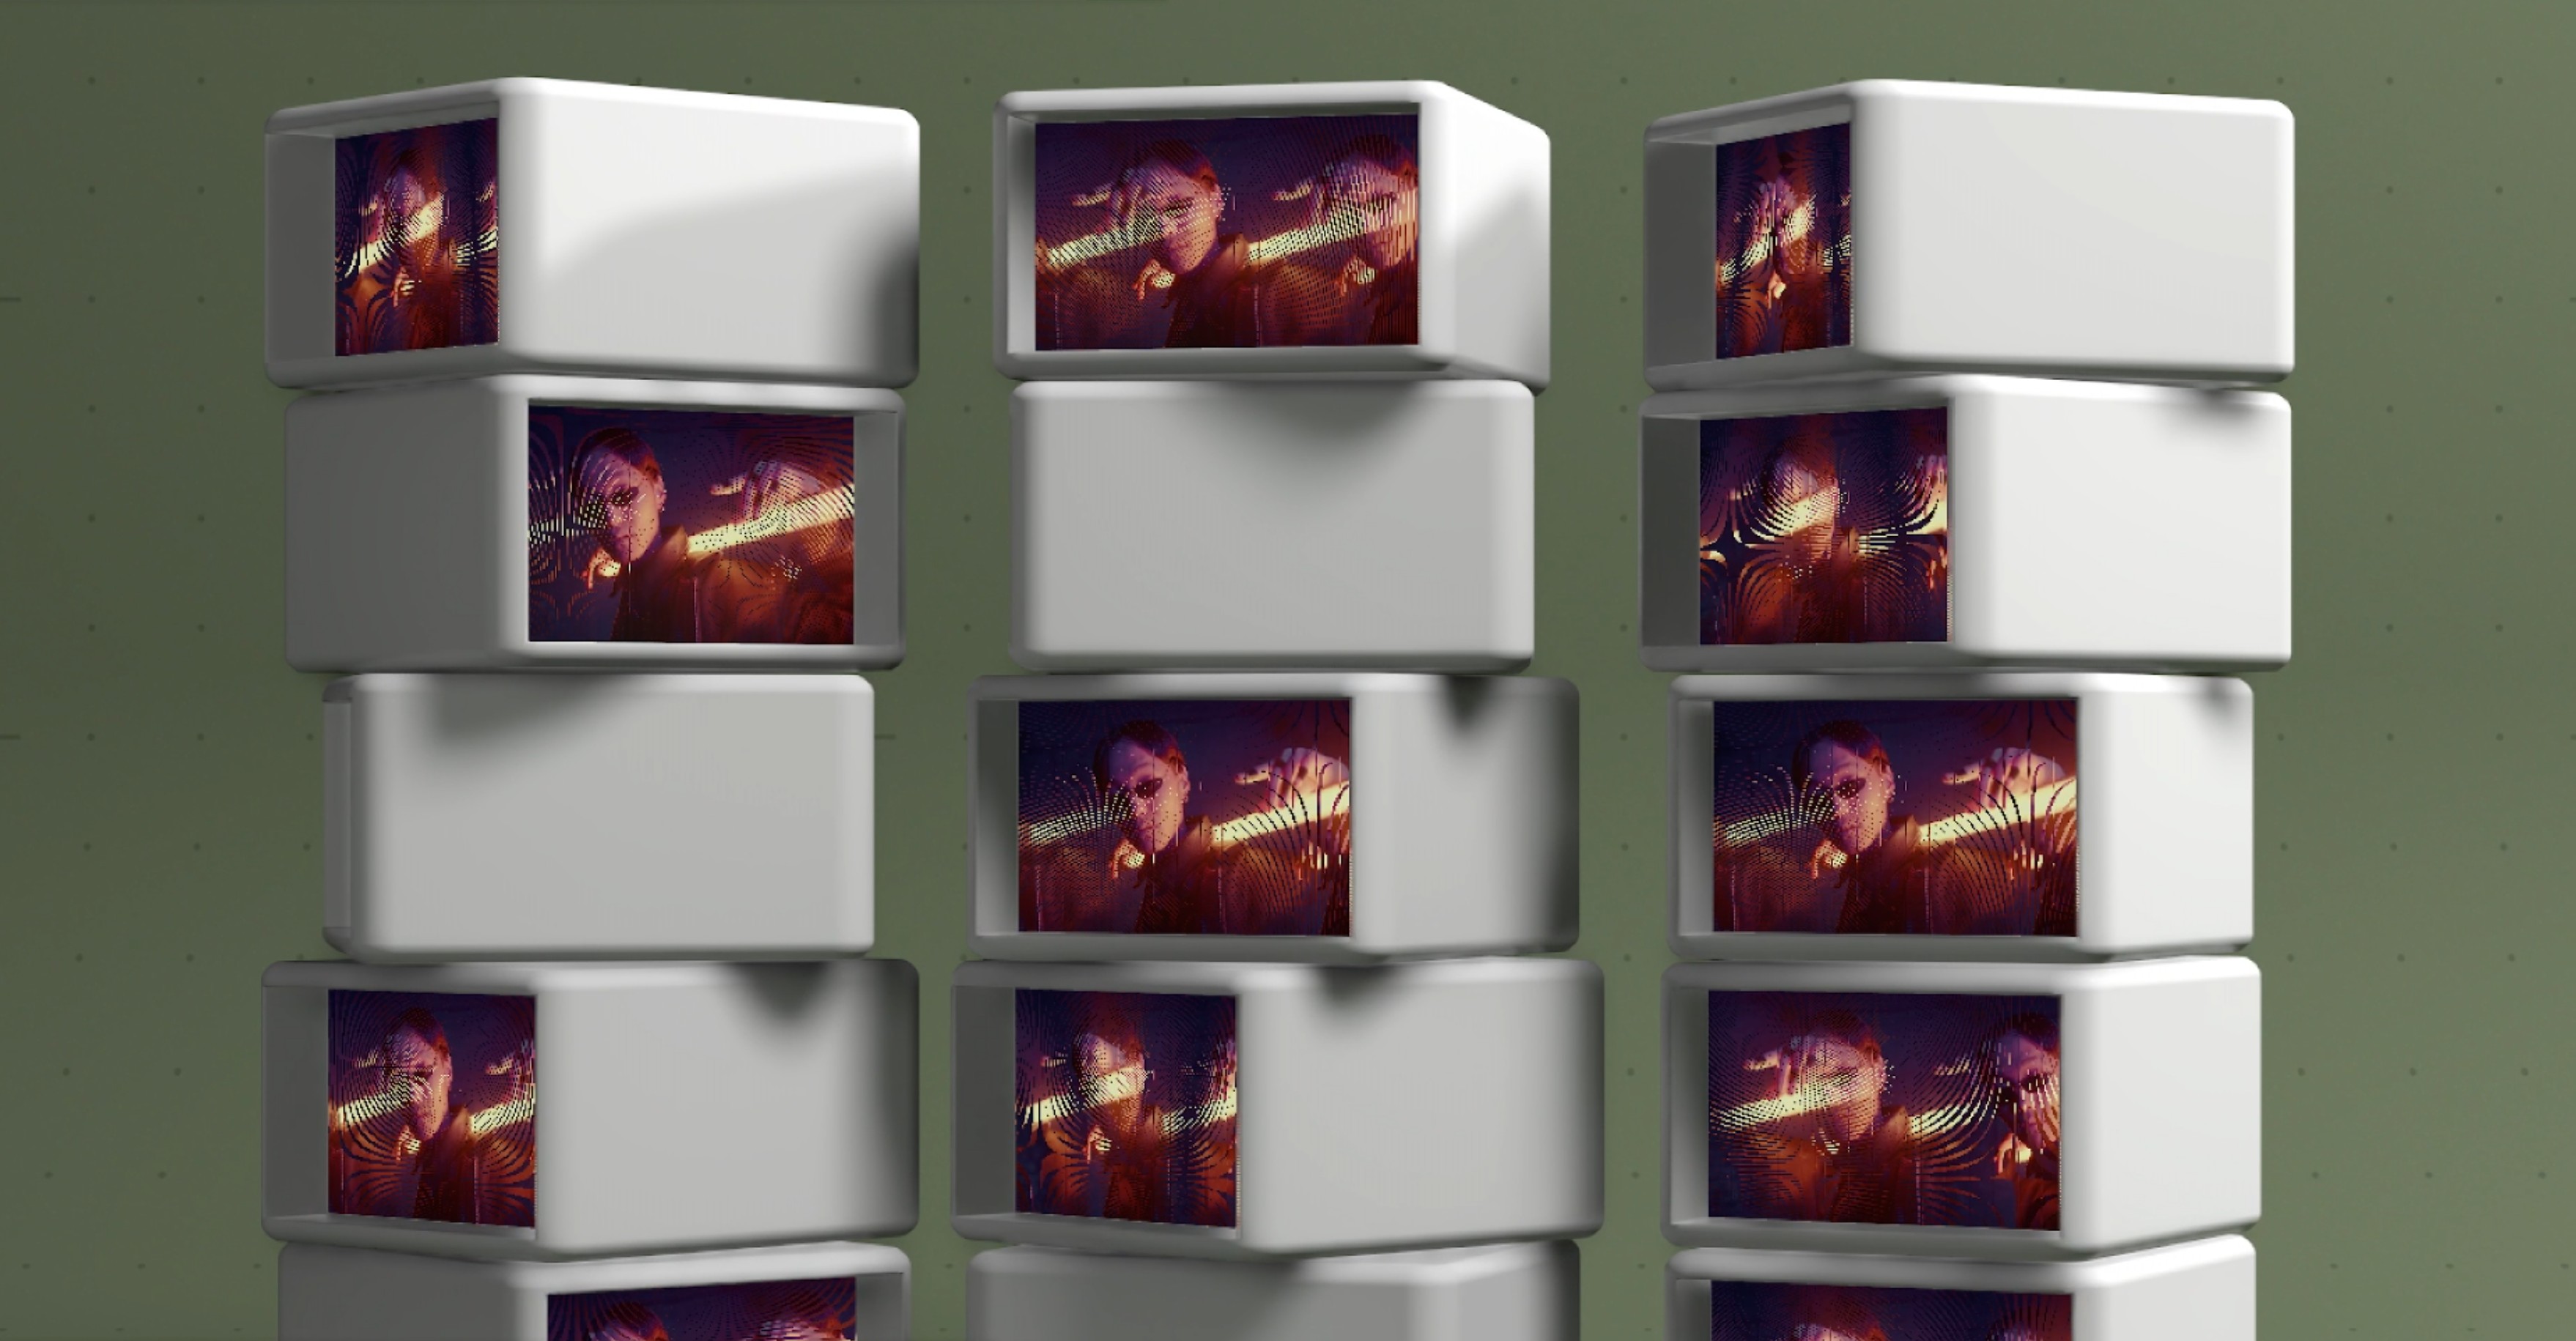
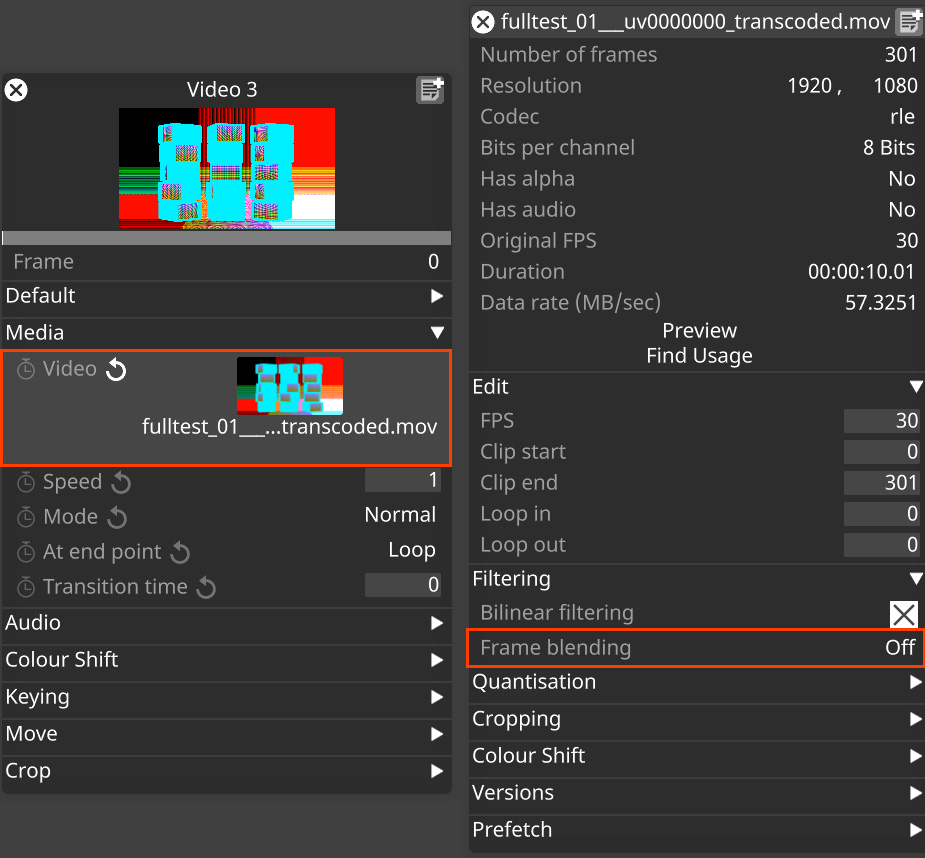
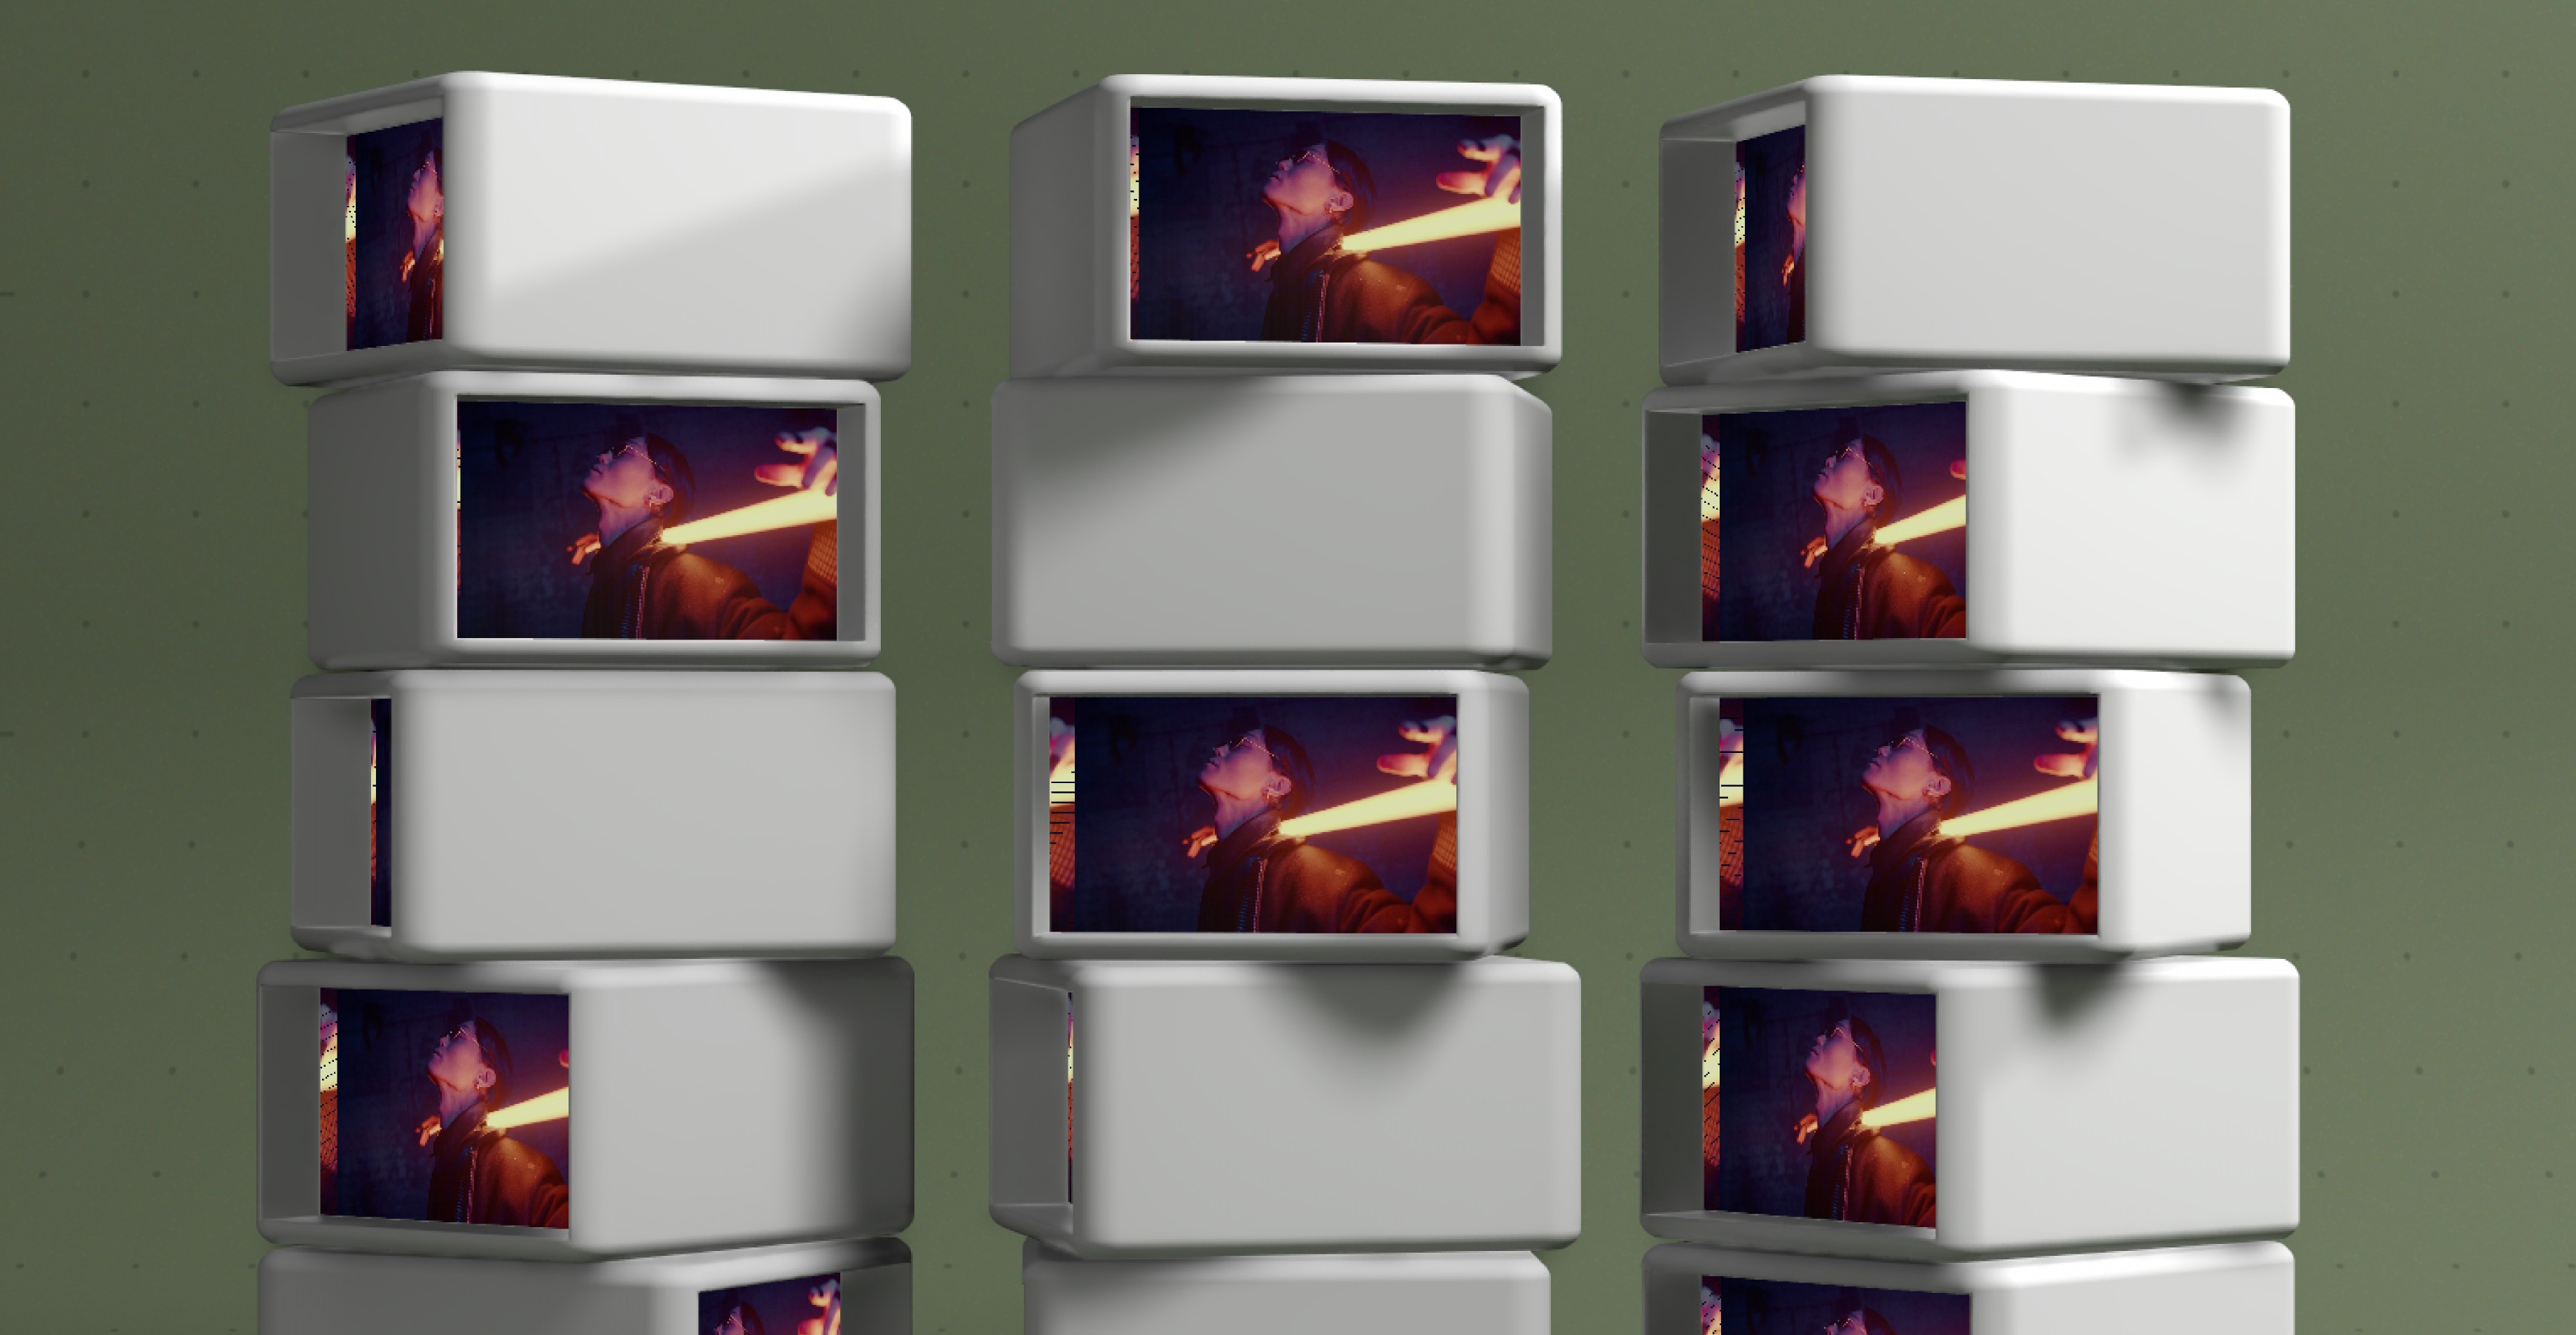
Frame blending needs to be turned off for the the UV Remapping video file. The UV Remapping video file is storing UV position data values, so blending between them will give the incorrect UV values, creating artifacts (see image).