Bake Lighting
Static or Baked lighting #
Baking lighting into lightmaps is essential for all real-time projects such as AR and VR because of the low-performance costs need to run those projects.
Once static lighting is baked into a scene via lightmaps it can’t be changed, although dynamic lighting can be cast over the top of statically baked lighting.
Static lights baked into lightmaps are essential “free” lighting as there are no performance overheads as the lighting once baked is converted into cached lightmaps.
Optimising static meshes #
Notch is fairly versatile at rendering hi-poly scenes, although the more you have in your scene the slower it will run.
There are many techniques out there for asset reduction and high poly detail normal map baking - these techniques can be essential when trying to bake and run large scenes in real time so it is important to familiarise yourself with these techniques.
A well-optimised mesh will look almost identical to the original high poly version.
| High Poly | Low Poly |
|---|---|
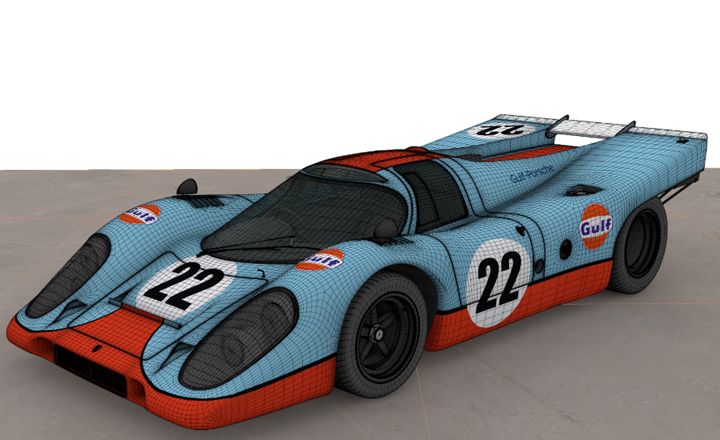 1.5 million polygons |
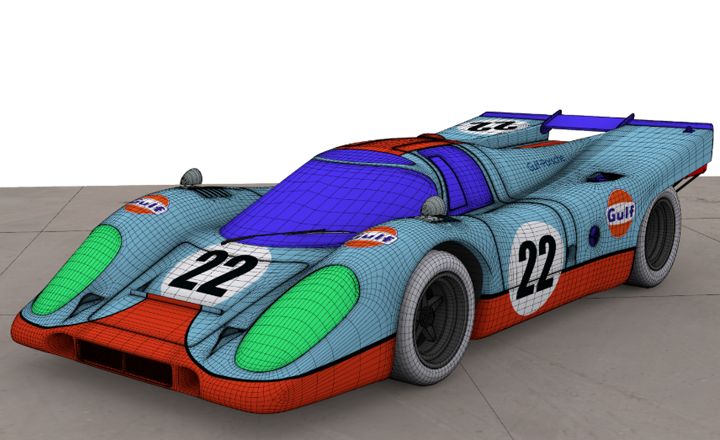 170 thousand polygons |
Always optimise a 3D mesh before setting up the final UV’s.
UVs #
Most assets will have a first UV set. UVs on a mesh are generally created for texture generation and for displaying textures on the 3D mesh. These UVs can be created in a number of ways, most will have overlapping UV’s for tilling textures or for texture optimisations where mesh UV’s are mirrored and or overlapped for the best use of the texture space.
Second UV sets are needed to create for bake lighting and lightmap generation. Lightmap UVs need to be generated for every part of the mesh surface to render the light accurately, any overlapping UVs will overlap the lightmap render which will generate lighting errors In your scene and on your meshes.
Creating UVs for lightmap baking is as important as creating the original mesh itself, it’s important to spend time getting them right.
Lighting #
The most important thing regarding baked lighting is that you can make the lighting in the scene as complex, extravagant or realistic as you wish and the costs will be the same.
Whether you are lighting your scene with a few basic omnis or go full out with bounced raytraced lighting. Once all the lighting information is baked into lightmaps it will only cost as much as the size of the textures in the dfx.
Bake lighting to object node #
Example dfx. #
Download ExampleOnline tutorial #
Notch Tutorial: Baking Lighting
Step 1 #
Select the Bake Lighting To Object node, set the width and the height of the lightmap that you want to produce. Smaller objects should have lower resolution lightmaps and larger objects higher resolution lightmaps.
Step 2 #
To remove the noise from the lightmap there is a “Post Filter Lightmap” checkbox, this will add a smart blur to the lightmaps making them less noisy. Turn this on before baking the lightmaps.
Select the UV channel that you have set up your unique UV set on. Traditionally Colour UVs are your original UV setup and they are your primary UV layout. It is always best to set up a secondary UV set “Diffuse UV (Lightmap) set on the 2nd UV channel, in this way you can setup up a unique UV’s set on your 3D model without impacting the original UV set.
The UV channel on the 3D mesh will also need to be set. In the properties for the 3D object - UV Sets - Diffuse Texture UV Set - needs to be set to the UV channel you want the lightmap to use.
Step 3 #
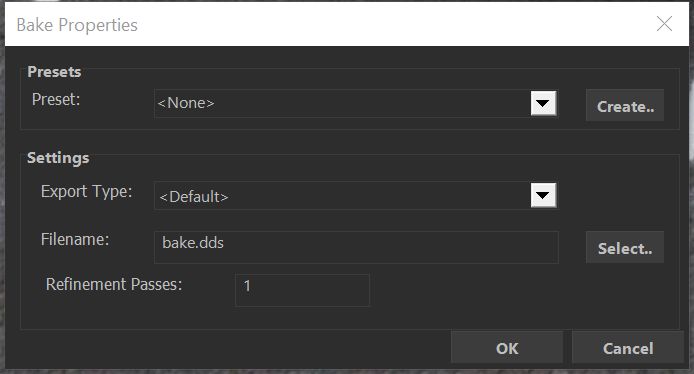
Hit the Bake Now.. button, this will open the bake properties dialogue box. Set the number of refinement passes that you want on the lightmap the more set the higher the build time and the more refined the lightmap texture. 10 refinements is a good way to preview the lightmap, 500 refinements will take longer but the lightmap will be better quality.
Step 4 #
Turn off any baked lights, drastically improving performance as they no longer need to be calculated in real-time. Turn back on any animated lights that you want to keep real-time.
Turn off any reflection nodes to aid builder performance whilst baking the lights.
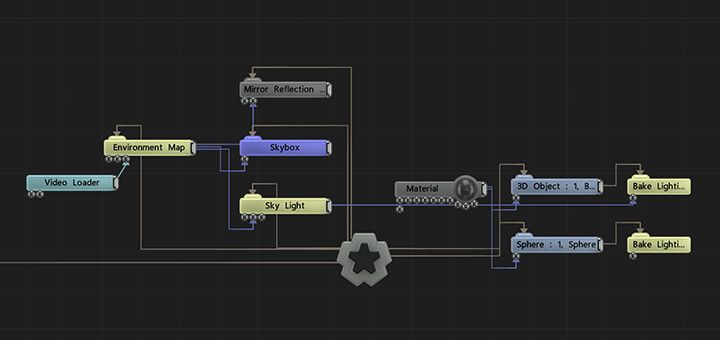
Example Nodegraph before bake
Once the lighting has been baked you can turn off the baked lights.
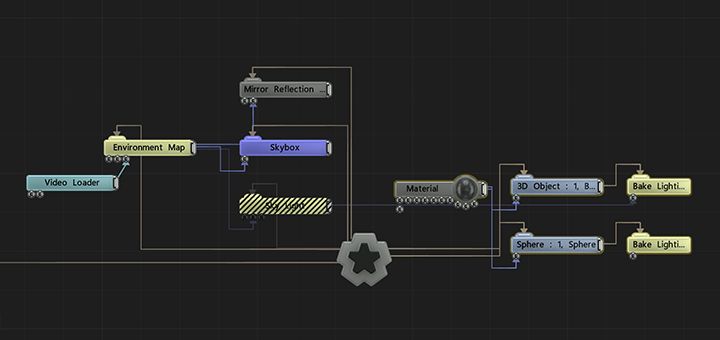
Example Nodegraph after bake
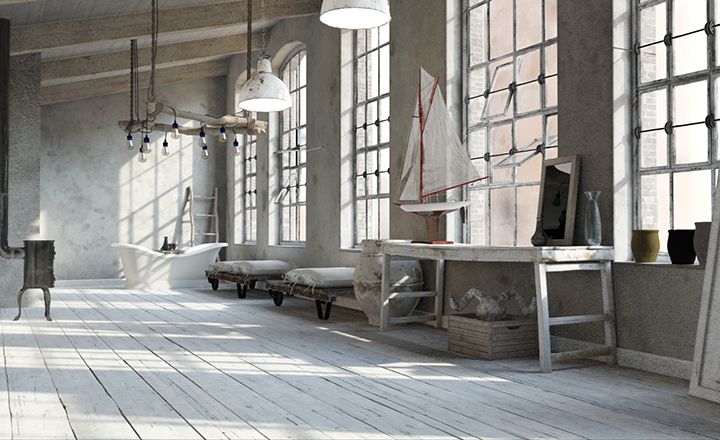
Baked raytraced sky lighting in an exterior location.
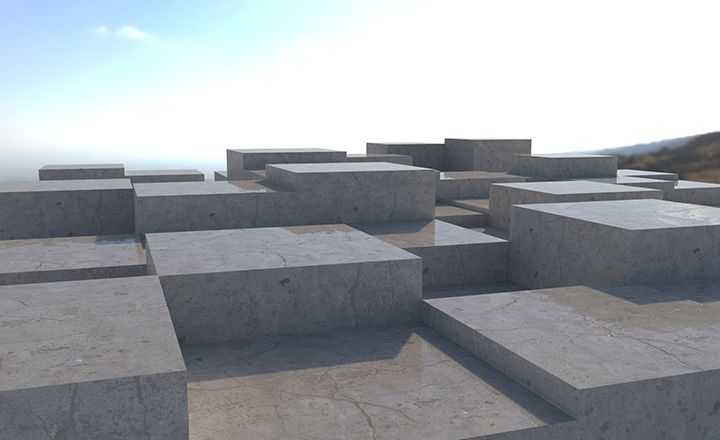
Baked Skylight Exterior
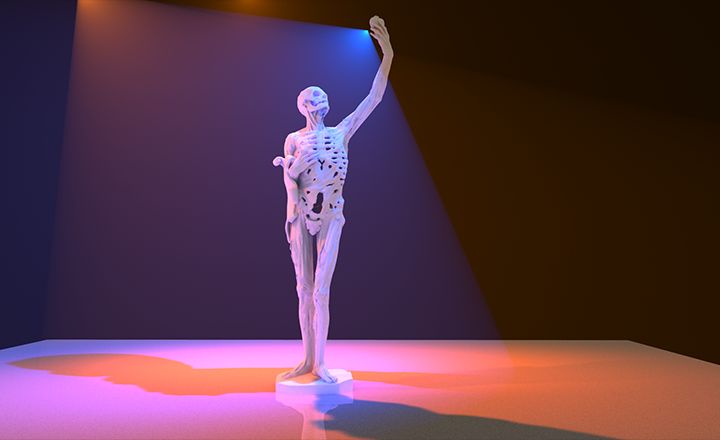
Baked spotlights and raytraced skylight as well as a real-time spotlight.