Bake Lighting To Object
Bake lighting on a mesh to preserver render quality and improve performance.
The Bake Lighting To Object node bakes static lighting information for objects in the scene into lightmap textures, which are then applied back on to the objects to replace dynamic lighting.
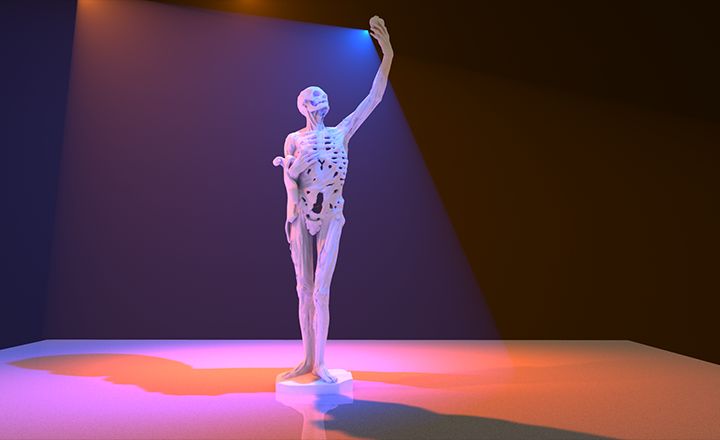
Baking the static lighting of the scene will drastically improve the performance of a Notch scene that uses processing-intensive lights such as skylights, raytraced lighting and shadowed lights. By baking in the static lighting information, those baked light nodes will have no performance cost. These lights can be turned off/hidden (Ctrl 1) once the scene has been baked.
Baking is only applicable for static 3D objects with suitable UVs. Objects generated in Notch - e.g. text, primitives or splines, or cloned geometry - are not suitable for baking.
Building a Notch scene for light baking is no different from setting up any other Notch scene. The only additional task that is required is to create a secondary UV channel with non-overlapping unique UVs for any meshes that you want to statically bake.
Baking lightmaps will only work if either the original UV layout has non-overlapping unique UVs or a 2nd UV set has been set up with non-overlapping unique UVs.
Non-overlapping unique UVs are where every polygon has a unique UV space that doesn’t overlap any other polygon in the UV layout. Overlapped UV’s will cause lighting errors on the lightmap textures because they will share lighting and shadow information which will be baked onto both polygons that share that UV space. If one poly surface is in shadow and another poly surface is lit, by sharing the same UV space both polygons will be shadowed.
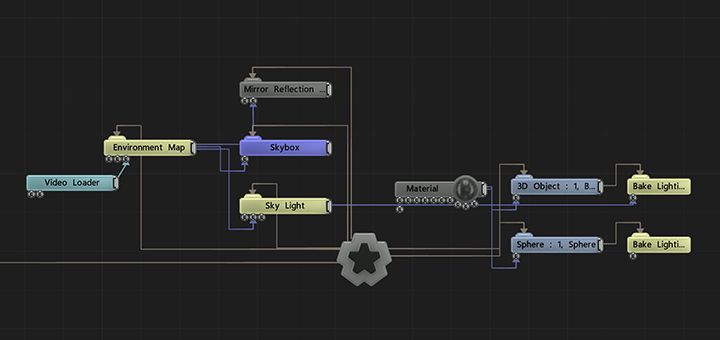
To set up the baked lighting scene, firstly add a Bake Lighting To Object node to the node graph and connect the 3D mesh that you want to bake into the top of this node. A Bake Lighting To Object node will be required for each object to be baked.
There is an input tab on the bottom of the Bake Lighting To Object node, this is used to attach the lights that you want to bake in the scene. If any real-time animated lights are required in the scene, these lights should not be connected to the Bake Lighting To Object node.
Once you have connected the Bake Lighting To Object nodes to the objects you can start the baking process.
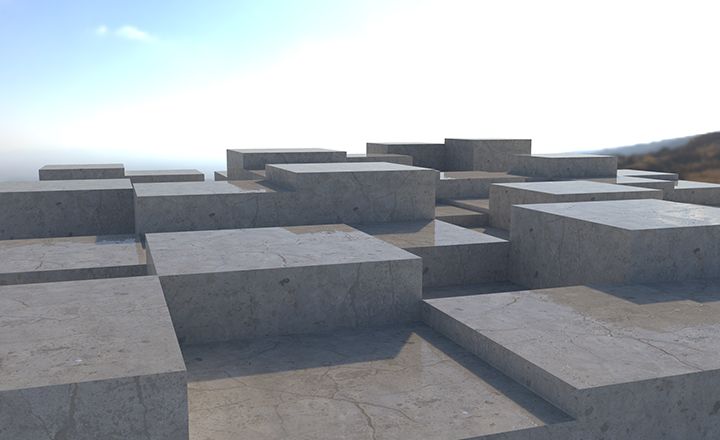
Feel free to use this example test scene for the following steps.
Download
Select the Bake Lighting To Object node, set the width and the height of the lightmap that you want to produce. Smaller objects should have lower resolution lightmaps and larger objects higher resolution lightmaps.
To remove the noise from the lightmap there is a “Post Filter Lightmap” checkbox, this will add a smart blur to the lightmaps making them less noisy. Turn this on before baking the lightmaps.
Select the UV channel that you have set up your unique UV set on. Traditionally Colour UVs are your original UV setup and they are your primary UV layout. It is always best to set up a secondary UV set “Diffuse UV (Lightmap) set on the 2nd UV channel, in this way you can setup up a unique UV’s set on your 3D model without impacting the original UV set.
The UV channel on the 3D mesh will also need to be set. In the properties for the 3D object - UV Sets - Diffuse Texture UV Set - needs to be set to the UV channel you want the lightmap to use.
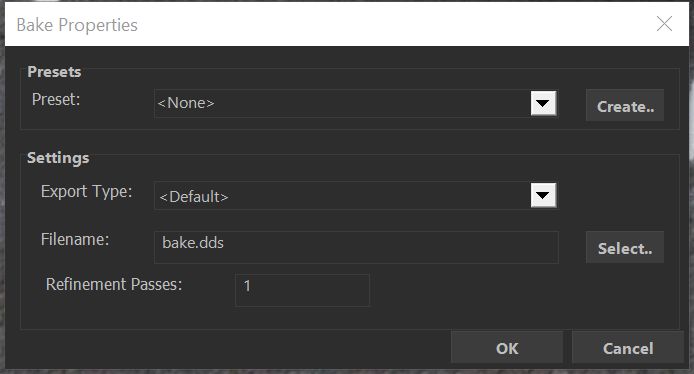
Hit the Bake Now.. button, this will open the bake properties dialogue box. Set the number of refinement passes that you want on the lightmap the more set the higher the build time and the more refined the lightmap texture. 10 refinements is a good way to preview the lightmap, 500 refinements will take longer but the lightmap will be better quality.
Turn off any baked lights, drastically improving performance as they no longer need to be calculated in real-time. Turn back on any animated lights that you want to keep real-time.
Turn off any reflection nodes to aid builder performance whilst baking the lights.
Use the right-click menu to bake selected or all bake lighting nodes at once, to save on baking hundreds of nodes individually. The nodes will be baked sequentially, using the properties of each Bake Lighting To Object node.
| Parameter | Details |
|---|---|
| Bake Now | Opens the “Bake Properties” dialogue box. |
| Filename Append | Add an extra string to append onto the end of the filename, allowing for multiple bakes to be done for a single node without destroying the previous bake. |
| Num Refine Iterations | Set the number of refinement iterations per bake lighting node. |
| Show Rendered Texture | Displays the rendered lightmap texture in the viewport. |
| Width | Sets the width of the lightmap texture. |
| Height | Sets the height of the lightmap texture. |
| Bit Depth | Sets the bit depth of the texture, 16bit is HDR. |
| Post Filter Lightmap | Toggles on and off a smart blur on the lightmap. In order to work, this has to be ticked on +before+ the bake is set off. |
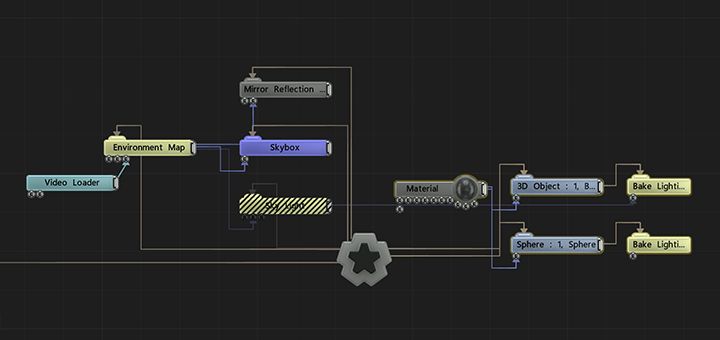
| Disable Baking (Pass Through) | Hides the lightmap on an object so the lighting is visible. |
| UV Channel | Sets the UV channel that the lightmap texture uses.
|
| Baked Lightmap | Automatic name of the baked lightmap |
These are the properties available in the Bake Now option.
| Parameter | Details |
|---|---|
| Preset | Use custom preset values to generate lightmap. |
| Export Type | This is set to a default texture type. |
| Filename | Sets filename and location of the lightmap texture. |
| Refinement passes | This sets the number of refinement passes on each texture, the higher the number of passes the better the fidelity of the lightmap texture (set between 10 Quick pass - 500 high quality) |