

Working With AI Models
Updated: 8 May 2026
Updated: 8 May 2026
This workflow is still in the early stages of R&D and requires thorough testing. Please note that Notch does not support the ONNX models directly. The Notch AI node behaves as a container for the ONNX models.
New in Notch 2026.2, you can now and import ONNX models for use inside of Notch inside of the AI model Post-FX node. You can find many ONNX models online, which you can then import into Notch.
Install Cuda 12.9 with the link below: https://developer.nvidia.com/cuda-12-9-1-download-archive?
You cannot mix and match CUDA versions between machines. The RTR files that are created when importing an ONNX model into Notch are linked to the CUDA version, and will need recreating if using a different version of CUDA.
Create a directory for the TensorRT DLLS. We suggest using c:\tensorrt, but you can use other locations on the machine as required.
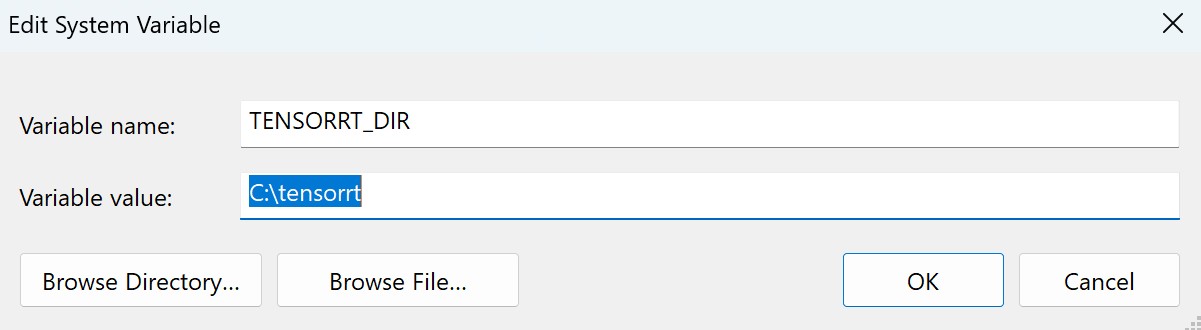
Set a System-wide environment variable called TENSORRT_DIR
This can be done by searching for “Edit the system environment variable”
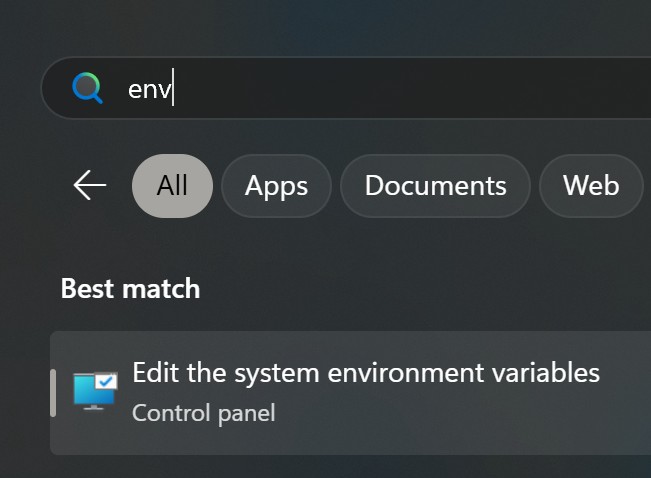
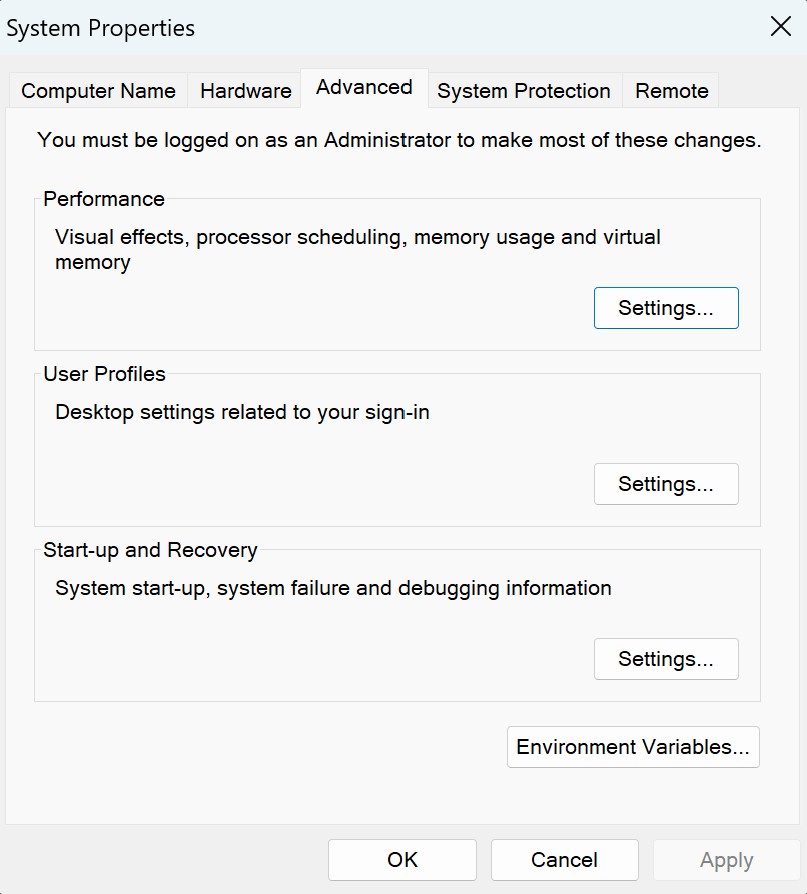
2: Select the option “Environment Variables”
3: Create a new “System variable” called TENSORRT_DIR and set to that value to the location of the DLLs folder (in this example c:\tensorrt).
Download the TensorRT DLLs for your installed Cuda version from the Nvidia website, this can be found at the following link: https://github.com/NVIDIA/TensorRT#downloading-tensorrt-build
Once downloaded, move the Dlls to your TensorRT directory (in this example c:\tensorrt).
The required Dlls are listed below:
Setting the environment variable requires a restart of builder (in some cases you may need to restart the machine).
Now fire up Notch and import an ONNX model. You can right click in the resource browser palette and then use the Import Resource > AI > Onnx Model.
Importing ONNX models is slow, this is because they are being unpacked and converted into .trt files which are used by Notch Builder and Notch Blocks.
Import a video clip into the node graph. Then use an “AI Model” node and load one of the ONNX models (or you can drag+drop the Onnx model to nodegraph). (this will be seen as a Post FX node). Once attached to the video source it will then process the video.
When creating a block do not try to embed the ONNX model, this will crash the builder, instead the playback and build machines should share the same file path for the ONNX and RTR files . The model does not require exposed parameters to work correctly.