UV Remapping Workflow
Updated: 20 Mar 2026
Updated: 20 Mar 2026
There are a few stages to understanding the UV remapping workflow. This example will explain how to set up each of those stages within Notch, although typically this workflow would be used to render a scene out of a different software package and then bring into Notch. All the advice in on this page is transferable to other software.
Summary of the workflow (example can be found in the attached DFX):
EXR and TIFF sequences can be used directly as UV remapping textures, but it is advised to transcode them to Quicktime UV Animation in Notch for realtime applications. Most normal video codecs will not work due to compression.
UV remapping textures use the colour channels to store UV data. Because of this certain types of antialiasing can cause the data at the edges to be stored incorrectly. In this example the mask and the UV remapping pass use different AA modes to get the best quality texture, while maintaining smooth masked edges.
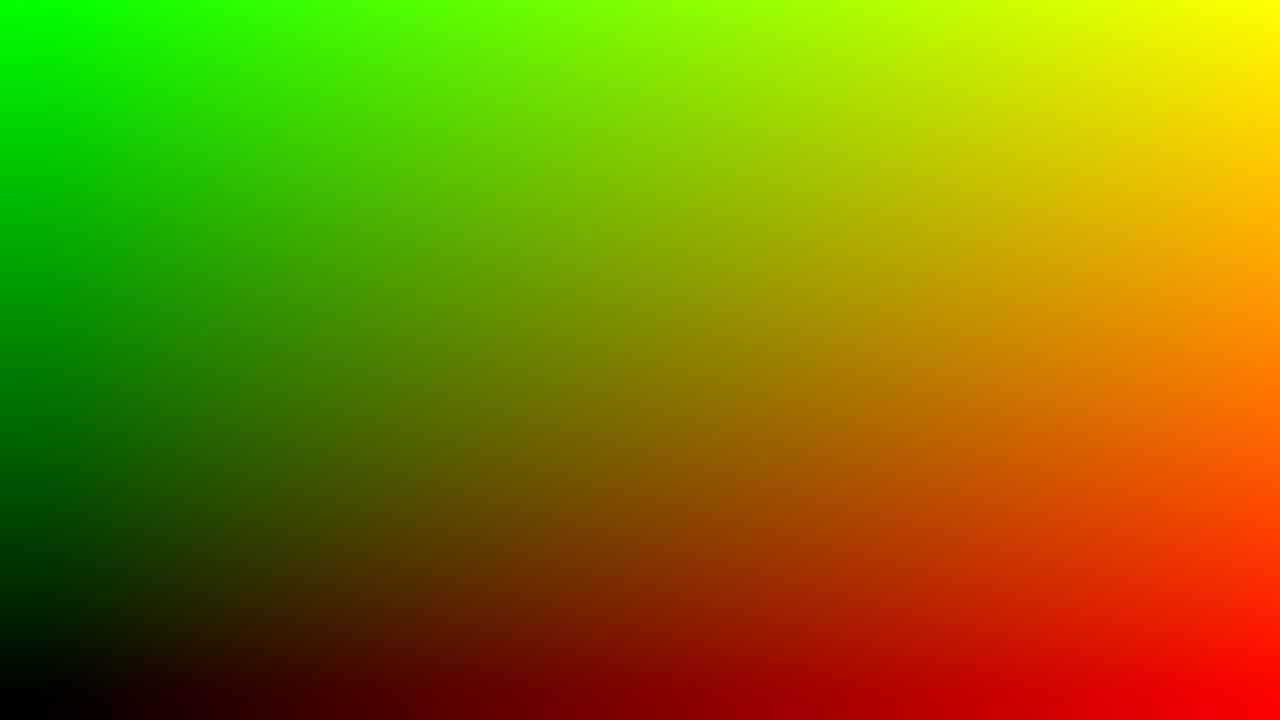
The start of any UV remapping workflow is to have a good UV remapping texture to use to insert into your content. The UV remapping texture is what will be used to save and then reference the UV co-ordinates for each pixel, so the data that is stored in the UV remapping file needs to be in the correct format otherwise you could get a compressed or warped output.
The easiest way to do this in Notch is to render the UV co-ordinates of a 3D screen. This will give us the horizontal linear gradient on the red channel, and the vertical linear gradient on the green channel.
To set this up you can:
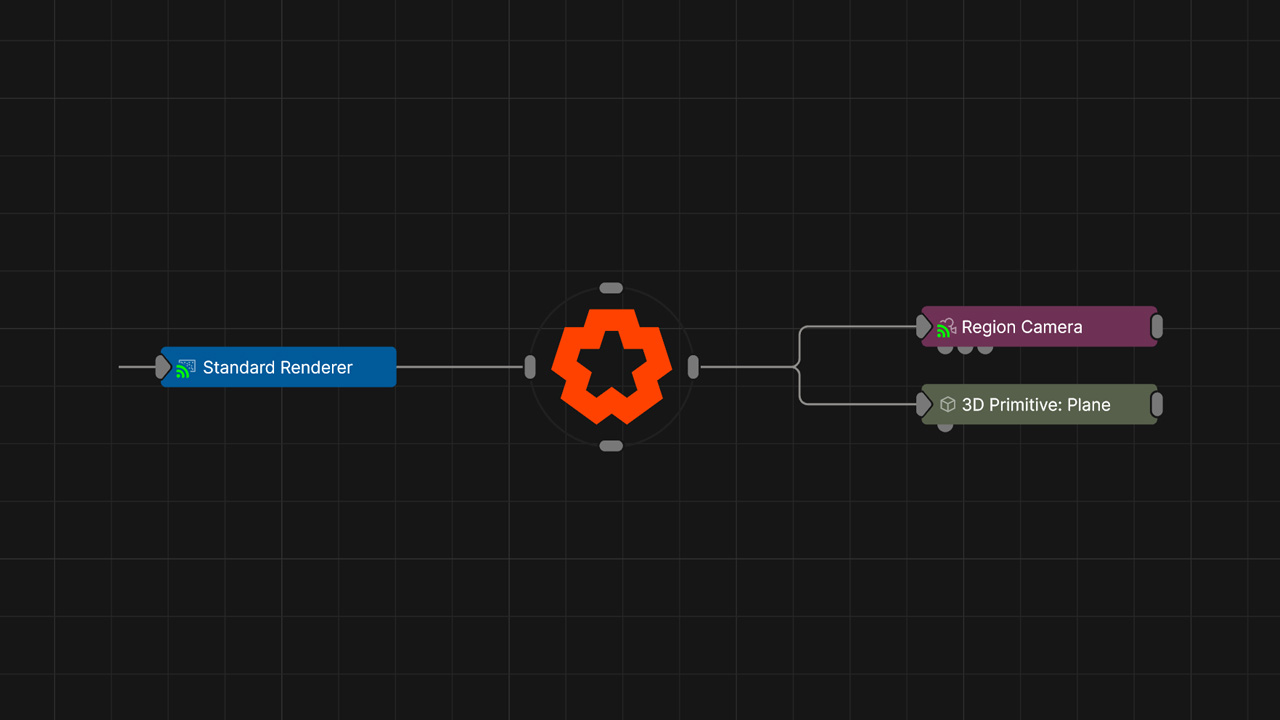
As mentioned the format of UV remapping textures is quite important. The recommended way to do this is to render the still UV remapping texture to a 16 or 32-bit EXR still image to preserve quality.
Resolution will be project dependant, but for this example we will be rendering a 4k UV remapping texture to use for a HD main output canvas. Rendering your UV remap texture at a higher resolution than the main output is advised and will preserve the quality of the data.


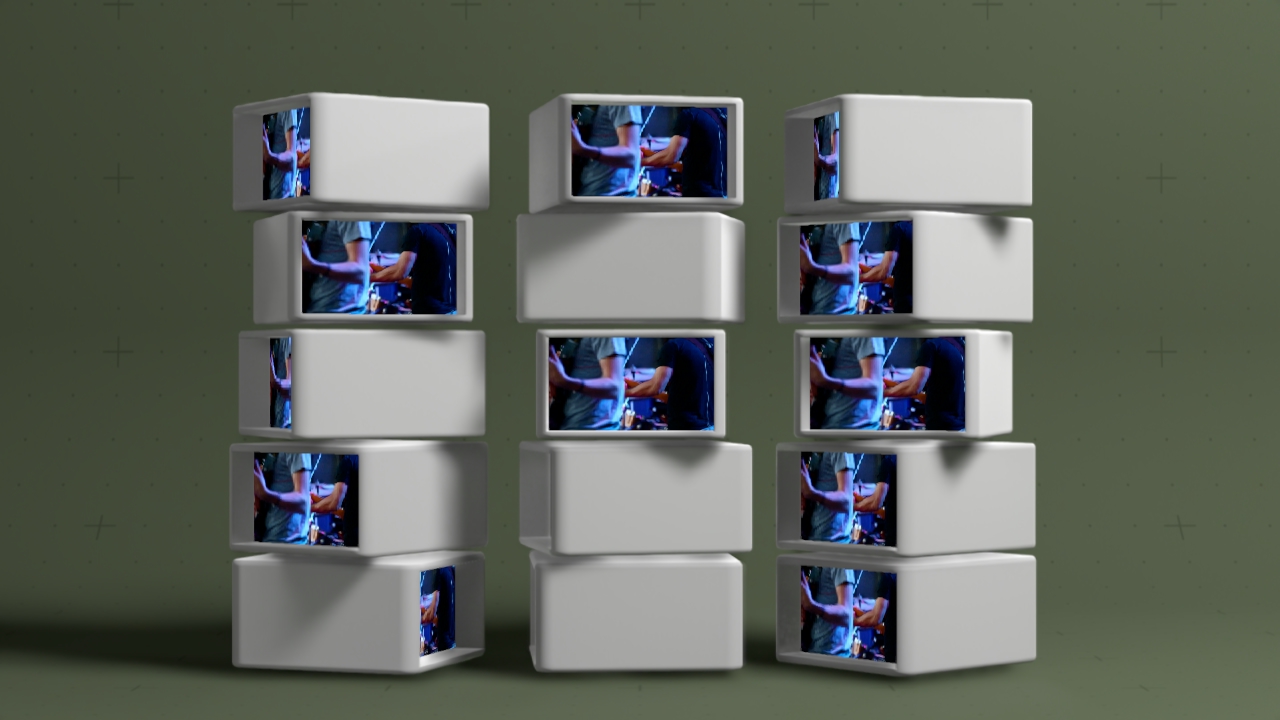
One of the main uses of UV remapping is to have a 3D scene that needs to be rendered to video, and in the render process also output a UV remapping texture so that you can use it later to apply video and texture feeds to it.
Here is a scene where we have an animated cloner system which has the UV remapping texture parented to each clone.
The idea here is that we would have a rendered video pass of the cloner cubes, background and lighting, but then have a separate UV pass which we can apply live video to.
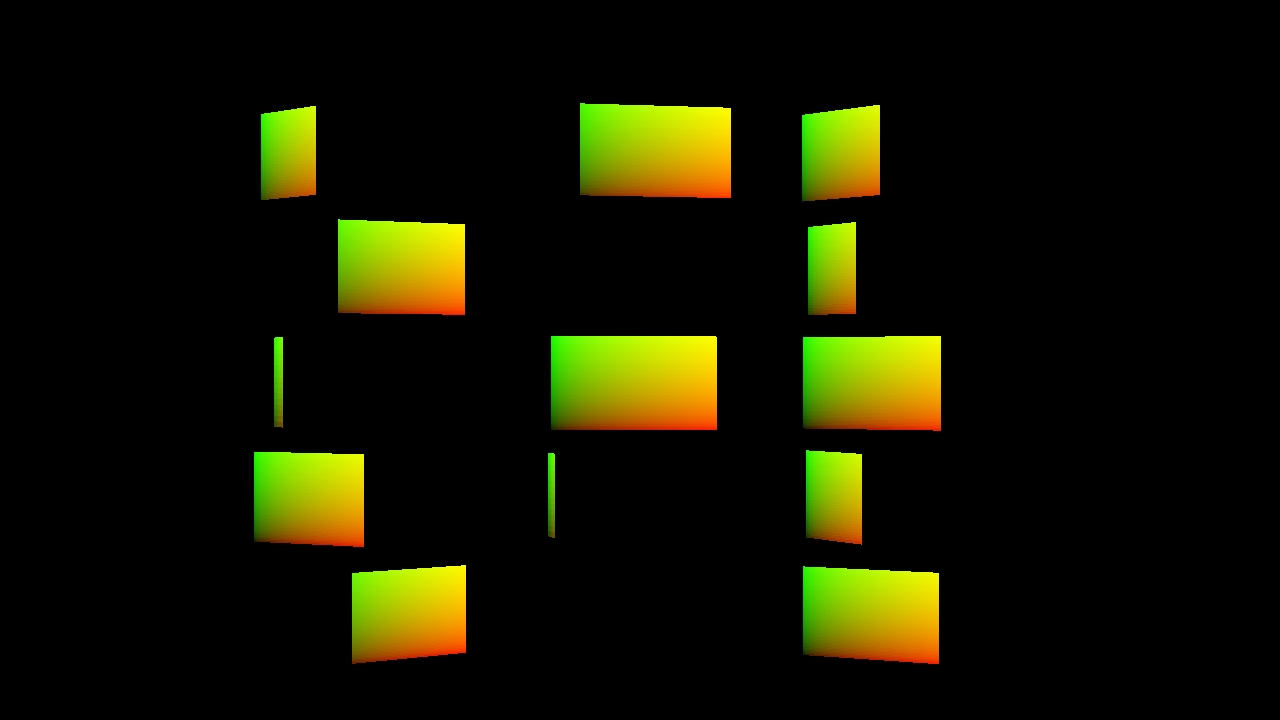
Here we need to output two passes:
This will have to be done in two completely separate renders, so make sure the scene that you are rendering is deterministic.
To output the UV remapping pass correctly, the best practice is to first output it to a 16/32-bit EXR sequence before re-encoding it to Quicktime UV Animation.
At this stage you could test the EXR sequence by using the method explained here.
For use in realtime applications, it is best practice to transcode your EXR sequence to Quicktime UV Animation. This codec is optimized for this workflow and has various setting for compression which optimize its playback performance.
To do this:
You now have a compressed UV Animation file that can be used in Notch as a realtime UV remapping texture.
UV remapping textures that are transcoded to UV Animation will need to be decompressed using the Decompress UV Animation node.
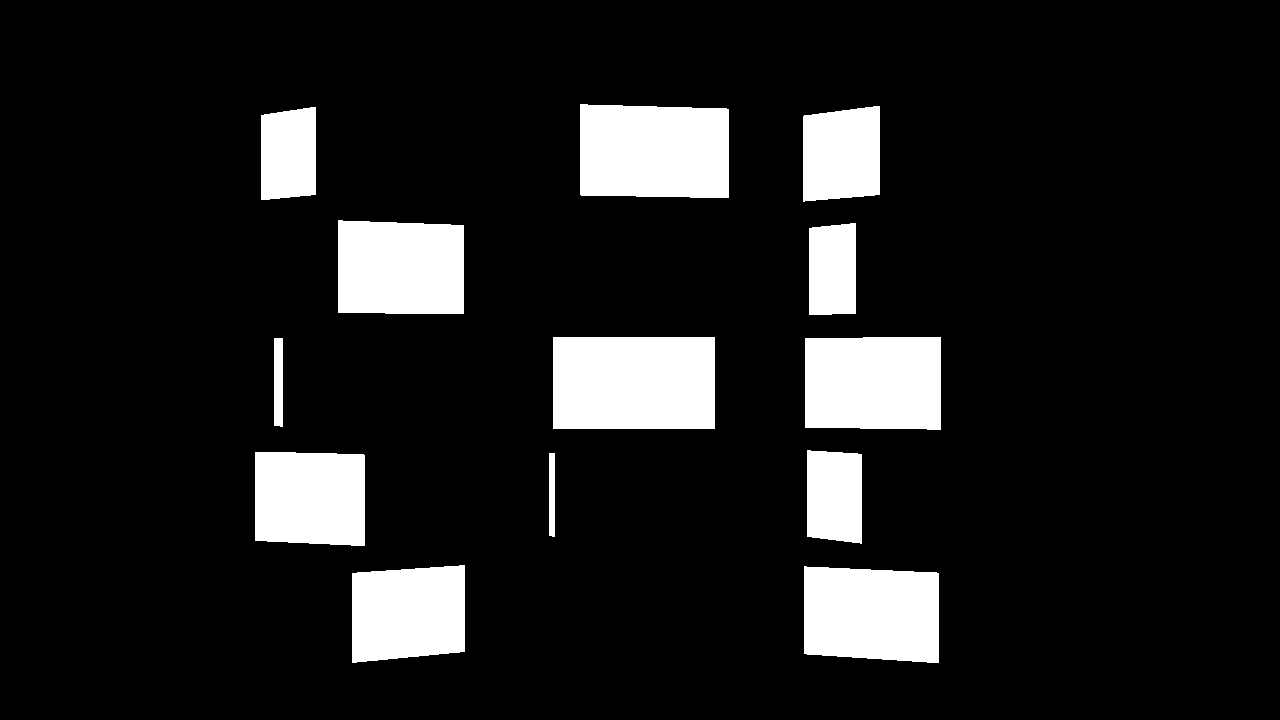
When using UV remapping textures, it is advised to use a mask to mask out the background of the remapped texture. This is because with UV remapping textures, a black pixel value represents the UV co-ordinate [0,0], so if there is colour at pixel [0,0] in the source image, and the UV remapping texture background is black, then the background will be the colour of pixel [0,0]. So creating a mask allows you to black out any bits of the texture you want to stay black.
Masking also helps with the anti-aliasing of the UV remapping texture. When creating the UV remapping pass, it can sometimes be helpful to use an anti-aliasing mode that prioritizes the quality of the texture, and then use a mask with a different anti-aliasing mode to get smooth edges.
Creating the mask can be done as another pass in the render.
In the example project, the mask is created by turning all lighting off, changing the necessary objects in the scene to black, and setting the screens to output white. So what is left is a mask that is white where the screens are and black where they are not. The screens are also scaled very slightly smaller in the mask composition so that the anti-aliased mask smooths the edges of the final output.
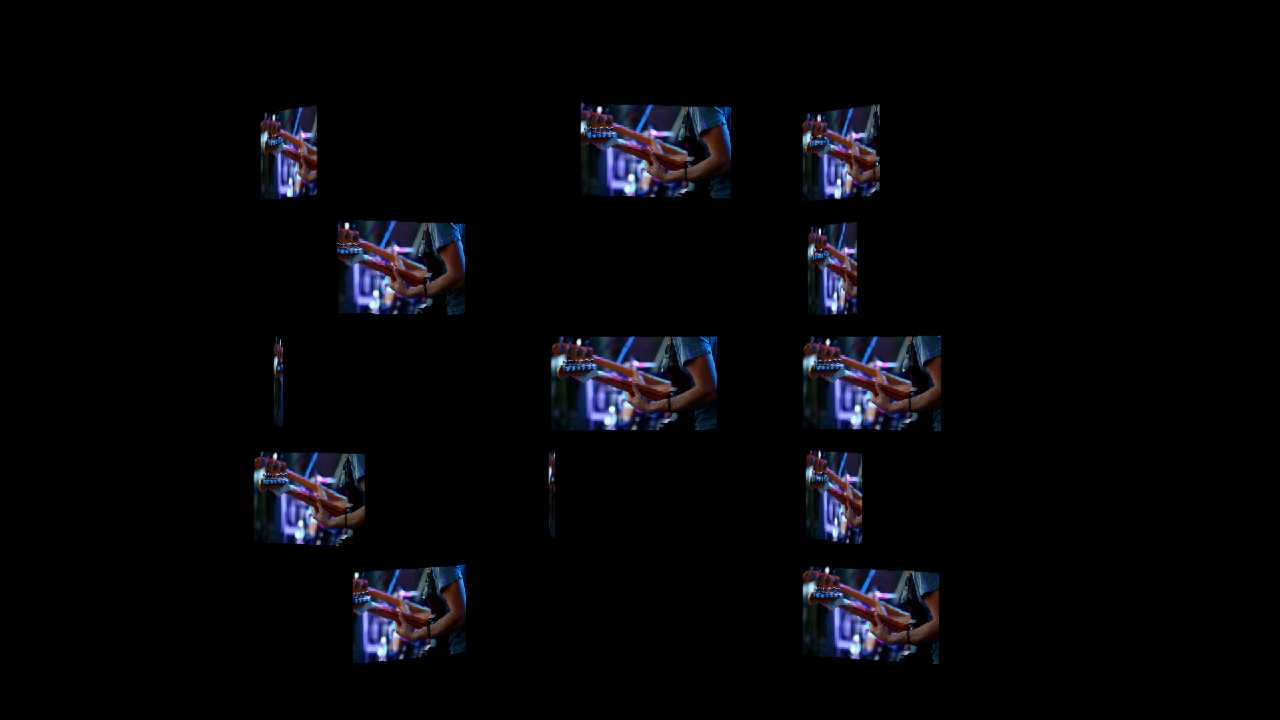
Now we have all the elements we need to put the scene together:
We need to display the main pass as the background. Then overlay the remapped live video over the top of the main pass.
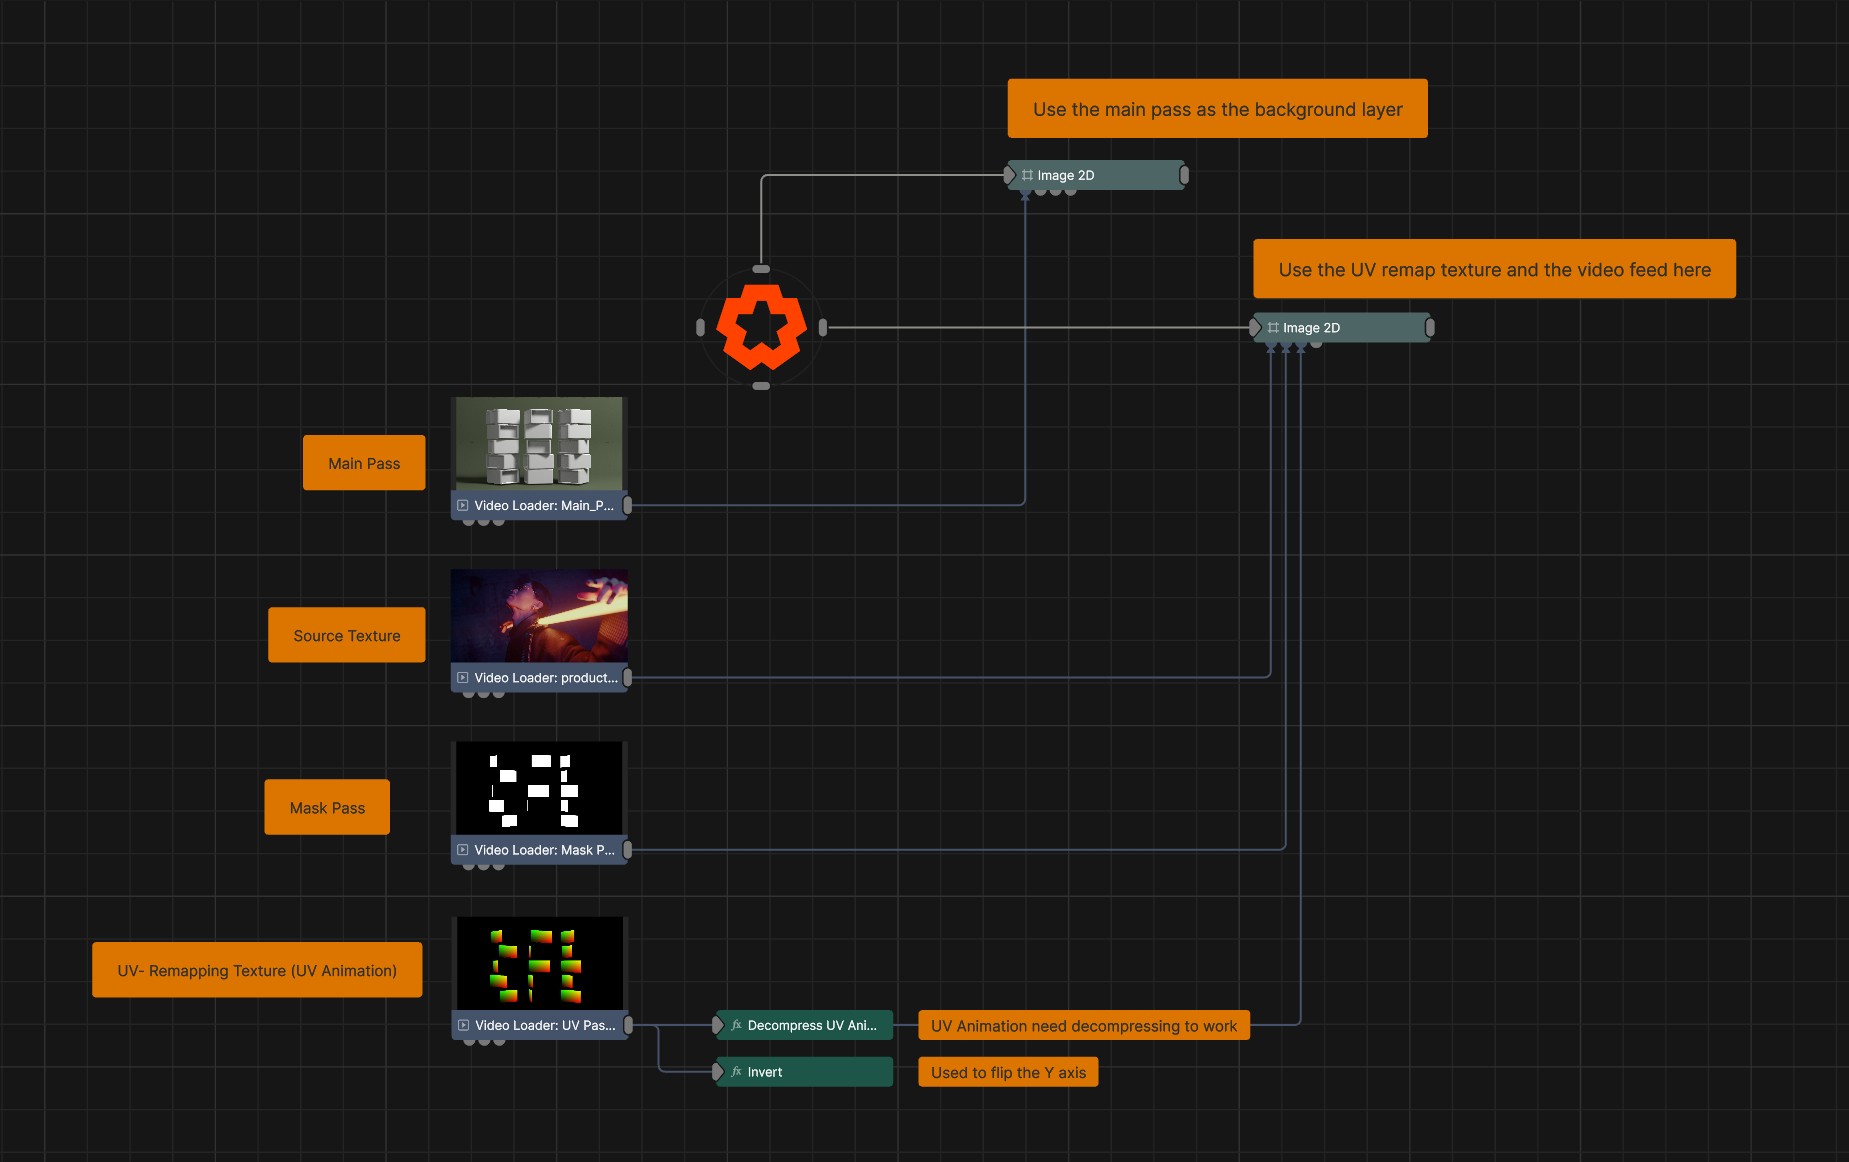
To setup UV remapping in Notch, you just need to:
Optional steps:
This will now reference the UV remapping texture to determine which pixel from the source texture gets applied to the output.