UV Remapping Explained
Updated: 20 Mar 2026
Updated: 20 Mar 2026


UV remapping allows you to take an image or video and efficiently re-position it on screen. For example, one common use case is to integrate a 2D video input with a pre-rendered 3D scene.
UV remapping works by mapping the pixels from one texture to another using a third texture (a UV remap texture) to decide which pixels go where. This allows you to apply textures and video to pre-rendered content in a way that looks as if it is baked in.
For example, say you have a moving 3D scene that has some screens in it, and you need to render out the scene to video. But then you want to be able to map live video feeds to the screens in a realtime scenario. You would need a way to telling your live video textures where to be applied to the rendered video. This is where UV remapping comes in.
When you render out your 3D scene, you could also render out a UV remap pass which holds the UV co-ordinates for where the live video feeds should be applied. Once you have this UV pass you can use it to perfectly match your video feeds the the rendered video.
A texture is just an image stored as a grid of pixels. When a program needs a colour from that image, it needs a way to specify where inside the texture to sample.
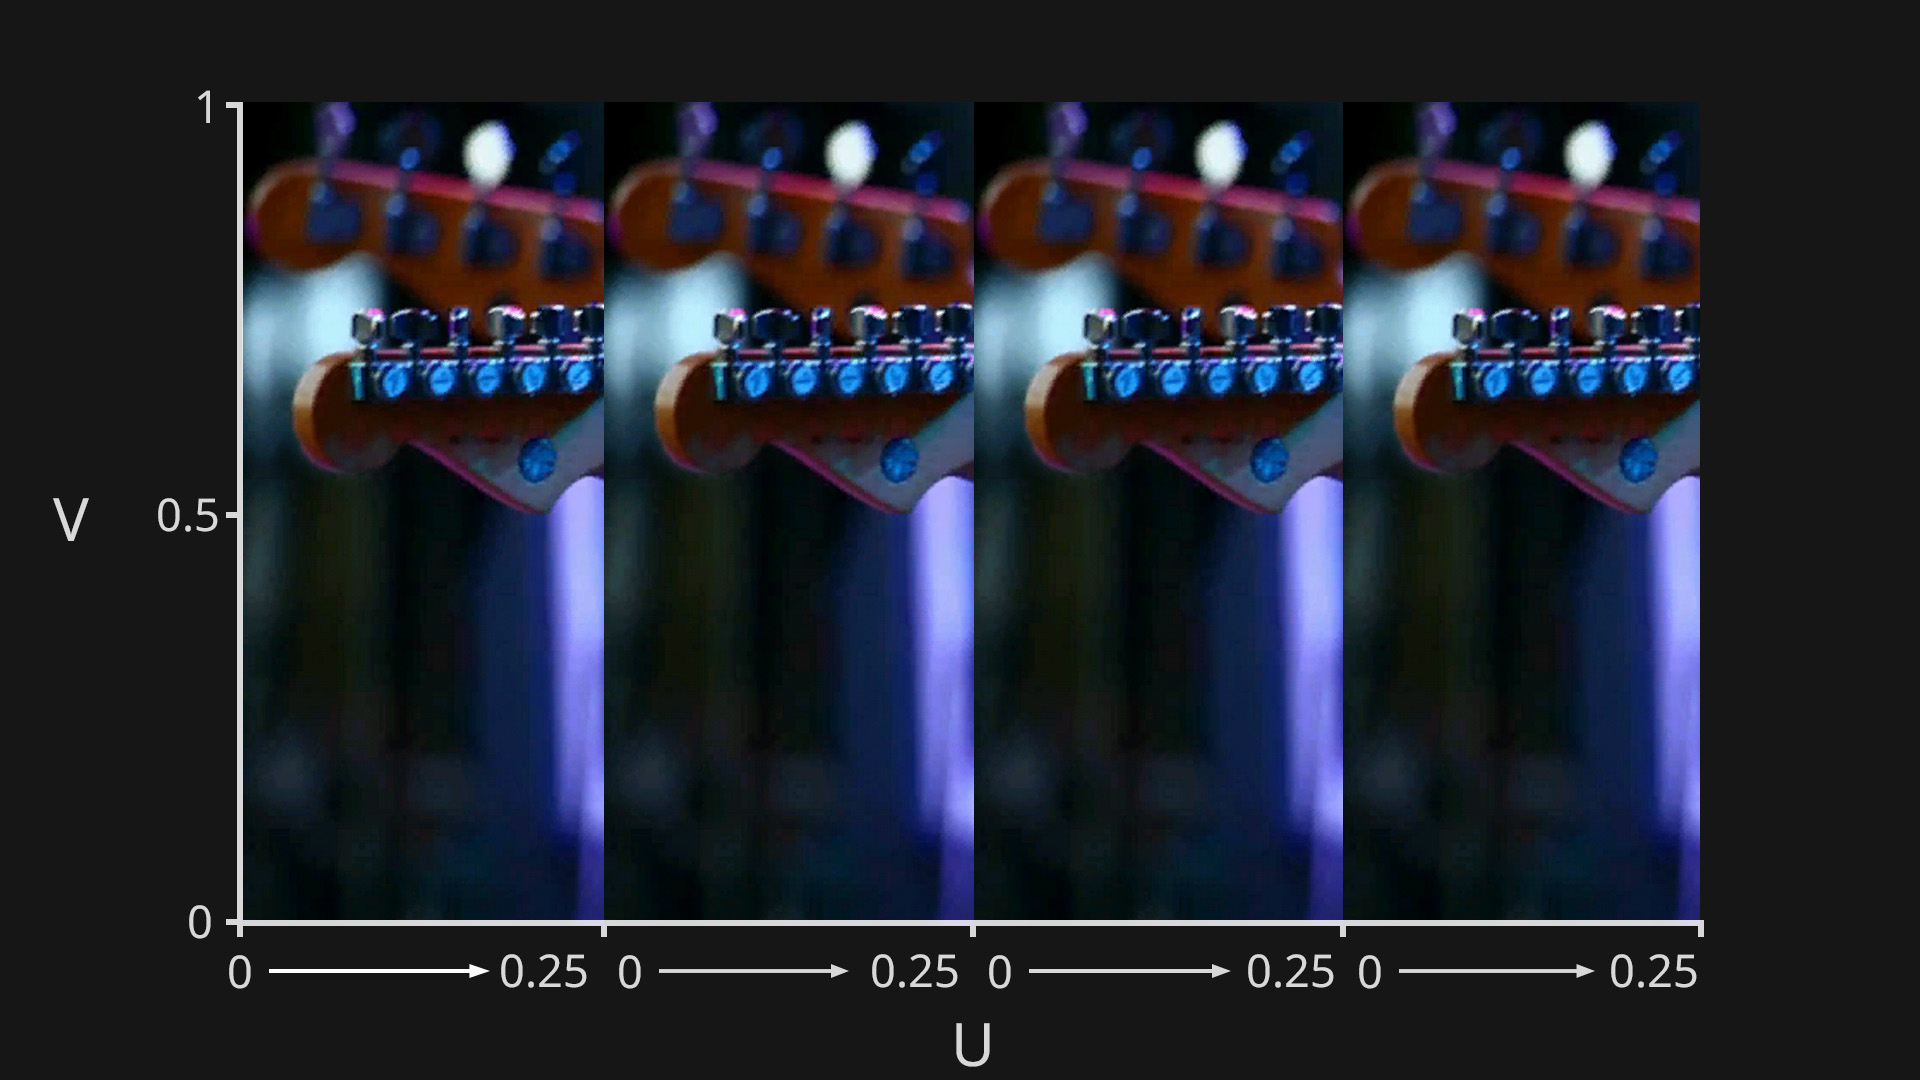
Instead of using pixel coordinates like (120, 300), graphics systems often use UV coordinates, which are normalised values from 0 to 1.
These values represent a percentage across the image:
So if a shader samples a texture at UV (0.25, 0.75), it means:
Using 0 to 1 coordinates makes the system work the same way no matter what the texture resolution is.
Say we want to display a texture on the screen in its original format, so that the texture’s bottom left pixel is on the bottom left of the screen, its top right pixel is on the top right of the screen, and all the other pixels of the texture are also mapped like for like to the screen.
The way this would work is for every pixel on the screen, the process would look at the texture at the same UV co-ordinate, and then copy its colour to the screen. So for pixel (0,0), it would look at the texture at UV co-ordinate (0,0) and copy that colour value to screen pixel (0,0). It would do this for every pixel on the screen.
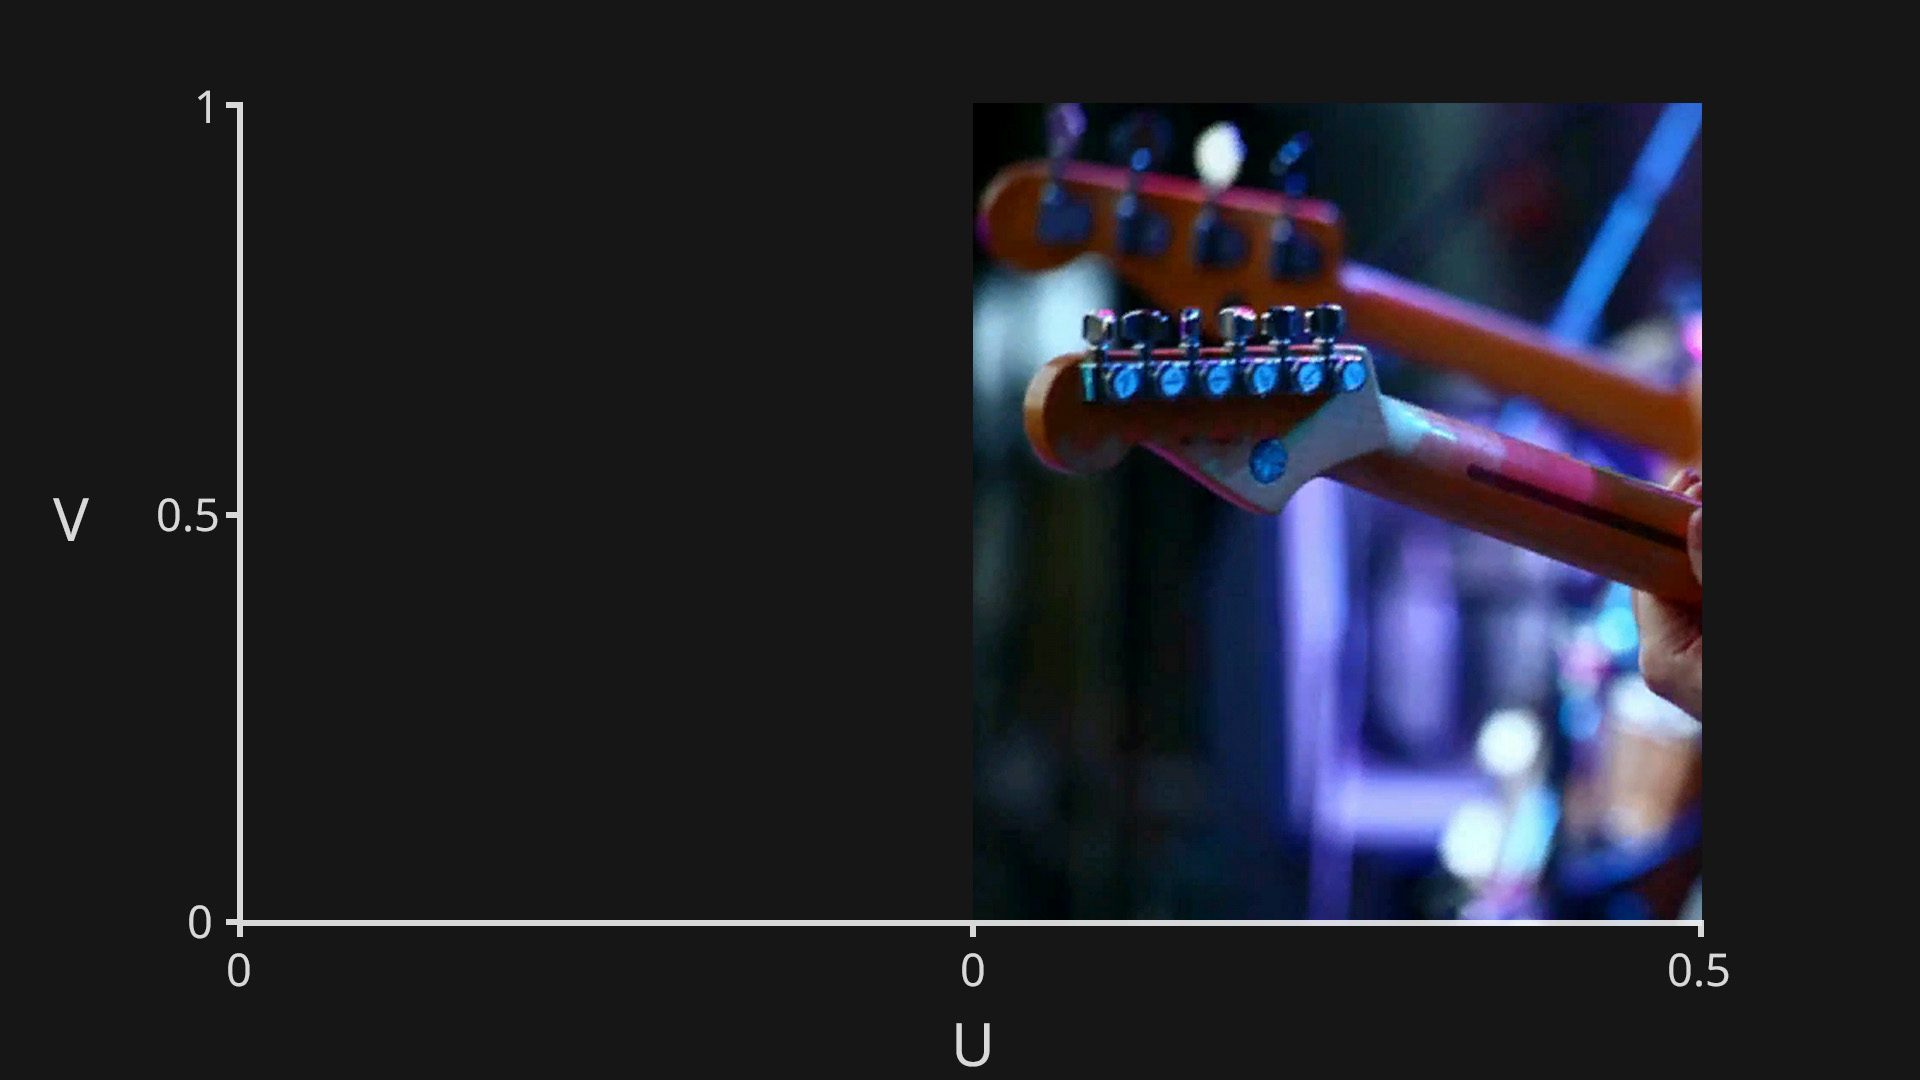
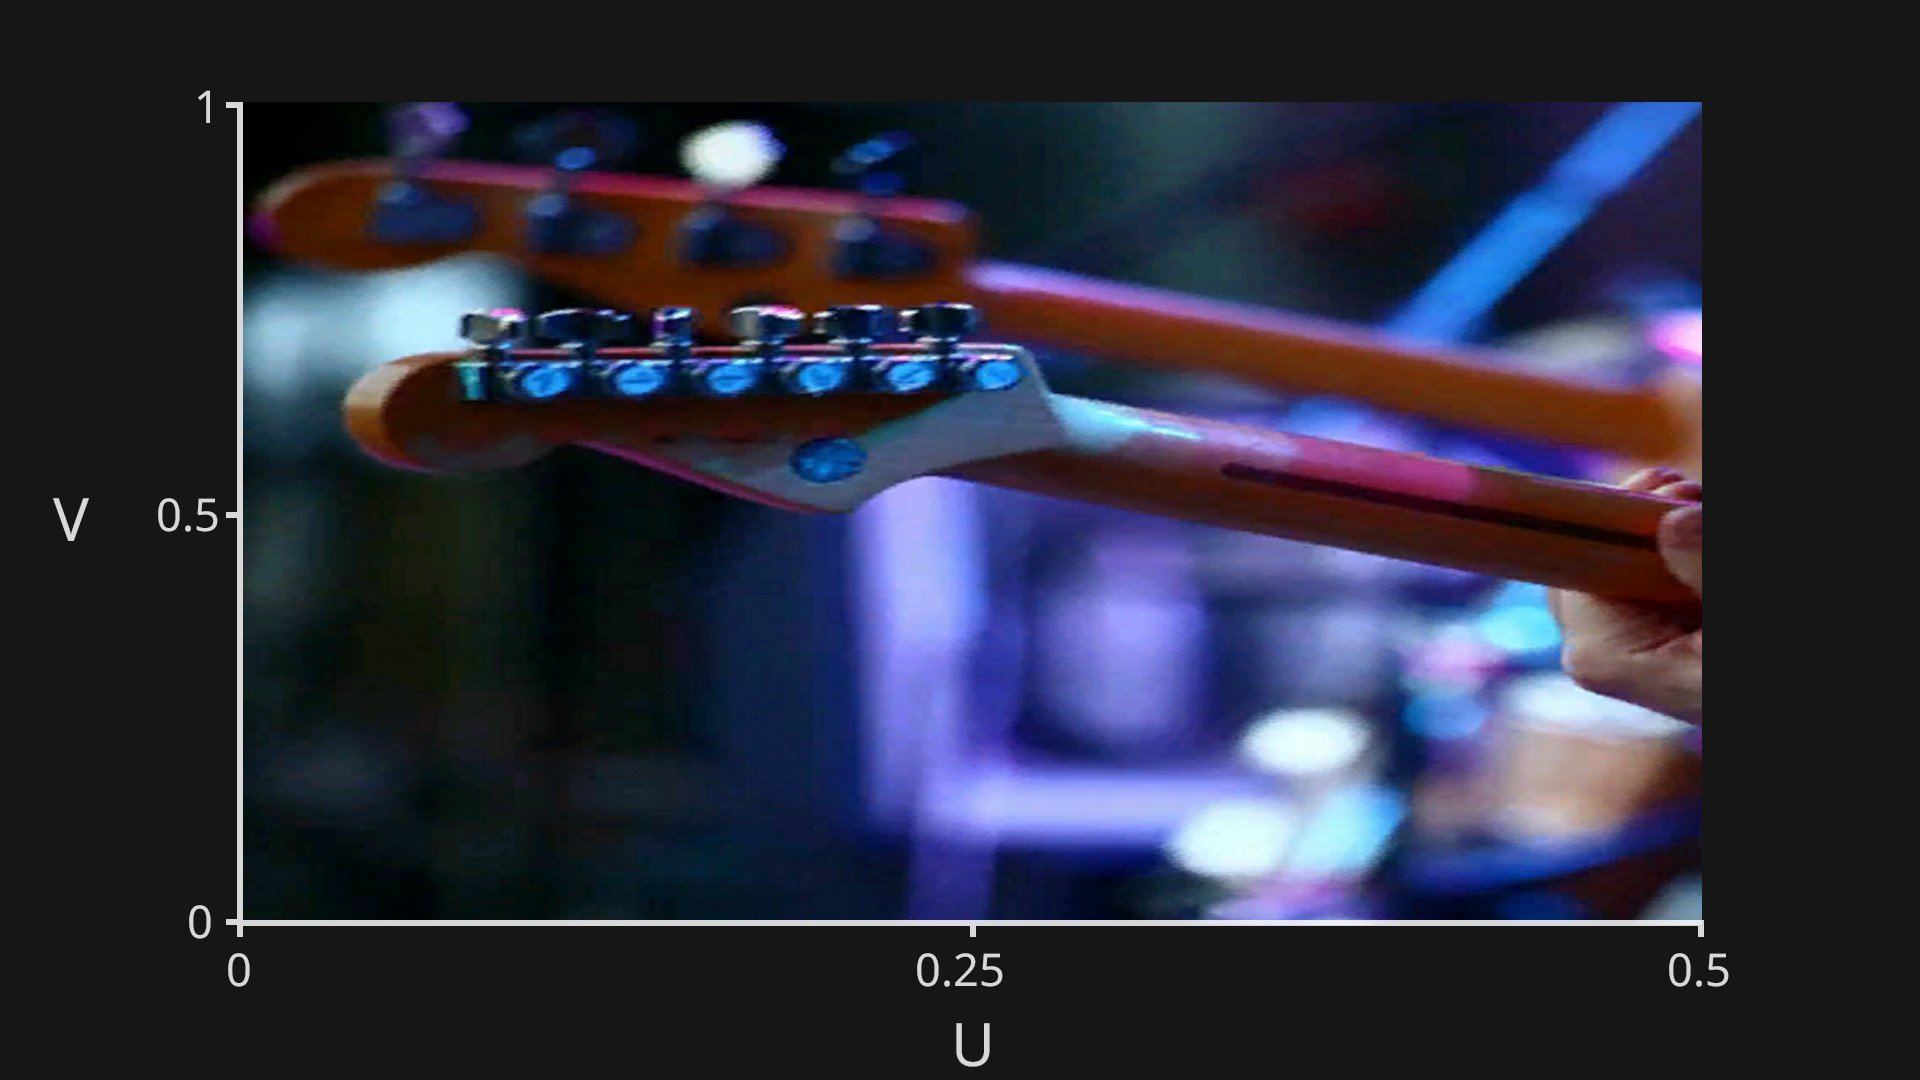
By modifying the UV values that are used to sample the texture, we can control how the texture appears in the output.
Some examples of how modifying the UVs can affect the output are:
So UV remapping works by transforming the UV coordinates before they are used, which changes which pixels from the texture are selected when constructing the final image.
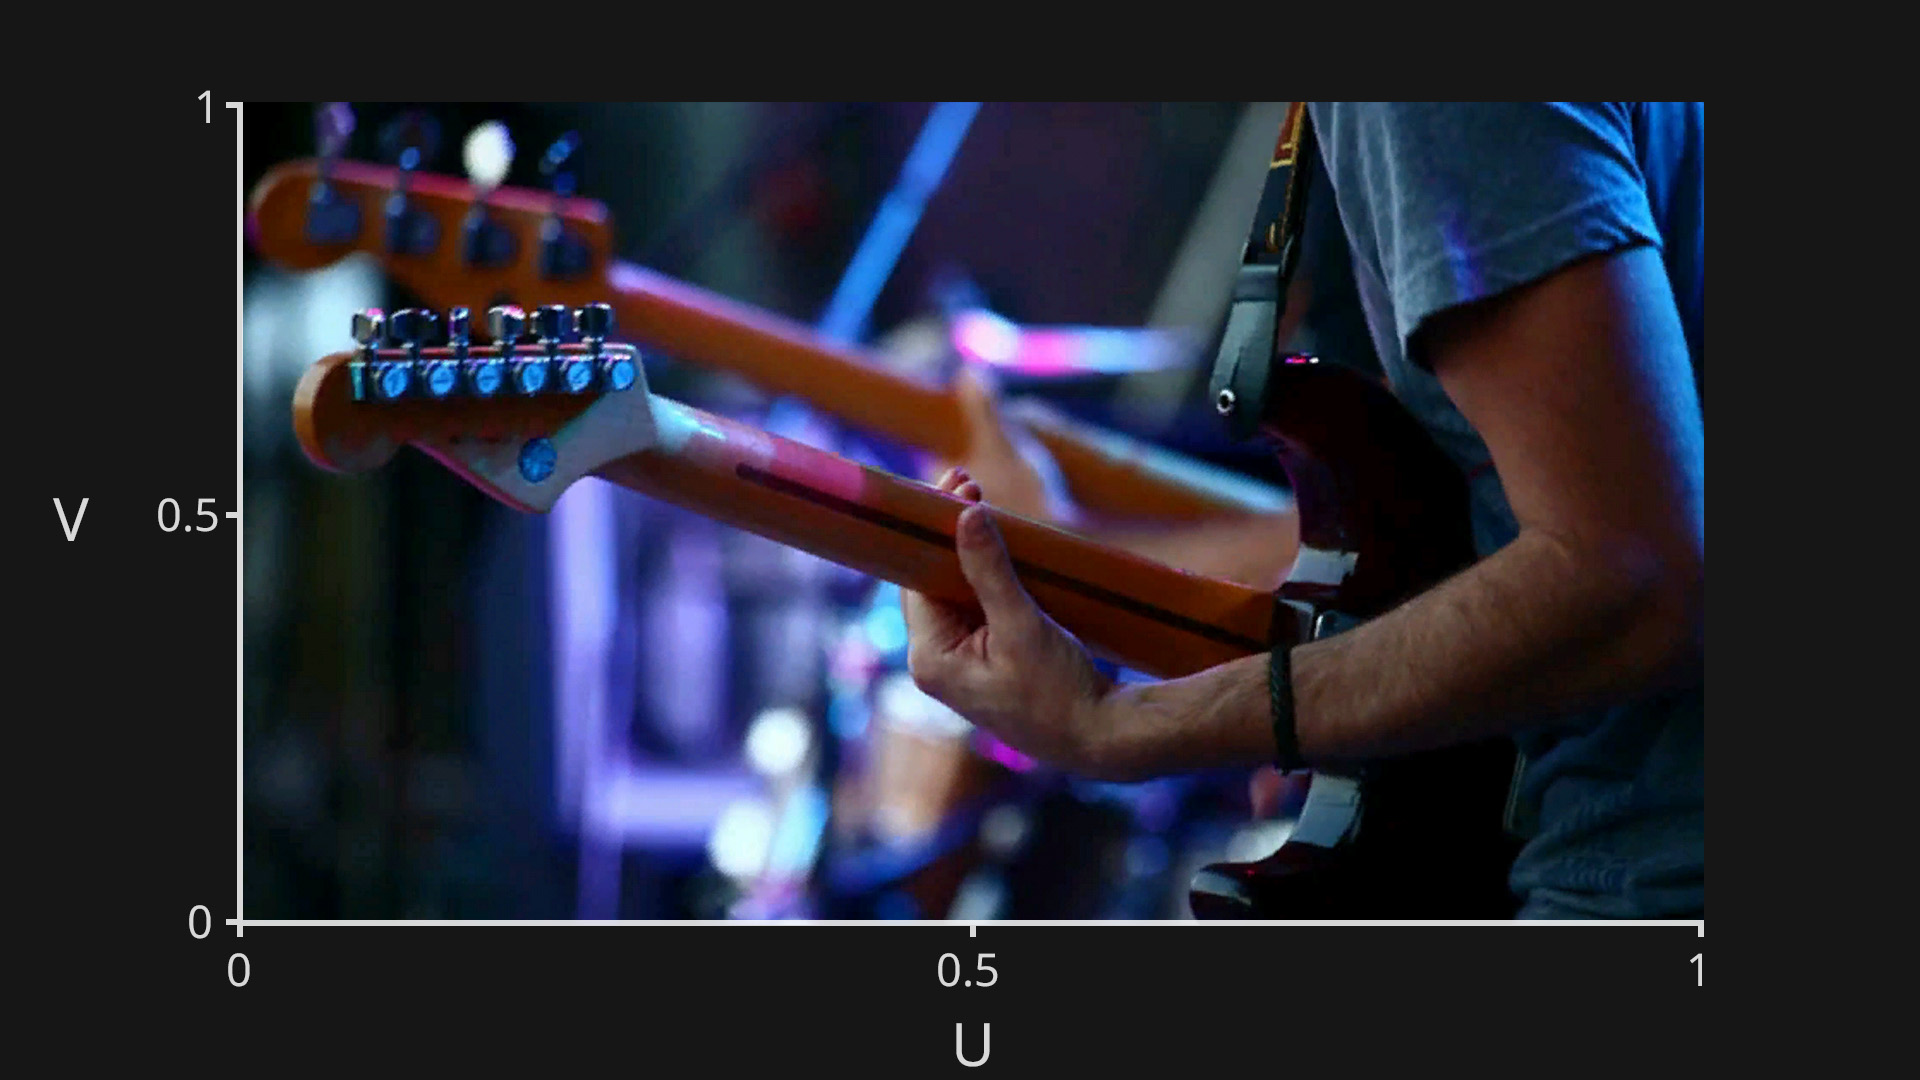
Normally when applying a texture to the screen, it will be sampled using UV coordinates from 0 to 1 on both the U and V axes, which will display the entire image.
In Notch, instead of just simply mapping the UV co-ordinates linearly from 0 to 1 on the U and V axes, you can use a second texture (UV Remap Texture) to define the UV co-ordinates for each pixel of the output texture. This allows you to distribute the source texture however you want on the output texture. You can repeat it, mirror it, scale it. Essentially you can place any pixel from the source texture anywhere you want on the output texture.
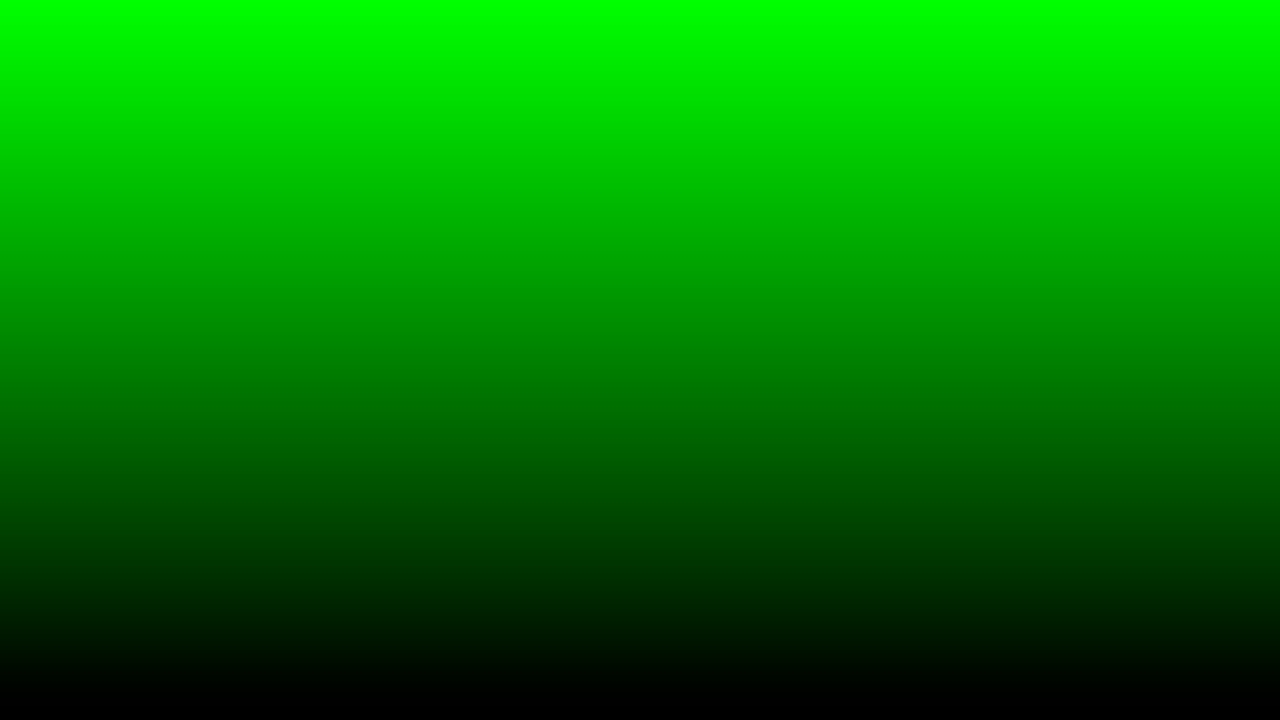
In a UV remap texture, instead of storing colour values, you are instead storing UV values. This is done by using the red channel to store U values, and the green channel to store V values. So for each pixel of the UV remap texture, you can save, and then extract a UV co-ordinate by reading its red and green values.
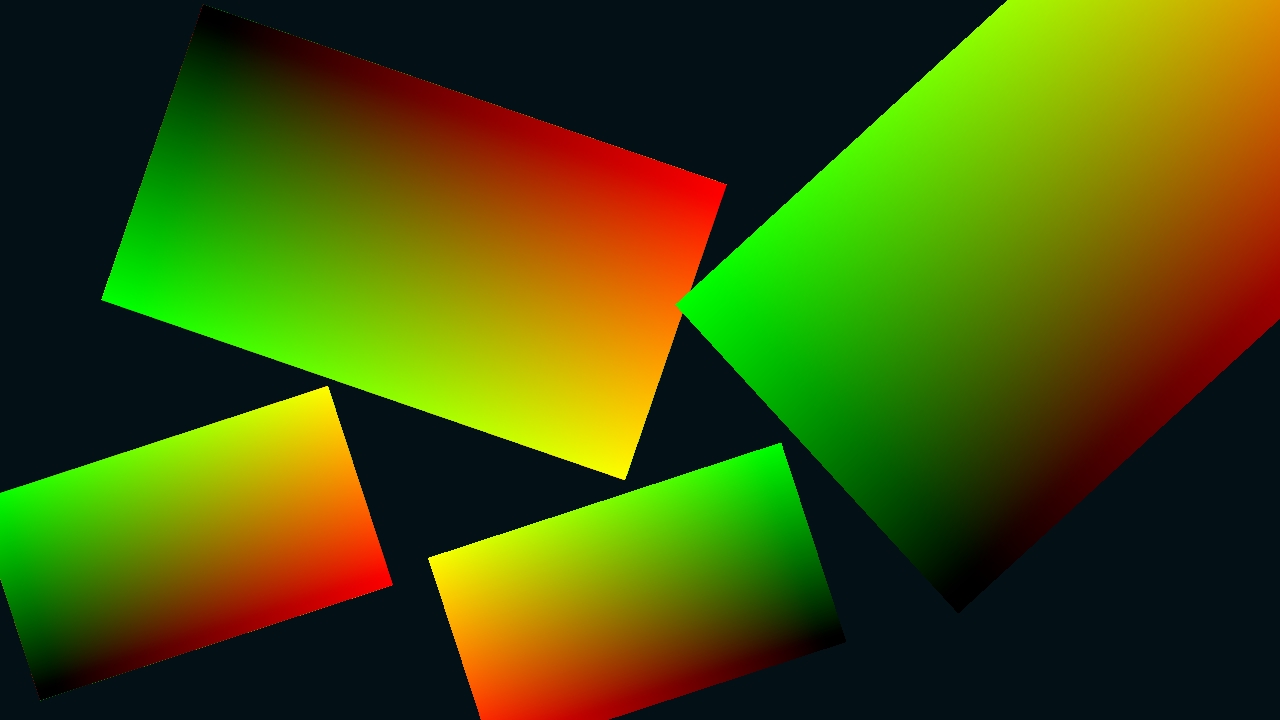
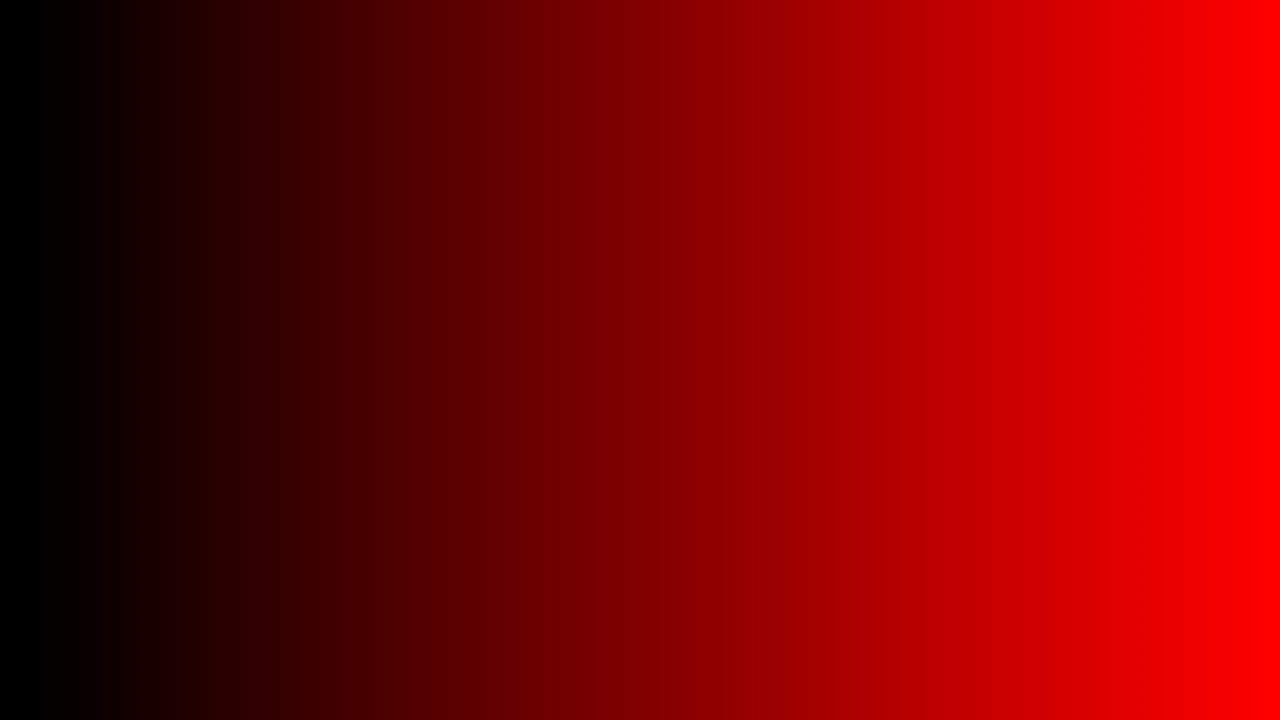
So to make a UV remap texture that would display a texture how it would normally be applied to the screen, we need to represent the U axis going from 0 to 1 horizontally across the texture, and the V axis going from 0 to 1 vertically up the texture. We can do this by creating a horizontal red gradient, a vertical green gradient, and then compositing them together. We then have a texture with red values going from 0 to 1 horizontally, and green values going from 0 to 1 vertically.
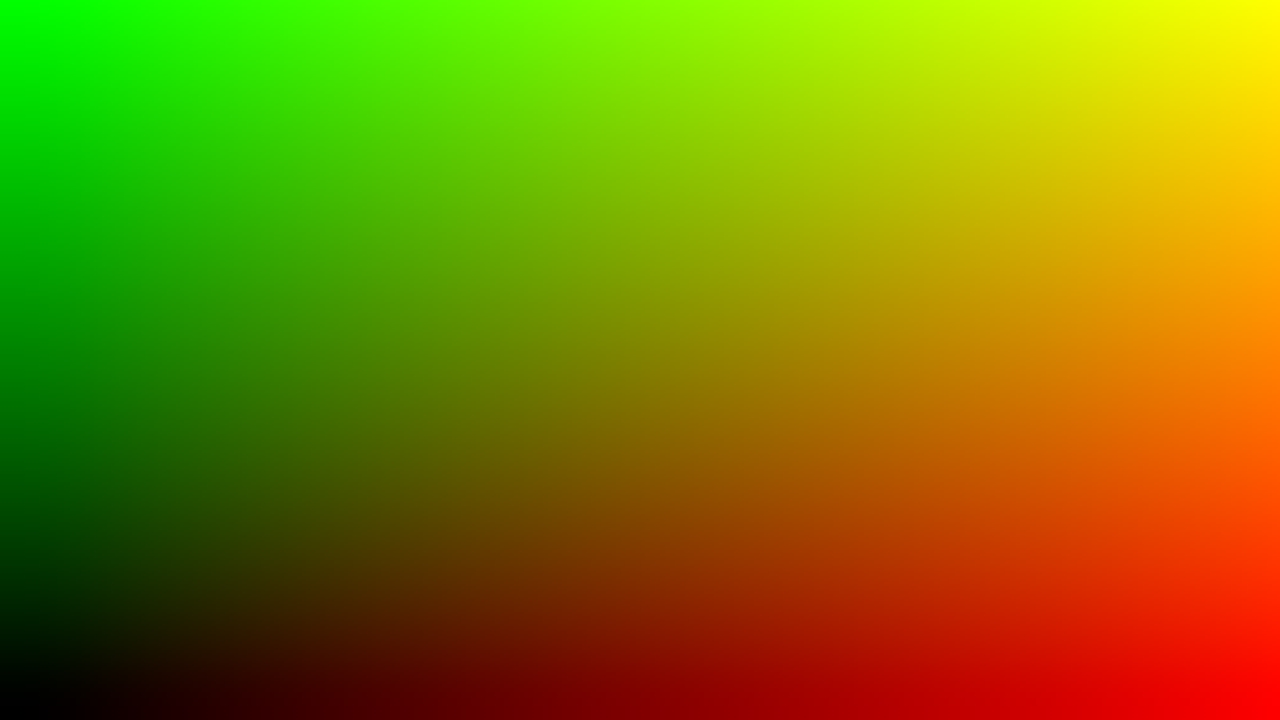
Using this UV remap texture would work like this:
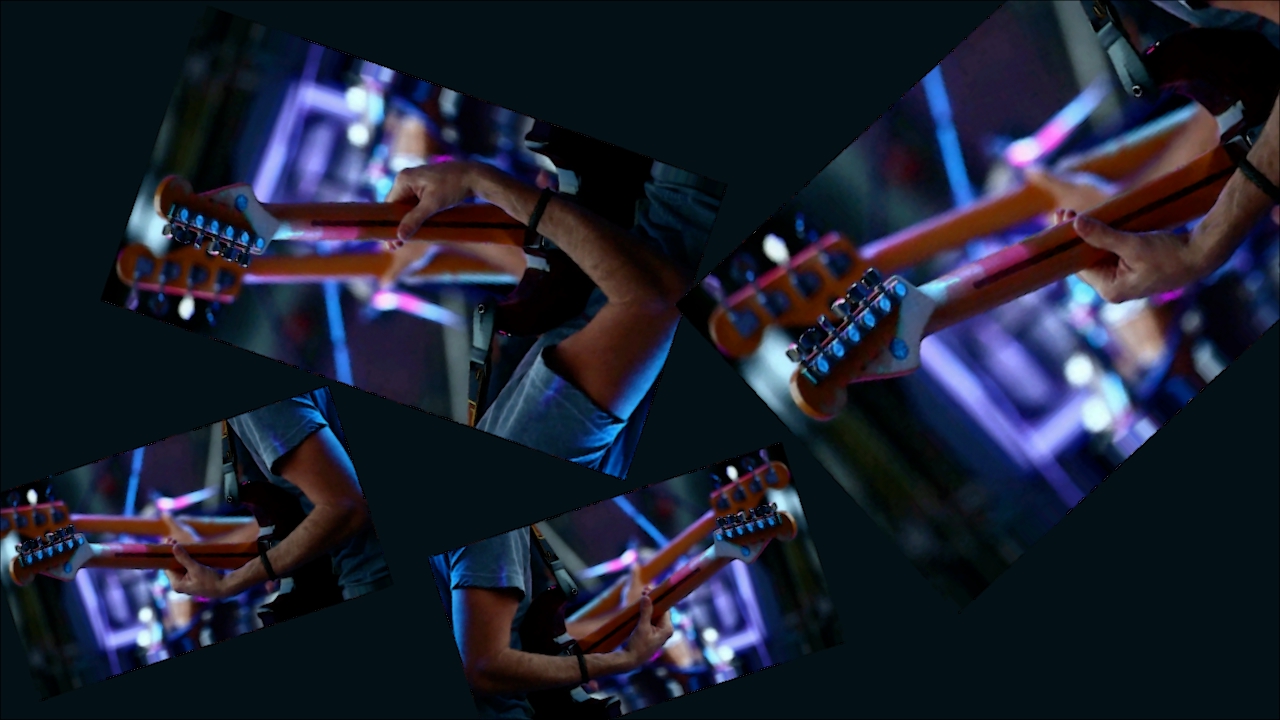
In the example above we are simply mapping the source texture directly to the screen, but the power of UV remapping is that once you have built the UV remap texture, you can move it, scale it, rotate it, attach it to a moving object, basically affect it however you want, and then use that to map video feeds or textures to those areas.
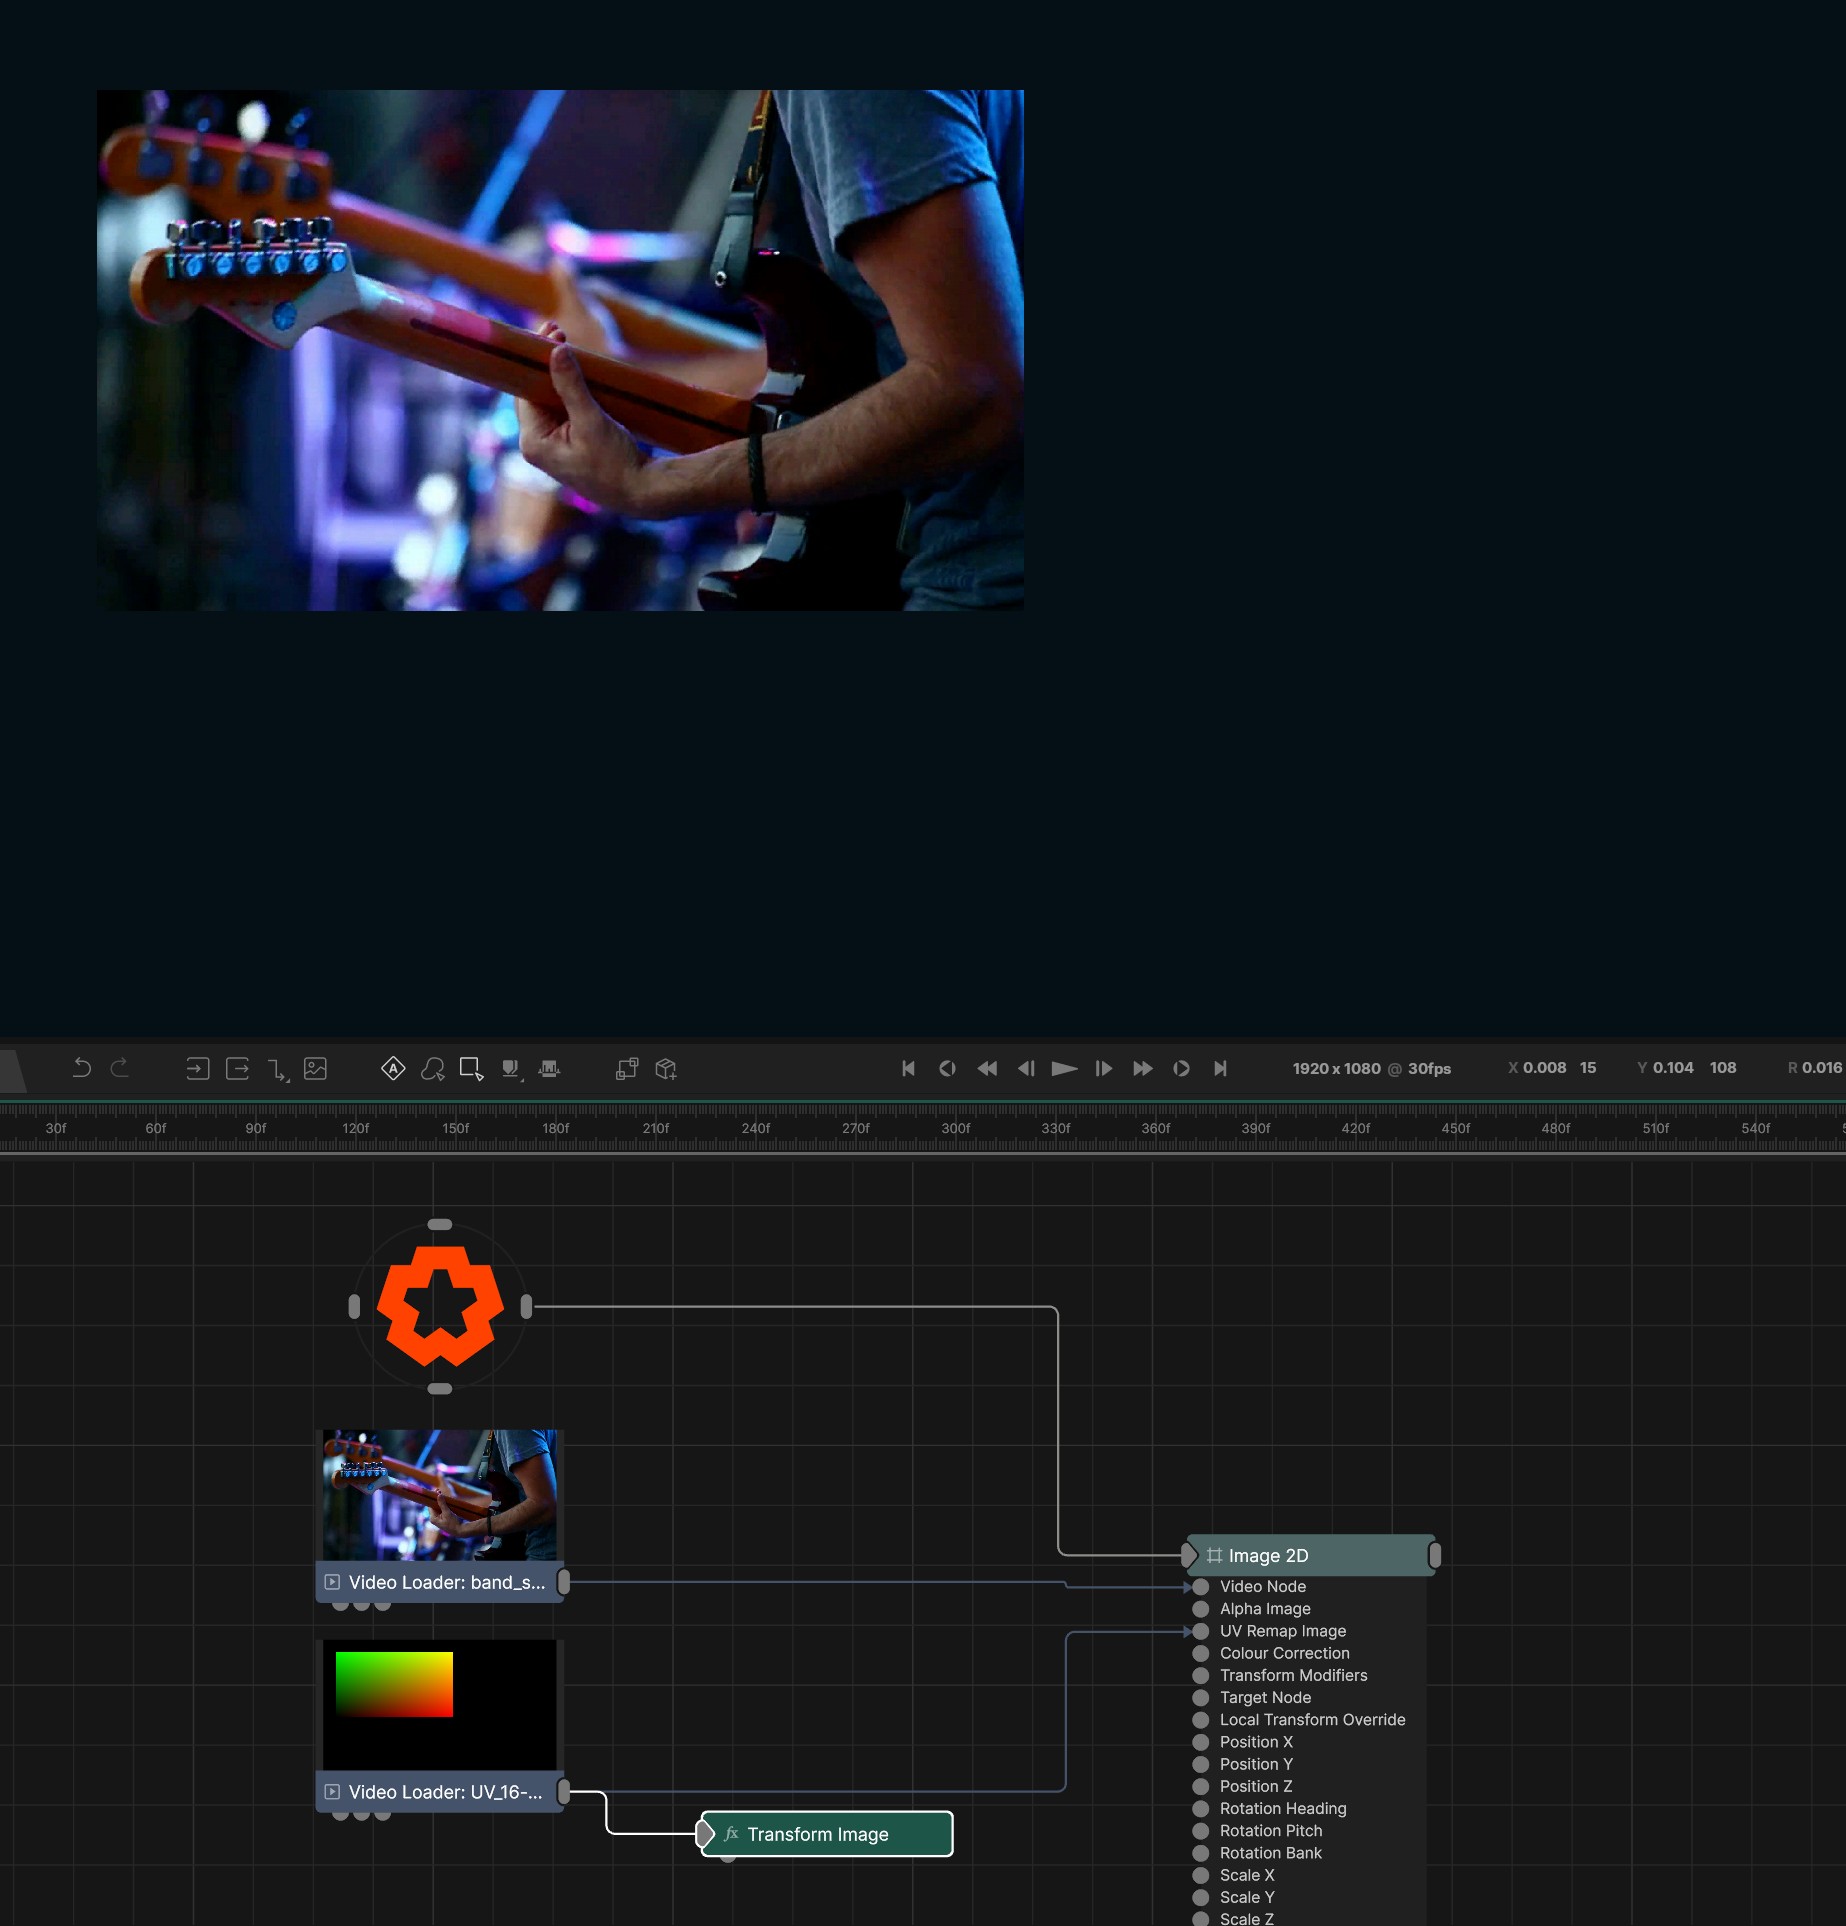
To setup UV remapping in Notch, you just need to add an Image 2D, and connect the source image to the “Video Node” input, and the UV remap texture to the “UV Remap Image” input.
This will now reference the UV remap texture to determine which pixel from the source texture gets applied to the output.
Here the Transform Image is used to scale and move the UV remap texture. You can see that the output is using the UV texture to determine where to draw the pixels from the source texture.