Importing 3D Resources
Updated: 12 Jan 2026
Updated: 12 Jan 2026
Geometry is the fundamental building block for working in 3D. Simply put, geometry is the vertices, edges, polygons and splines which you will use to build your 3D scene, which can then be textured, lit, animated etc.
Notch allows you to import geometry in a huge range of formats so you can import all your pre-existing 3D models and assets from other tools or libraries. It also allows you to create your own geometry inside of Notch, via procedural systems, splines, primitives and deformers etc.
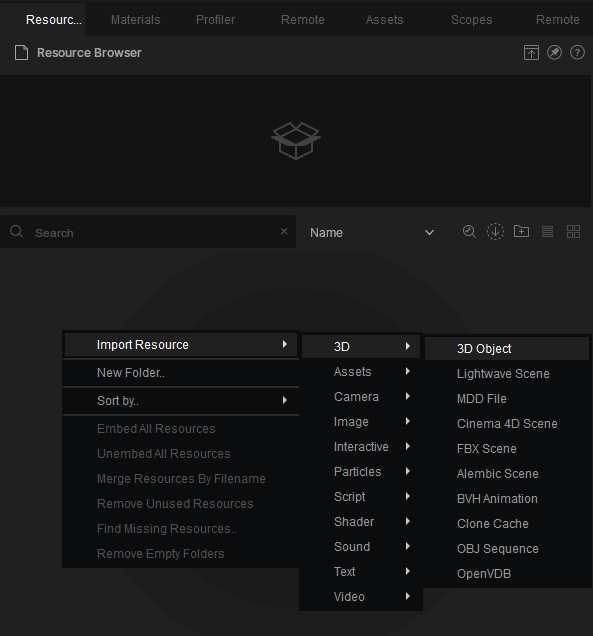
Notch allows for the import of the following formats:
There are several ways to import geometry to your Notch project:
In order to ensure your external geometry works as desired inside of Notch, it is important to make sure it has been prepared correctly and is optimised for use in Notch.
Any meshes should be built using triangles, rather than quads. Notch’s renderers perform all their calculations based on triangles, and so any meshes should be prepared accordingly.
Any geometry imported should have sufficient internal geometry. This means the model should contain enough interior structure or thickness to support believable deformation, shading, simulation, and camera exposure without visual or technical artifacts.
Please also refer to Preparing Assets For Real time for a detailed guide on how to get your imported assets optimised for real-time performance.
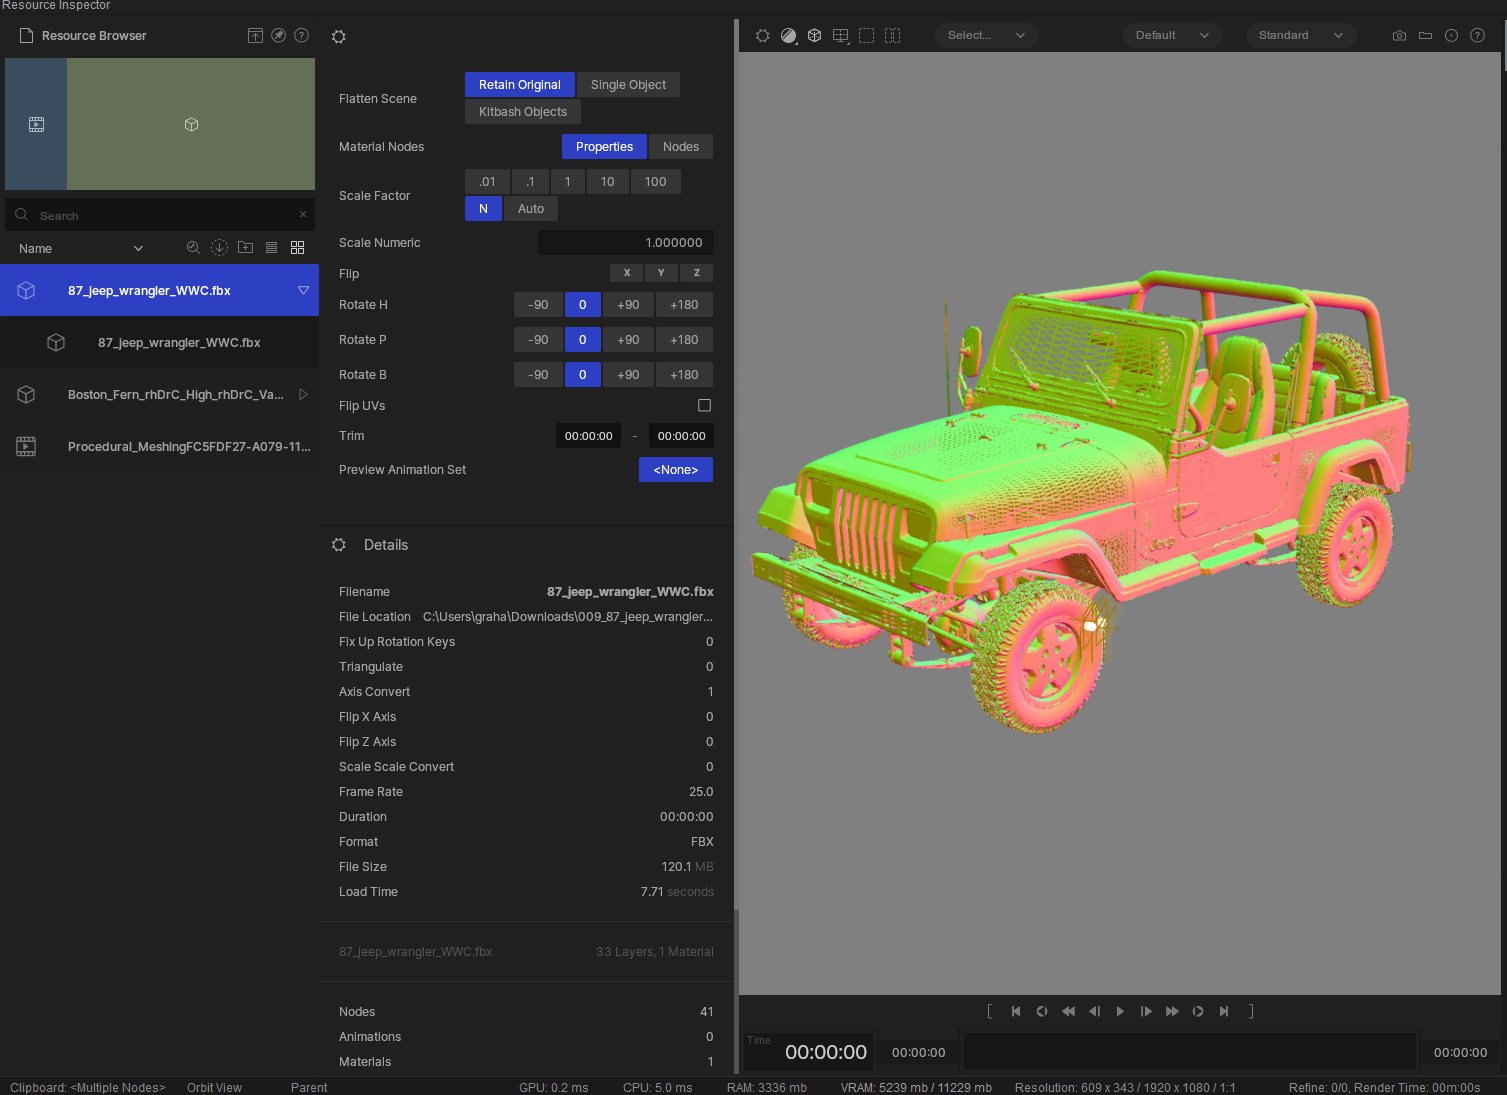
Notch 1.0 Introduced the Inspector window. This window allows you to view, manage and manipulate all of your resources, from videos to geometry.
Changes made here will affect your 3D resource on a resource level. this means that if you adjust something here, for example scale, the scale change will be applied to every instance in your project where that 3D object is used. This is really handy for ensuring a model has imported correctly before using it. See the next section on Geometry Nodes to apply changes to an individual instance of an imported resource.
You can use the resource browser to do several functions to manage your imported geometry:
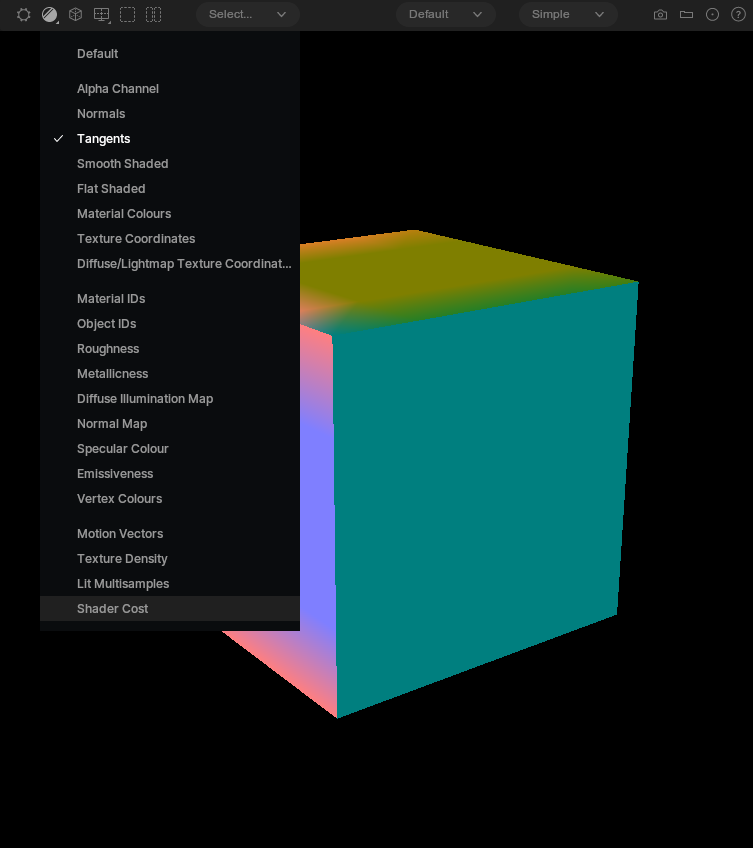
Another useful feature of the Inspector is that it gives you views to check other aspects of your imported file.
Form the drop down menu in the top of the Inspector’s viewport, you can review normals, tangents, material IDs, object IDs and more.
When you drag a geometry resource into your nodegraph, it will appear as either a 3D Scene or a 3D Object node.
These nodes are very similar, but a 3D Scene node can be made up of several 3D Objects.
These nodes allow you to work in your scene. They also give you certain properties that will allow you to edit the geometry on an instance level. Inside of the node’s properties you will find controls including scaling, pivot points, smoothing, subdivisions, reversing normals and more.
Please refer to the node’s individual sections of the manual for an in depth use of their use.
Once you have these geometry nodes in your scene, you can use them in a whole variety of systems. Please also refer to the rest of the Working in 3D section of the manual and the samples inside of Notch Launcher to see creative uses of these nodes.