Cloners
Updated: 24 Dec 2025
Updated: 24 Dec 2025
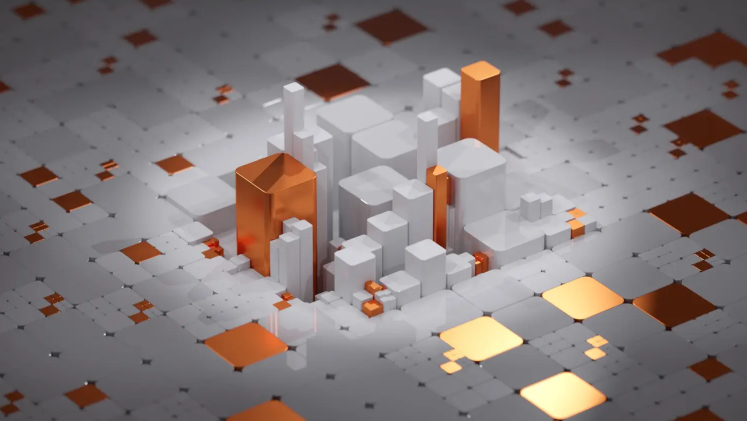
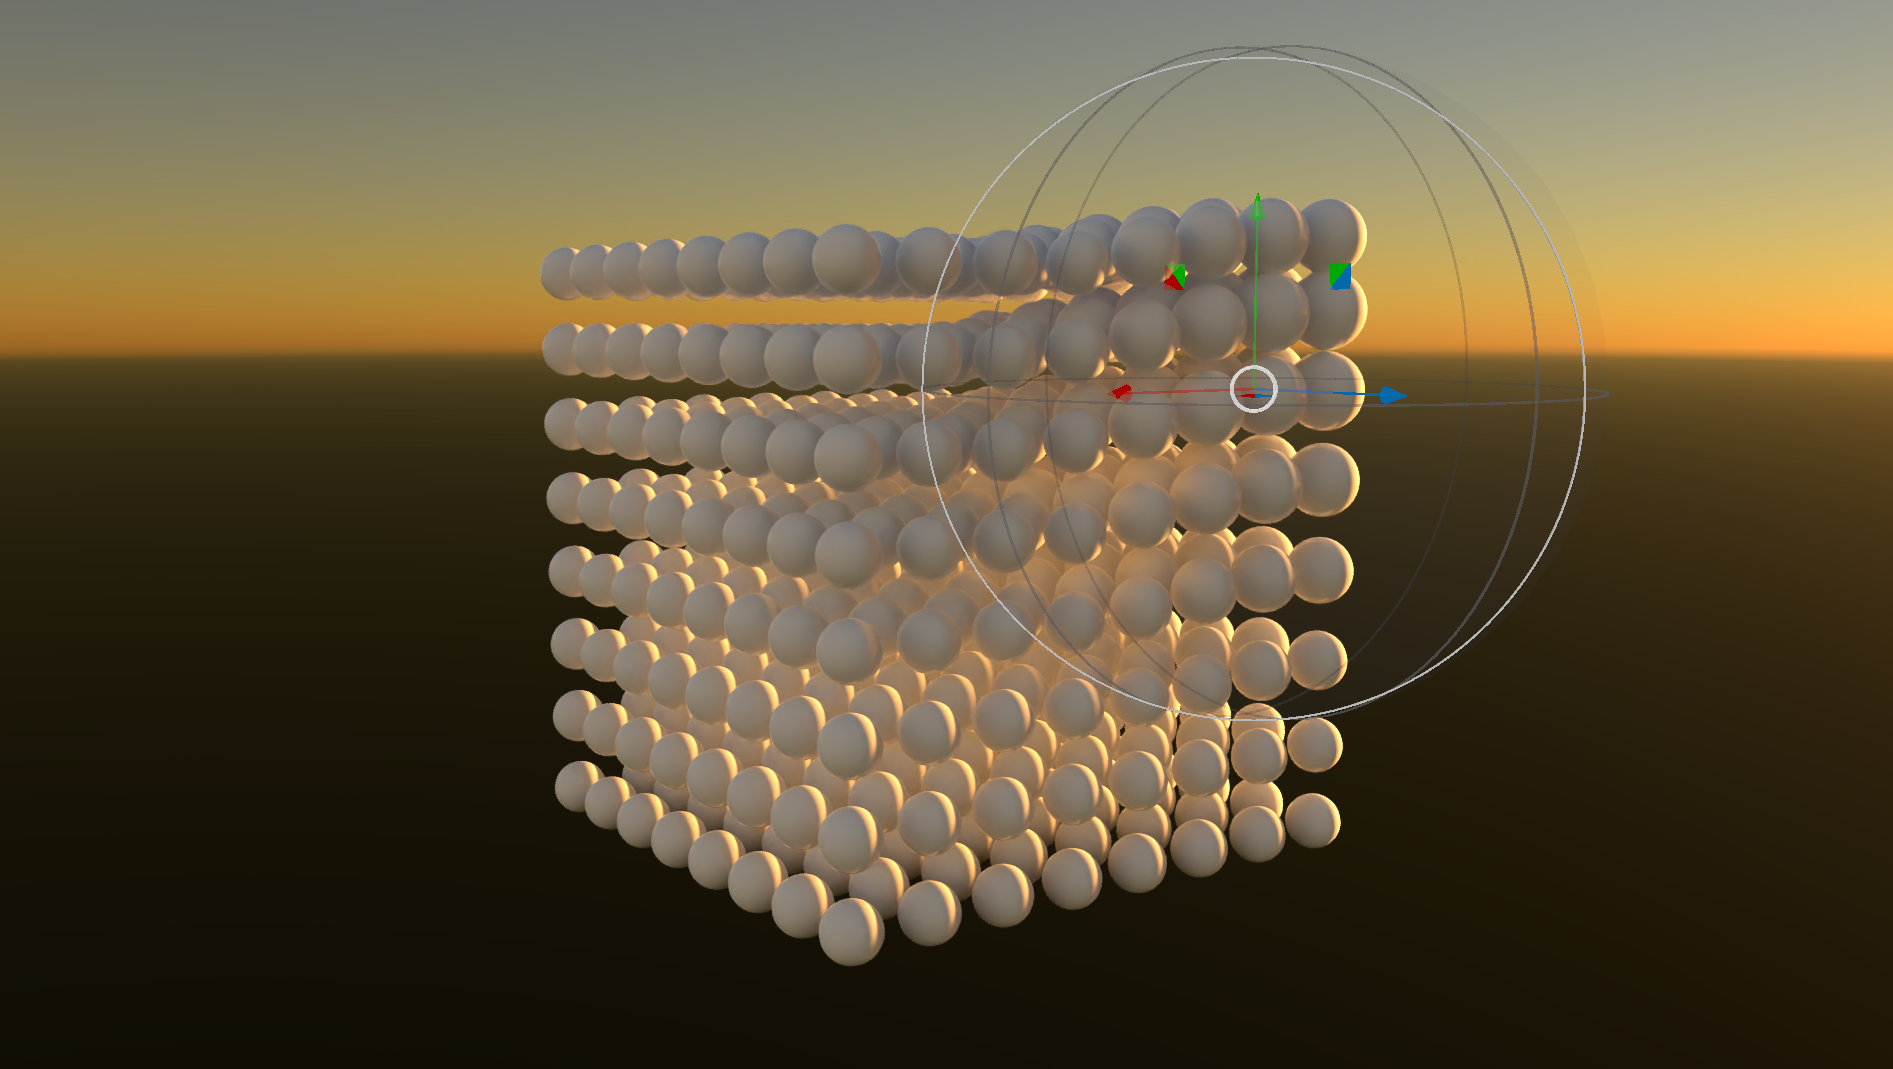
Cloner systems allow you to create cloned instances of 3D objects in a highly performant manner. 3D clones are rendered using hardware instancing on the GPU, so a huge number of clones can be instanced and rendered simultaneously in real time.
Many types of 3D Object can be cloned through cloner systems. Clones can then be animated through the use of effectors. These effectors can be used to alter and animate the position, scale, rotation and the material of the cloned geometry.
What this means is that cloners are a really easy, performant way of making dynamic content inside of Notch, compared to using many individual objects or nodes.
There are many different types of cloner inside of Notch. This section of the manual is intended to give an overview of all of the key functions and properties of cloner systems inside of Notch. For more detailed information of the specific properties and characteristics of each individual type of cloner node, please refer to the Cloners and Effectors sections of the manual. There is also a detailed Tutorial Video on these nodes.To get a general overview of the functionality of cloner systems, read on.
There is also some good examples of using cloners creatively inside of the Samples in Notch Launcher which are a good jumping off point for seeing how cloners can be used.
Cloners can take one or multiple objects, and instance them in a large number of locations. The positions that the cloner instances the cloned objects can be taken from a rage of sources.
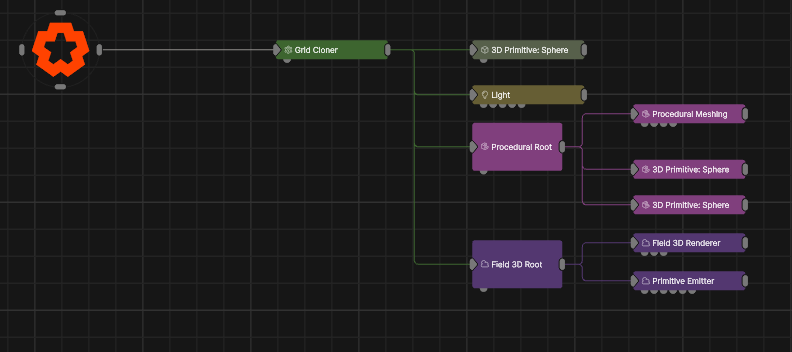
Cloners can be used on many more types of nodes than just geometry. You can now use them on any of these types of object:
To start cloning an object is really straightforward. You just parent the object you want to clone to the cloner node. In a lot of cases, this is all you need to do to get your clones working.
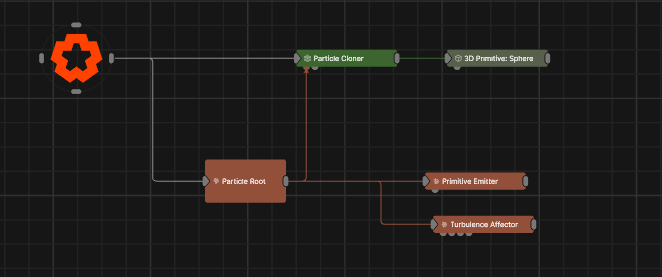
In other cases, the cloner node will also need an input that determines where the clones will be placed. The image cloner, array cloner, mesh cloner, volume cloner, particle cloner, procedural cloner and spline cloner all need an input. This is because the node that is fed into that input will determine how the cloner works.
In much the same way as you clone a single object by parenting one object two a cloner, you can add more objects. You can add as many child objects as you like to a cloner, and the cloner will clone a mix of all of those objects.
The way these objects will be cloned and controlled is described below in the Node Spawn Mode and First Clone Sections.
Two things that can be really handy for cloning multiple objects are:
- The humble Null. If you build something you want to clone multiple times using a combination of nodes, you can parent the whole system of nodes to a Mull, and then parent that to the cloner. This way, each clone will use the whole system that is parented to the Null.
- Assets, especially Embedded Assets, can be really handy to do the same thing, but also help keep things tidy as you can contain a bigger system of nodes inside of one node.
Each type of cloner will have it’s own nuanced properties to set it up, but there are a few key terms and concepts that hold true to all of them. The most critical of these are explained below, but again, you can see more details on the individual Cloner nodes.
How exactly the cloner is going to assign clones when it has multiple child nodes. is determined by the “Node Spawn Mode” property in the Property Editor.
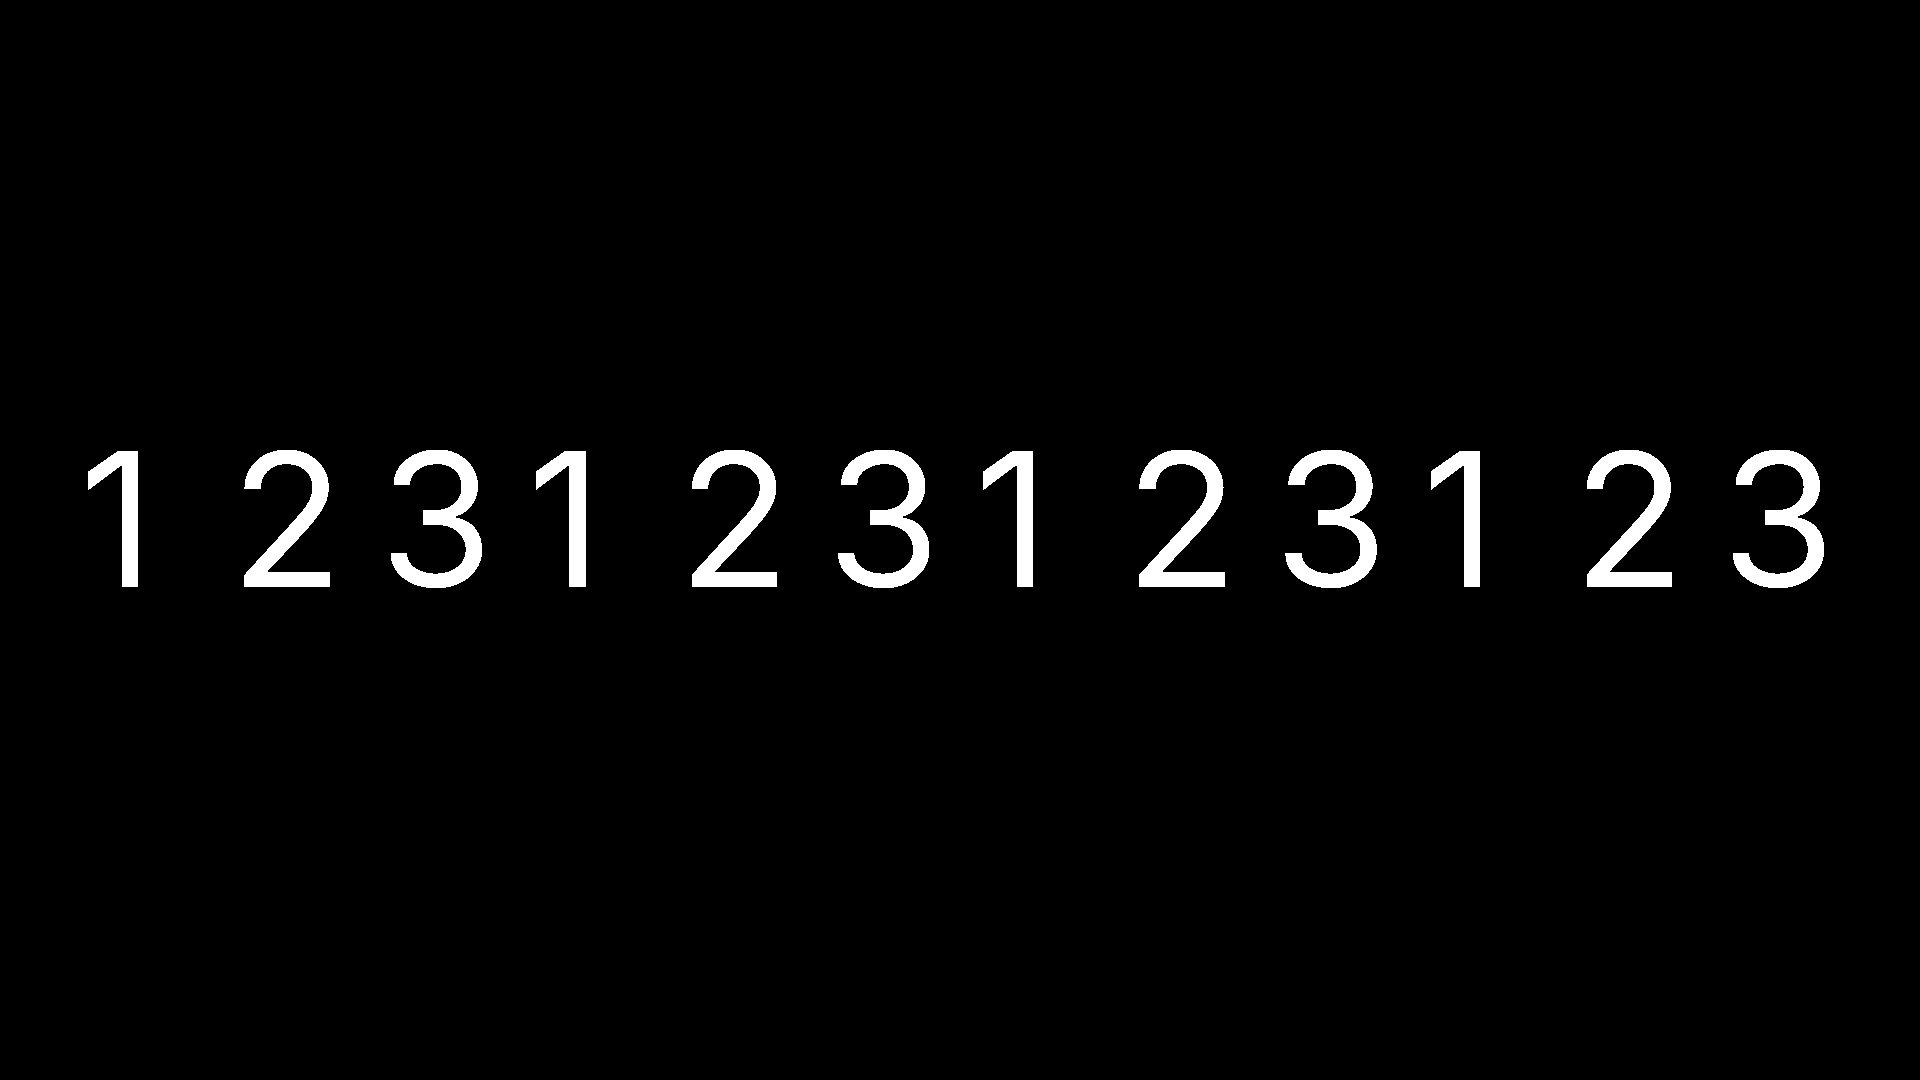 Setting this to “Iterate” will assign each child of the cloner to each clone iteratively.
 Setting it to “Random” will assign a randomly selected child node at each clone position.
 Setting it to “All” will clone all children of the cloner at every clone position.
Remember that Notch sorts the node graph in a top to bottom, left to right order. This sorting is going to determine which order the clones are used in. The top node will be used as the first clone, the lowest clone will be used as the last clone.
If you want to change the amount that each individual object will get cloned, you can change the number of times it is parented to the cloner. If you parent one object to a cloner twice, and another object to the cloner once then the first object will be cloned twice as much as the second object.
This determines which of the clones will be the first generated, to override the clone order.
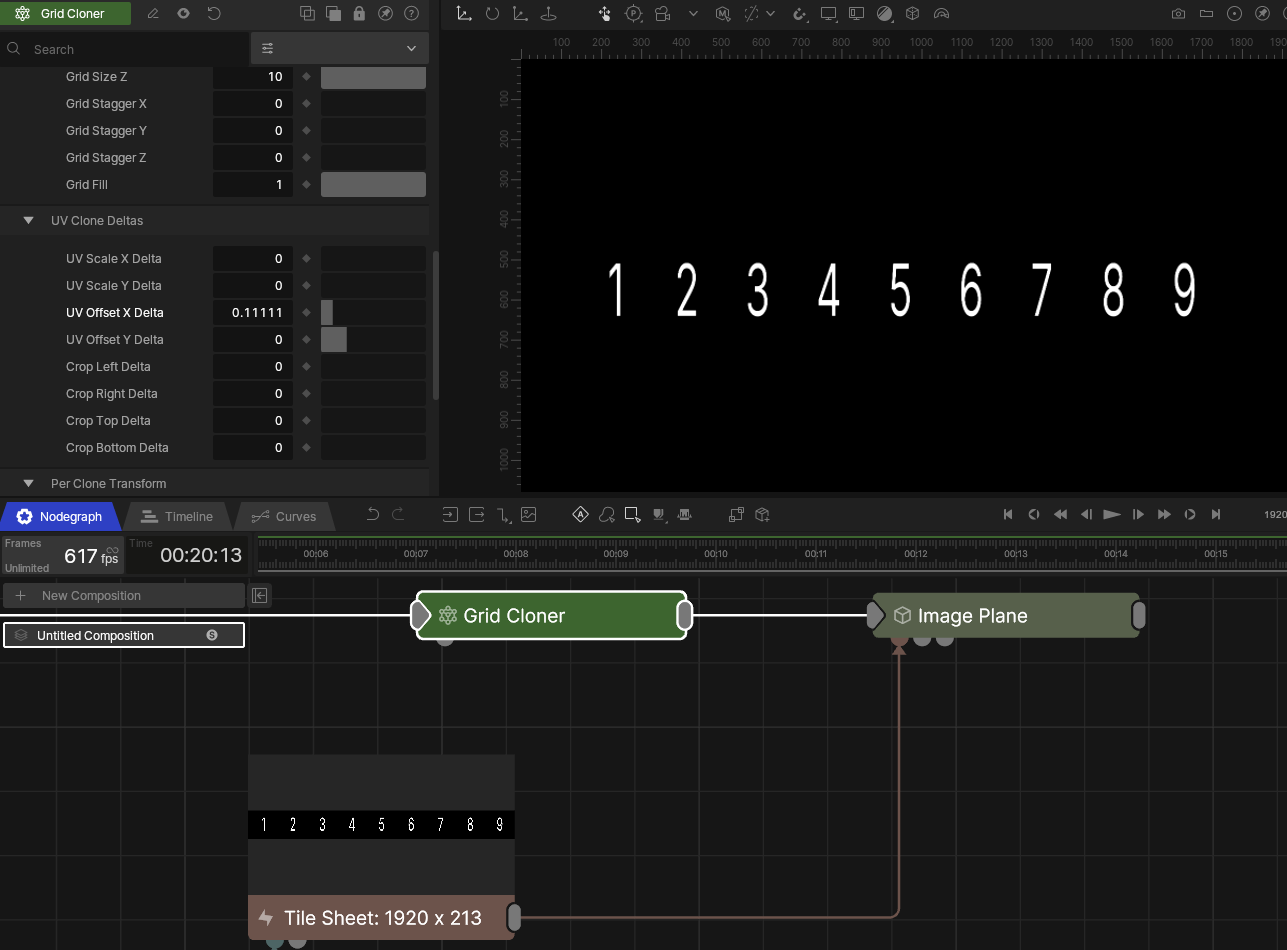
This is a group of properties can be used to alter the way that materials are applied to each clone via the UVs. You can use them to adjust the scale, offset or crop the UV on each individual clone.
This can be really useful, especially when used with a tile sheet. If your clones are using a material that has tile sheet textures, you can give each individual clone a different texture.
As an example, if you use a 9x1 tile sheet across 9 clones, you can set the the UV offset to (1/9) and each clone will take a separate tile . What’s useful about this is that even though the geometry is cloned (and so really performant), you can still apply individual textures to the clones.
This property is present in all cloners and can be used to, unsurprisingly maybe, adjust the scale of all the clones with a cloner system.
A property that sets the number of clones that will be generated by the node.
Cloner systems really start getting interesting with the addition of Effectors. These let you adjust and animate the material, scale, rotation, position and more of all of your cloned geometry.
There is a lot of different effectors, that let you take in different sources.. you can see the details of all of these different types of effectors in the specific Effectors section of the manual. But in essence, these effectors let you take information and properties from loads of other systems within Notch, and use it to manipulate the cloned objects.
Clone effectors can be connected in two different ways:
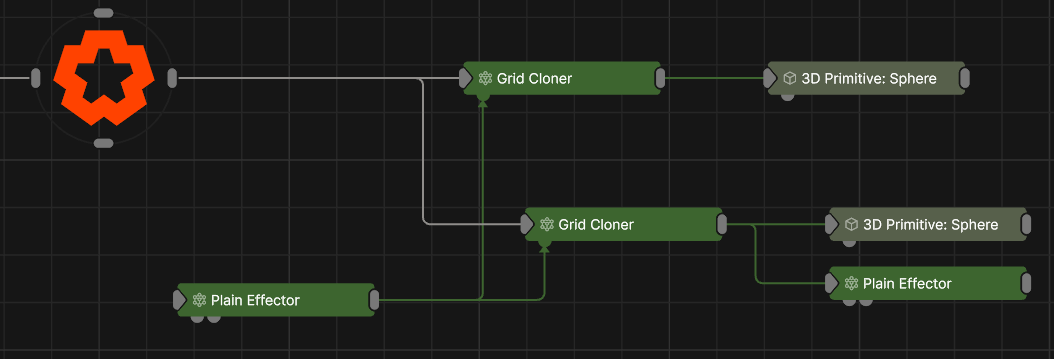
You can connect one effector to multiple cloners, to make one effect apply to separate cloner systems.
Each type of clone effector also has it’s own nuanced properties to set it up, but there are a few key terms and concepts that hold true to all of them. The most critical of these are explained below, but again, you can see more details on the individual Effector nodes.
This section of the effector’s properties determines how the clones will be affected by the effector. Use these settings to movie, rotate and scale your clones. The effector can be mapped to the position, rotation and scale of the clones in a variety of ways.
These transforms can be applied in an additive manner, when the apply mode is set to “Add”.
Setting the transform mode to “multiply” means that the effector scale is weighted by the falloff and multiplied to the clone’s previous scale.
Setting the transform mode to “replace” means that effector scale is weighted by the falloff and replaces the clone’s previous scale.
Each effector has a blend amount. This essentially determines the strength of the effector and can be used to turn effectors on, off, up or down.
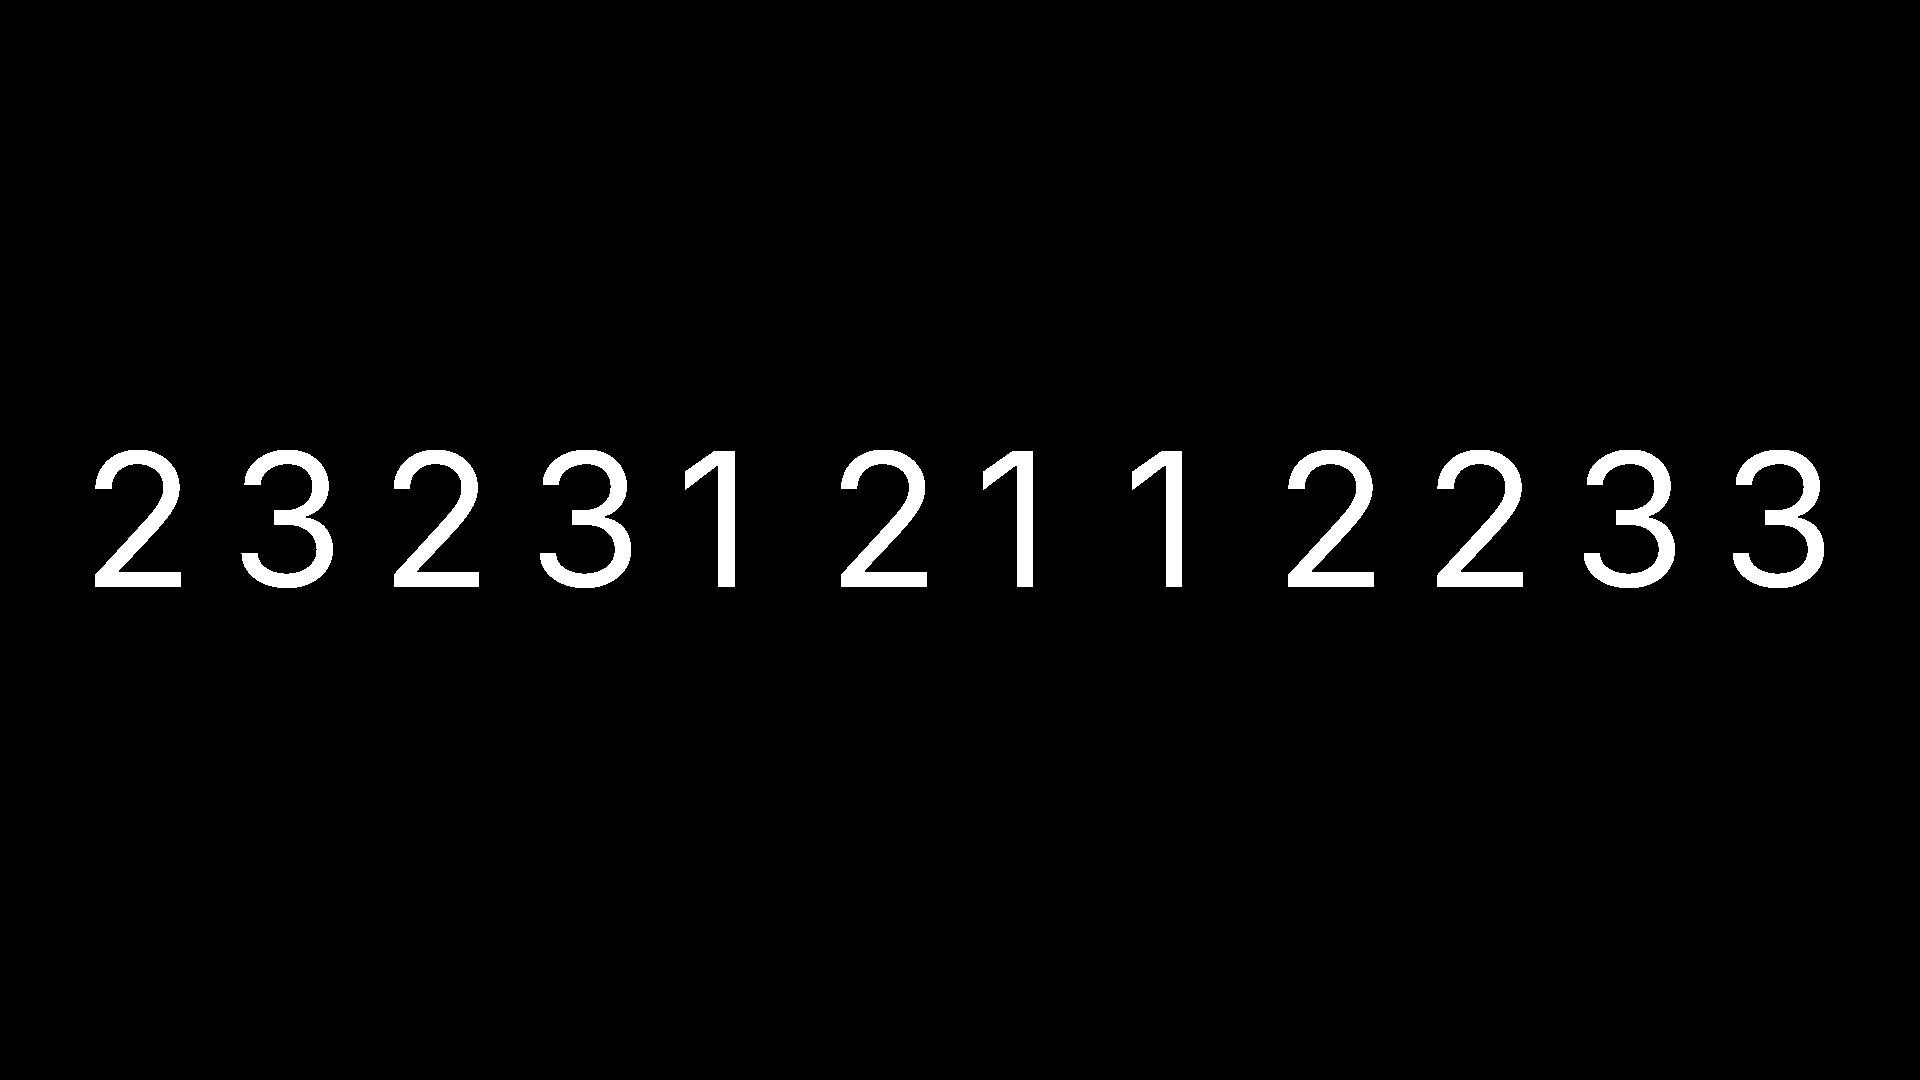
These controls let you select which clones are being affected by an effector, based off of the clone index or the clone ID.
This can be useful when you want to apply a specific effect to specific clones within a system.
There are also options for selecting a range of IDs or indices, and a random selection within the range. This options are useful for introducing variety to a cloner system, irrespective of 3D space.
Cloner systems and all of their animations resulting from effectors can be cached to disk and played back. Ths gives the advantage that less resource is needed for processing the movement of the clones in real time. Please refer to the Cloner Cache node to see how to set up and play back cache files for cloners.