Rendering Basics
Updated: 28 Jan 2026
Updated: 28 Jan 2026
In Notch you can render out your compositions to videos, stills and image sequences in many different formats and codecs. You can also use the Render Queue to pre-stack render jobs to be executed in one operation.
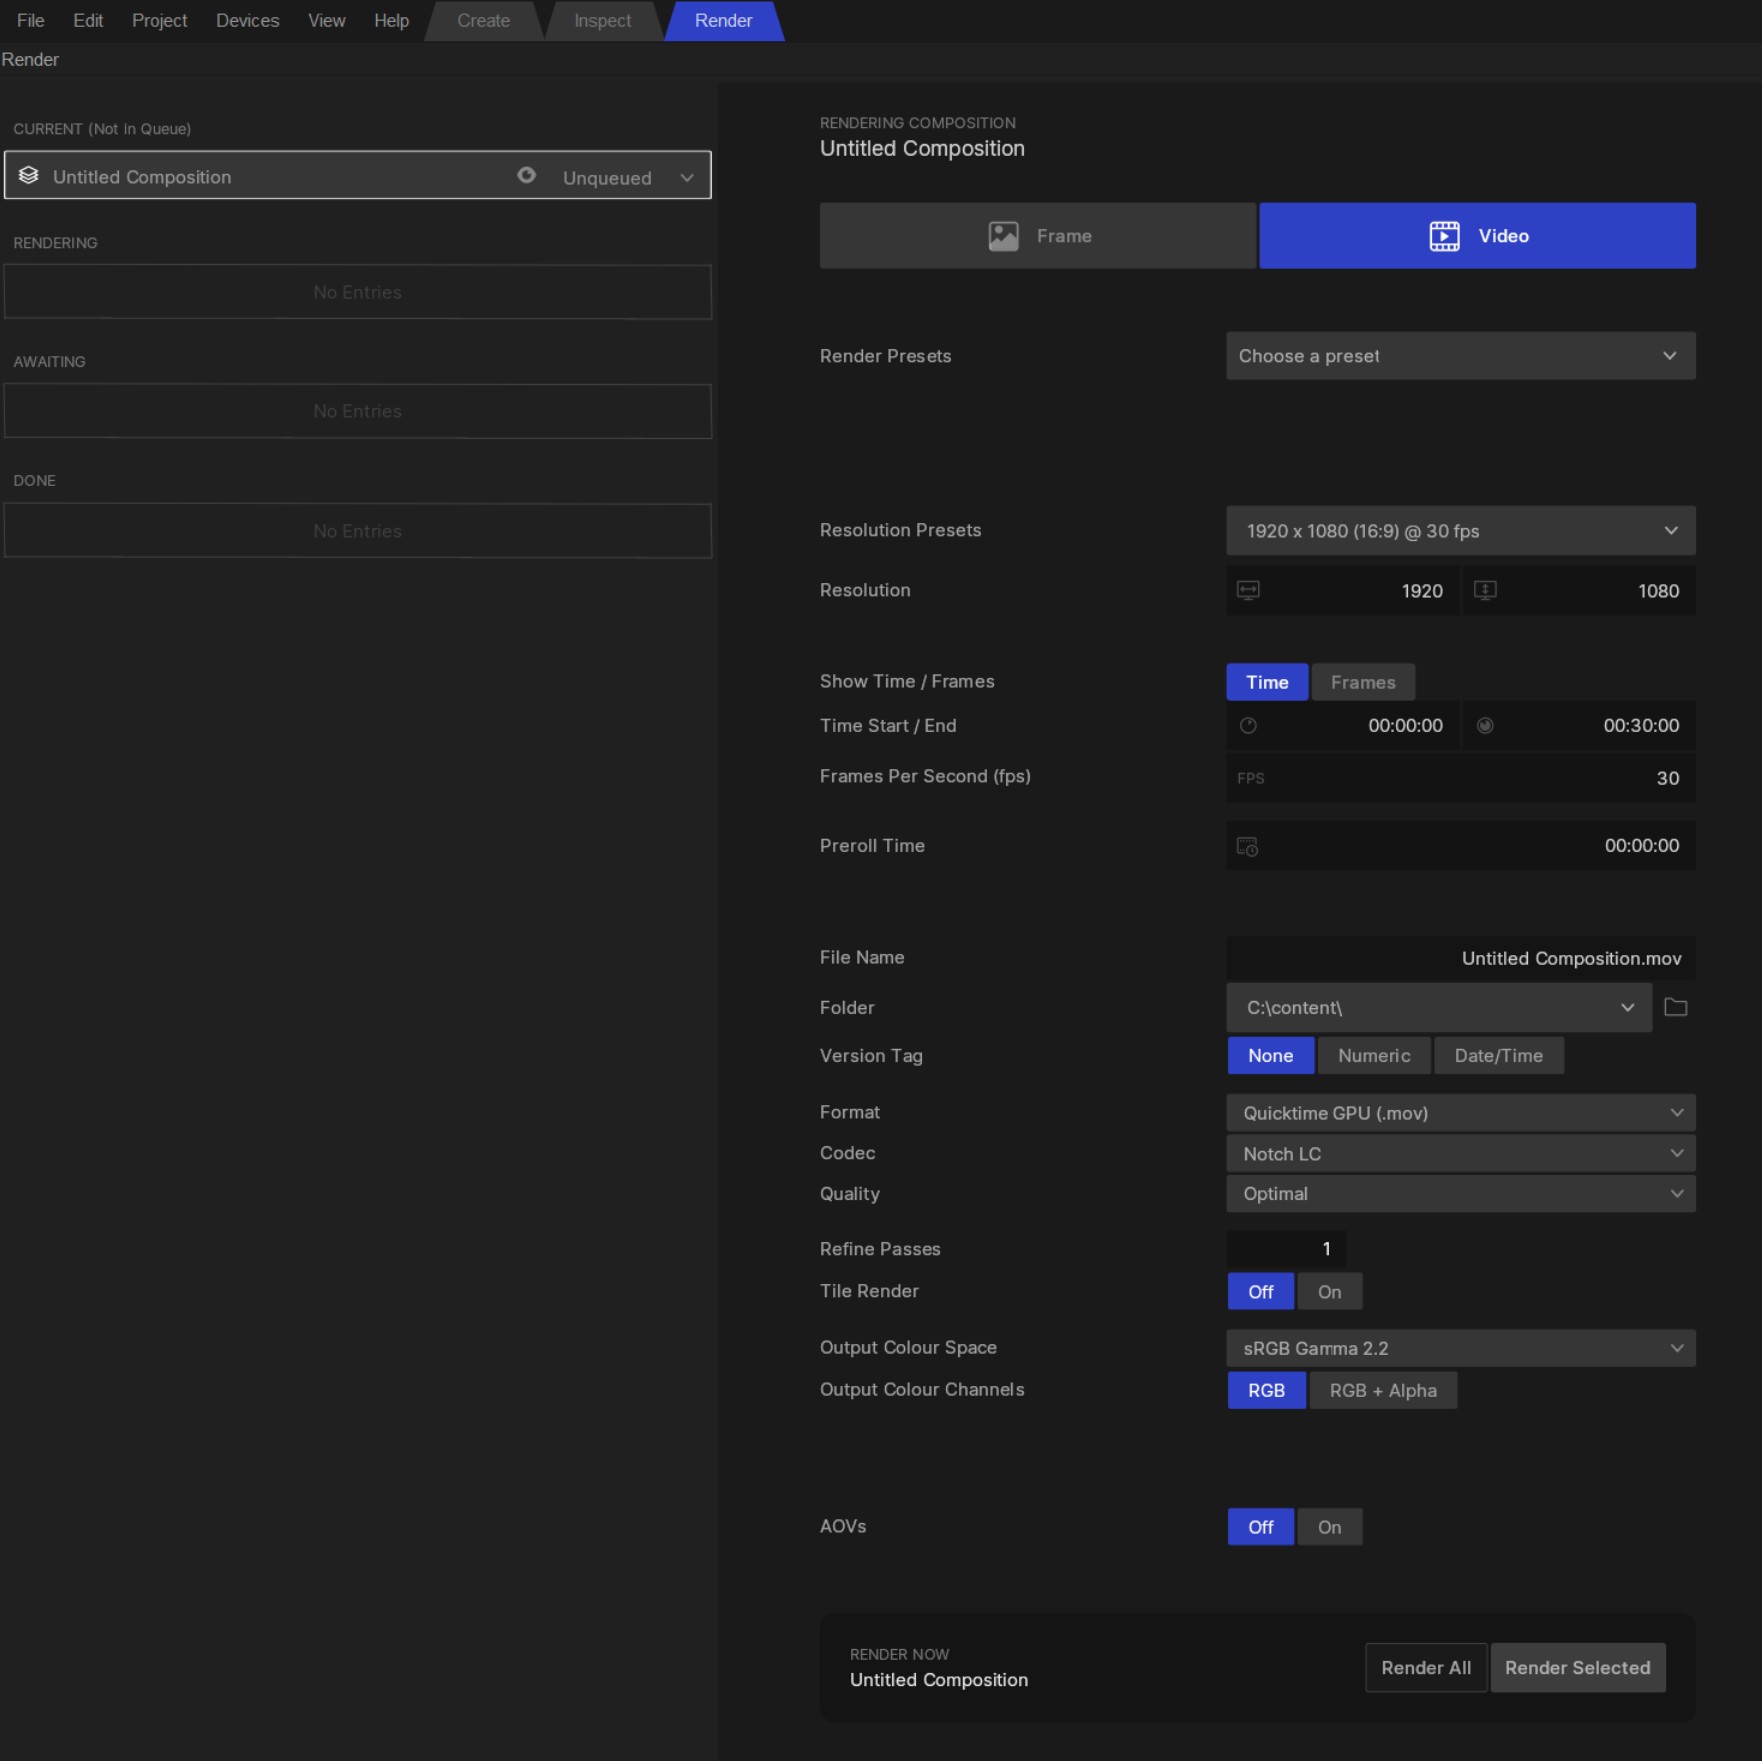
Rendering in Notch is handled in the Render Window.
To access the Render Window, you can click on the “Render” tab at the top left of the screen.
The Render Window is comprised of three panels.
Here you can see any render items that are added to the queue, including the currently active composition which is separate from the main render queue.
Here you can select and set all the settings of the file you want to render for each render item in the queue.
When you render a file, you will see a preview of the output here.
To render a composition to a file, first select the composition you want to render in the main Nodegraph view. Now when you open the Render Window by clicking the “Render” tab at the top left of the screen, you will see that your composition has been added to the “Current (Not In Queue)” slot. This means that is is ready to be rendered, but is not in the Render Queue (which deals with sequences of renders).
Now the composition is set in the “Current (Not In Queue)” slot, you are ready to select and set all of the Render Settings for your desired render.
Please see the Render Settings section of the page for more information about what these settings are and how to use them.
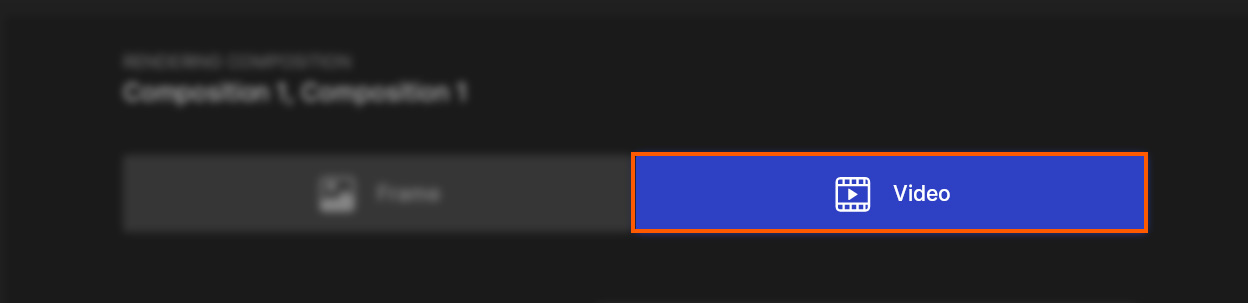
For video renders, please make sure you have the “Video” tab selected in the Render Window.
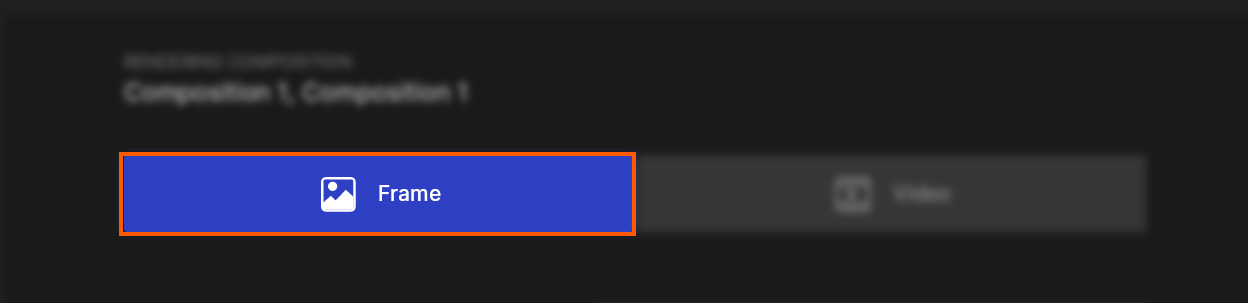
For still image renders, please make sure you have the “Frame” tab selected in the Render Window.
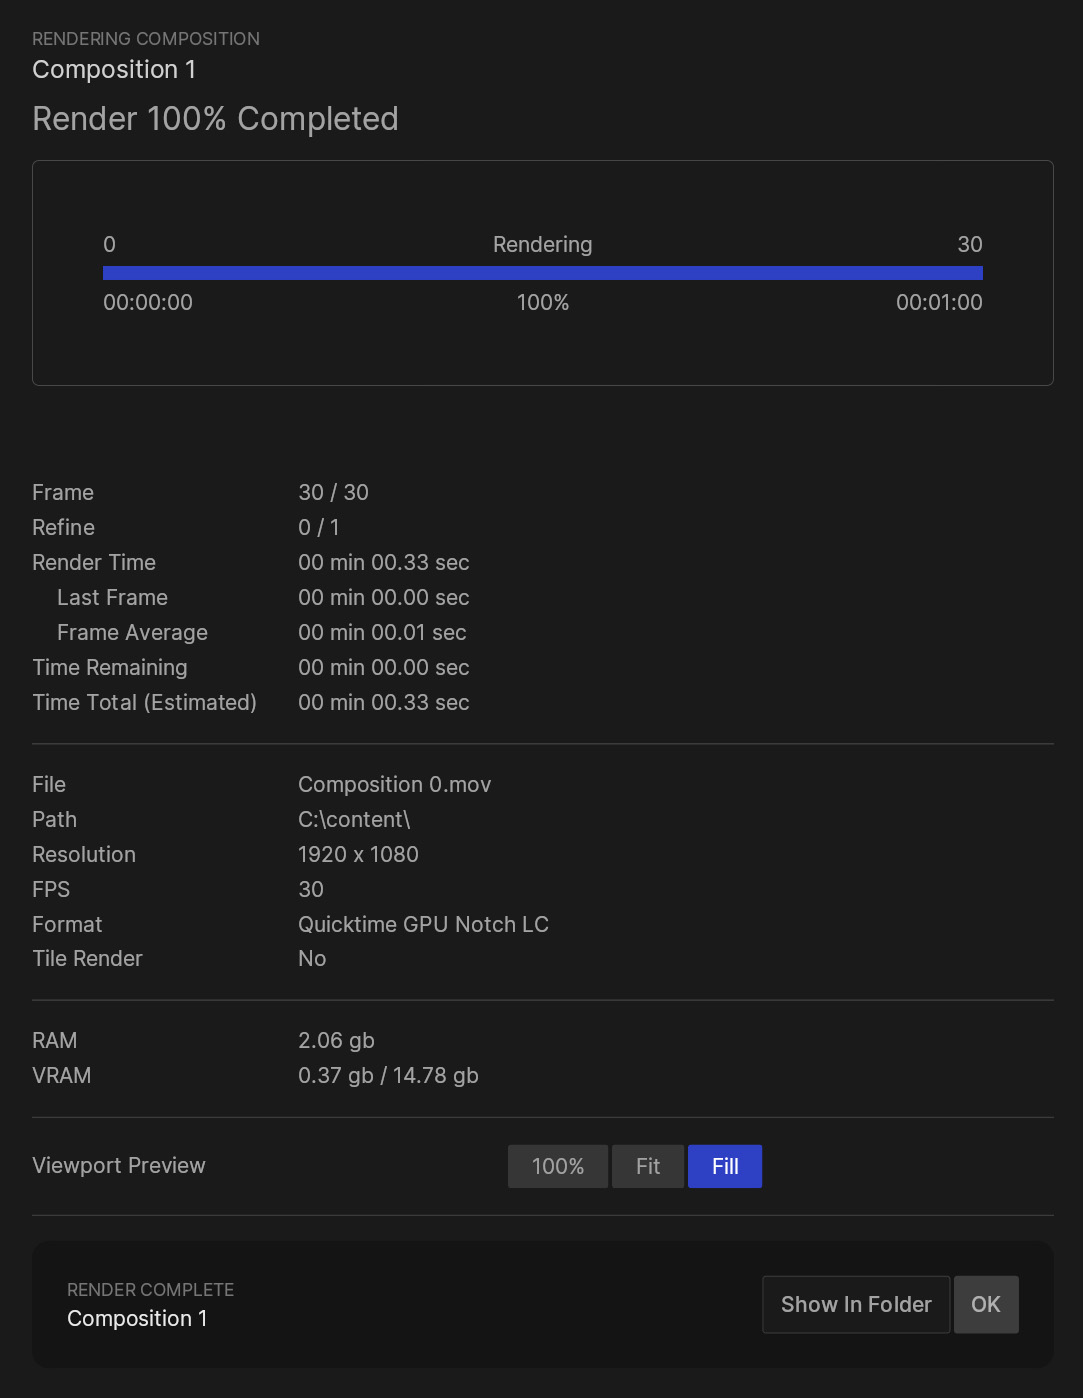
You will now see that a render status window opens which will give you detailed information about the render. Here you will see details such as the status of each rendered frame, how long each frame is taking to render, how much memory the render is taking, amongst other many useful details.
Once the render is done, you can click the “Show In Folder” button to open the location of the rendered file.
To end the current render job, hit the “OK” button to go back to the Render Settings panel where you can setup another render.
The “Resolution” property is where you set the desired width and height of your render. You can add this manually or select one of the presets for the “Resolution Presets” dropdown.
The resolution that you set here will override the project resolution. However if you have a “Custom Resolution” set in your composition’s Root Node, then the composition will be scaled to fit inside the resolution set in the Render Settings.

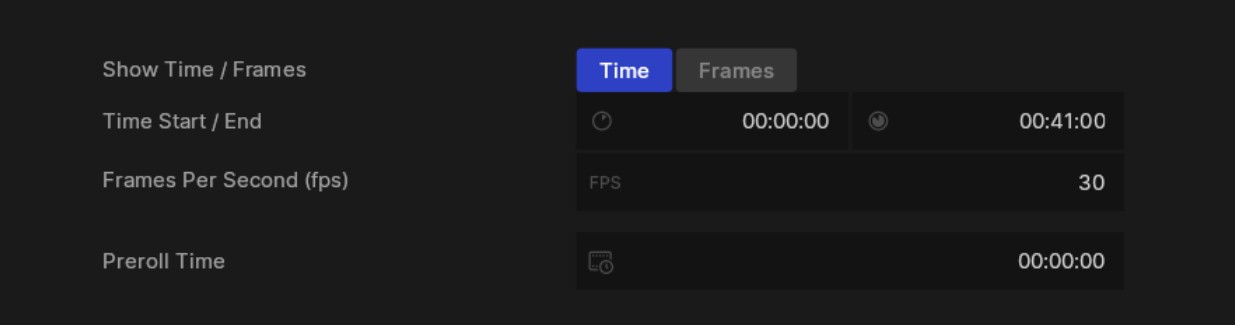
By default the length of the rendered video will be set to the length of the composition, which can be set by changing the compositions time segment in the Timeline, or by going to Edit -> Node/Composition Settings. However you can set a custom length of the render in the “Time Start / End” property.
You can set this either in number of frames, or in time (MM:SS:FF). To change this simply select the corresponding option from the “Show Time / Frames” property.
Here you can set the amount of frames per second you want to render your video out at. This can also be set as part of the “Resolution Presets” property along with resolution.
Adding pre-roll can help some effects which are dependant on previous frames, and allow lighting to pre-calculate for the first frame.
Here you can select the filename and folder you wish you render to be output to.
Notch supports a number of Filename Macros to automate the naming of your files based on properties such as the date, the composition name or the camera name, as well as many more.
This property automatically adds a suffix to the end of the file name, to help with versioning and prevent files overwriting.

Here you can set the format. The format defines the “container” that the video will be rendered with.
Here you can set the codec. The codec is the method of compression of the file.
Depending on what format and codec you select, there may be additional properties available to control such as quality. These will only appear when the relevant format is selected.

Refine passes controls the amount of passes per frame that the renderer will carry out. Multiple render passes are used for refinement in Smart and Path Tracer Renderers.
This setting will default to that of the active renderer in the composition.
Turning Tile Render on will split the render into multiple tiles which will be rendered separately and then composited back together at the end.
The Tile Size and the Overscan Size (size of the blend between the tiles) can be set by going to:
Edit -> Preferences -> System -> Renderer System Settings
Tile Render is useful when rendering out large resolution videos that are too large to fit in the available video memory (VRAM). Splitting them into multiple smaller tiles requires less VRAM per tile, making it possible to render out very large resolution files without hitting a VRAM bottleneck.

Here you can select the colour space you wish to use to output your rendered file.
For more detailed information about colour spaces you can visit the Colour Management page.
Here you can select what colour channels you want to output to the rendered file.
Different codec will allow for different colour options, so you will see the relevant option for the specified codec here.

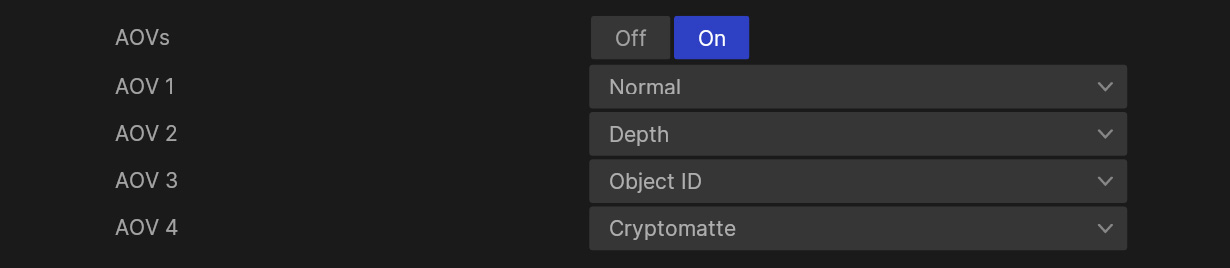
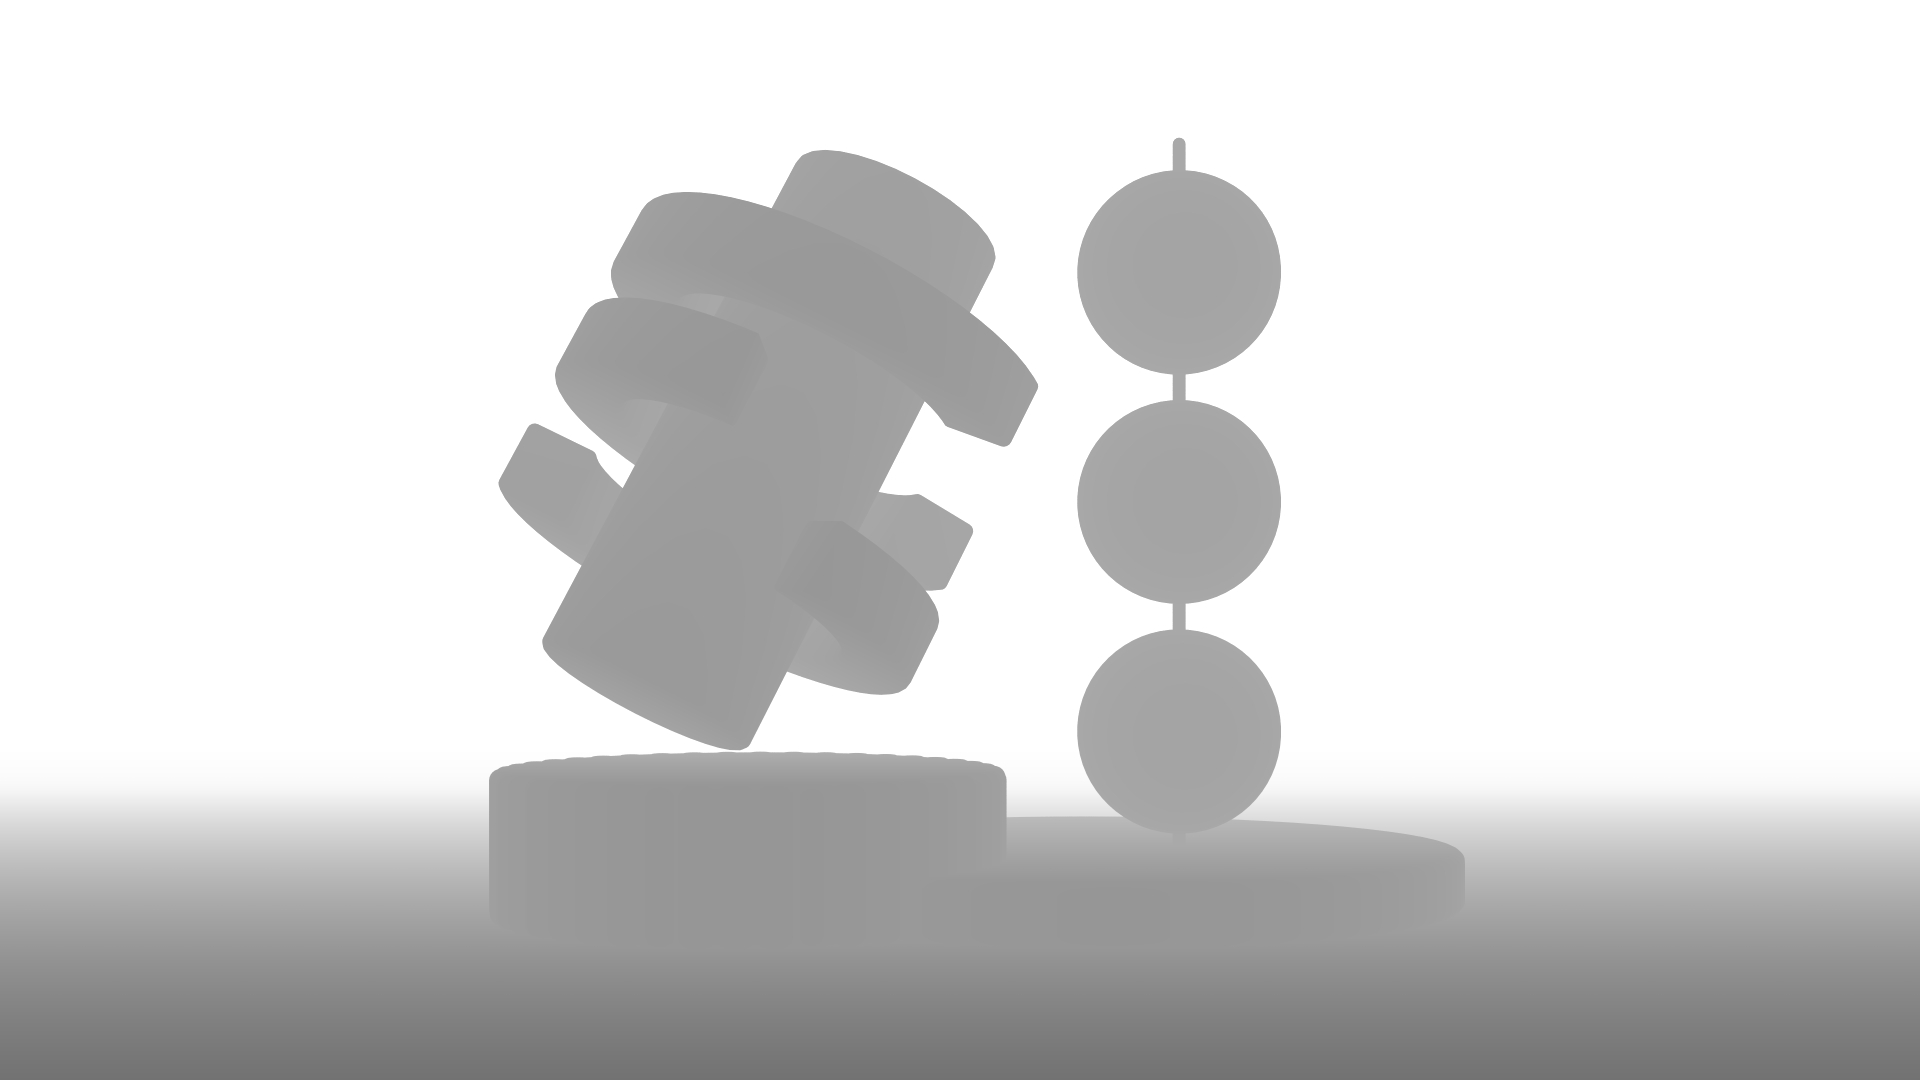
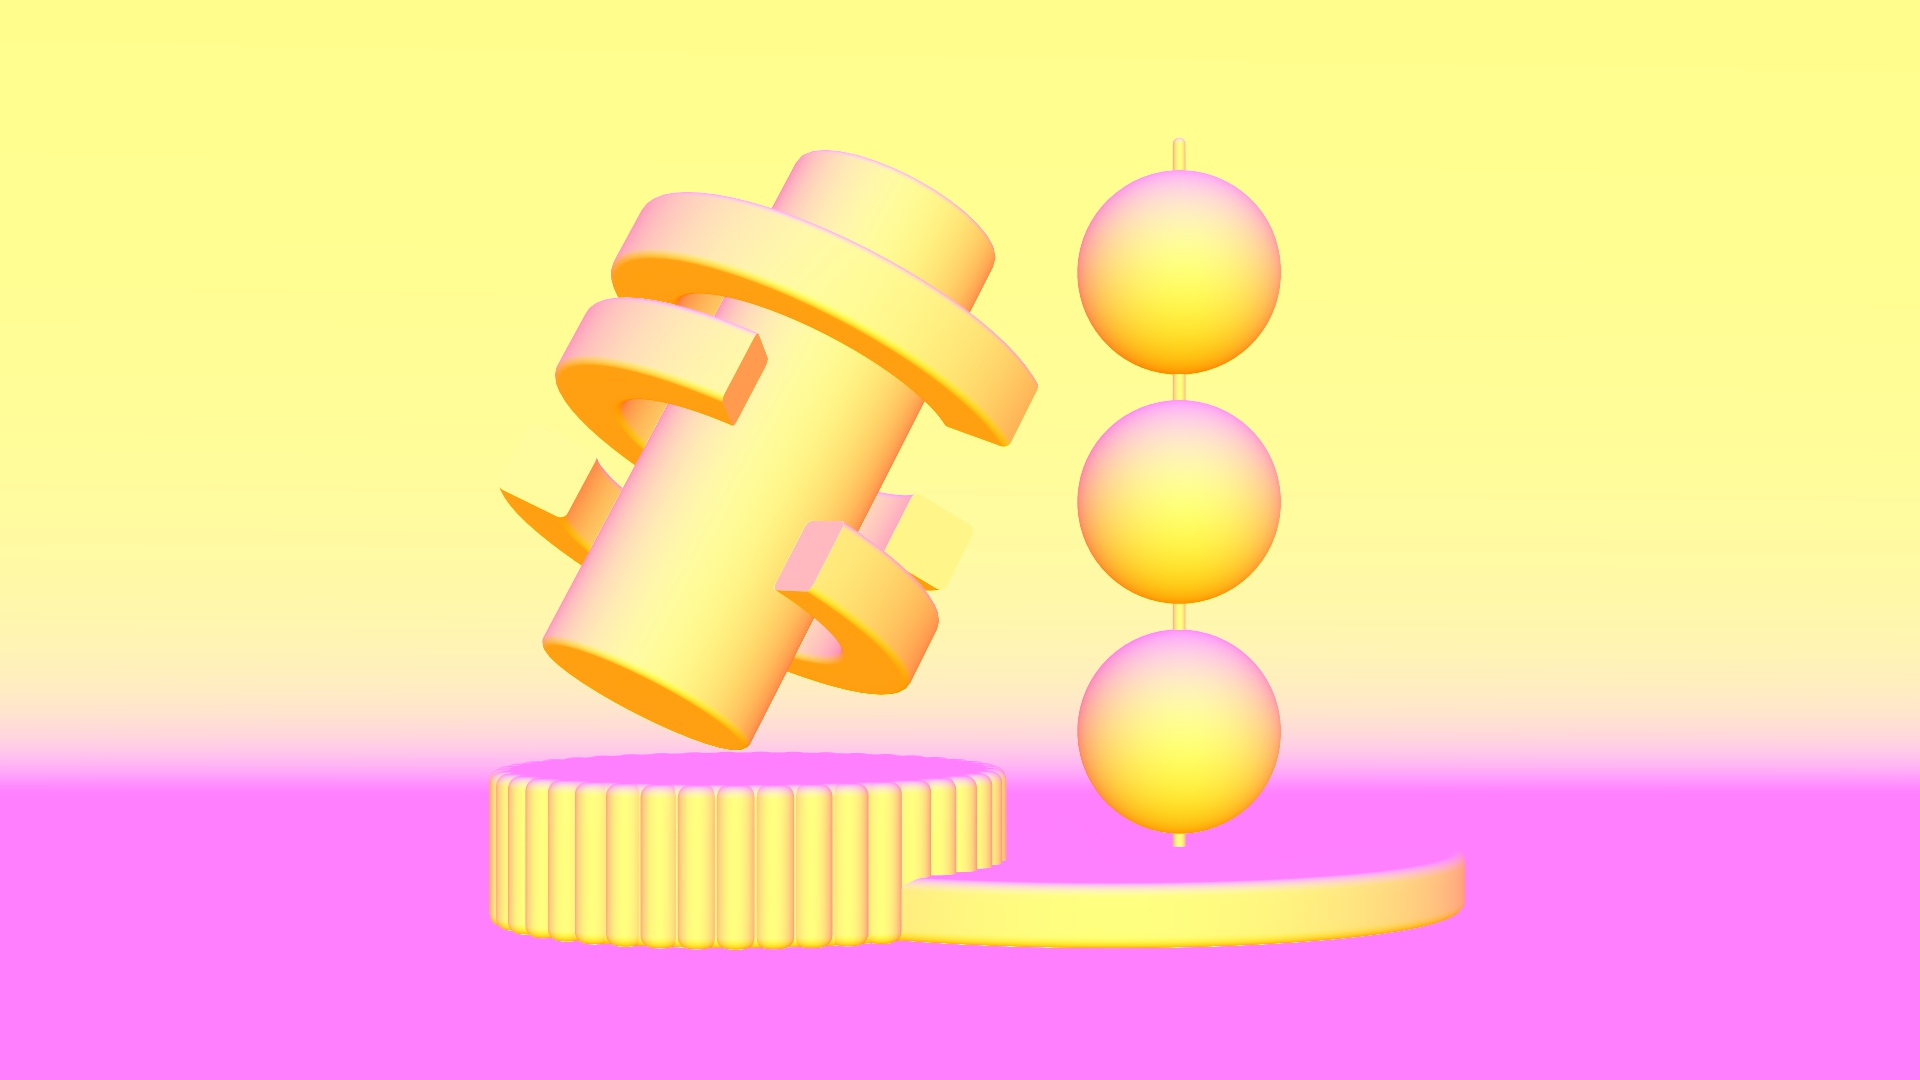
AOVs (arbitrary output variables) are additional render outputs that can be rendered in tandem with the main pass. You can select one or more different AOVs to output by selecting them in the AOV dropdown properties.