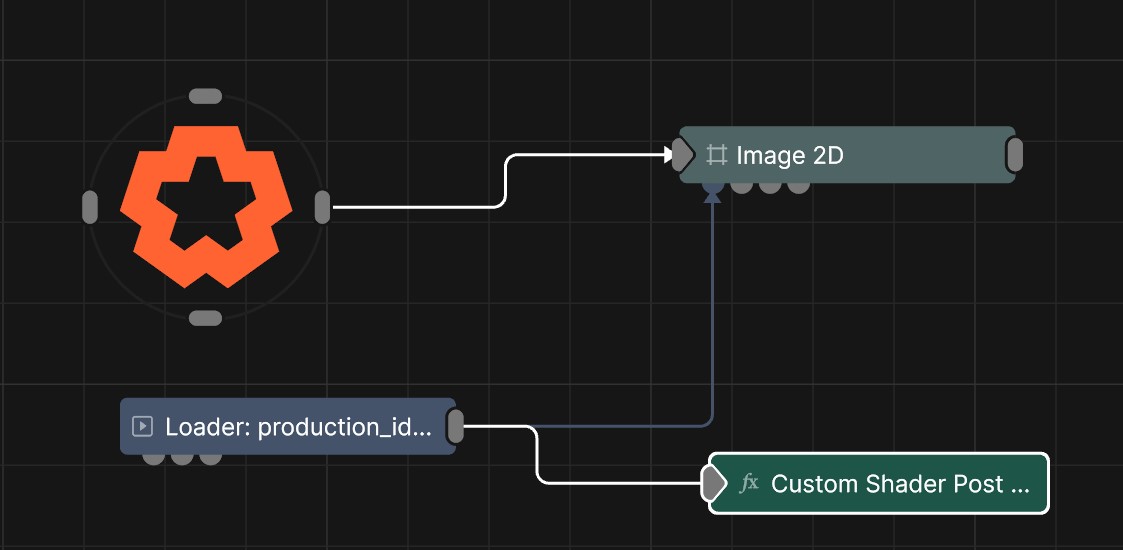
Custom Shader Post Effect
Updated: 11 Nov 2025
Add a custom .fx shader script as a Post-FX

Updated: 11 Nov 2025
Add a custom .fx shader script as a Post-FX

This node allows you to write your own custom shaders for use as a Post FX within the Notch nodegraph. Notch shaders are written in HLSL and use the D3DX Effect framework which allows for multiple techniques and passes and access to all of the pipeline stages. For Post FX the Pixel Shader is most commonly used for processing and effecting images.
Use of custom shaders is at your own risk. 10bit does not provide support for custom shader code. If you experience an issue with a project/block you will need to demonstrate your issue without your custom shader in the nodegraph, to be able to receive support from the 10bit team.
Shaders are resources with a .fx suffix. The most effective workflow for authoring shaders is to import your shader resource and turn on Reflect Resource Changes (right-click resource to set this). Now every time you save your shader in your text editor, the shader will be reloaded in Notch.
Any compilation errors will be reflected in the log (View -> Log Window)
The Notch engine provides a number of standard semantics for the shader:
CURRENTTIME : The nodes current timeBLENDAMOUNT : The blend amountGlobal single float variables are exposed as properties in the node attributes, allowing you to link/animate them.
Additional textures can be used in your shader by declaring them in your shader code like so:
Texture2D <float4> SecondInputBuffer : INPUTBUFFER2;
Once the updated shader code has been saved a “SecondInputBuffer” input pin will appear on the node, which you can then connect other image nodes to.
An example of a Post-FX shader is below:
Texture2D <float4> InputBuffer : INPUTBUFFER;			// The input texture

float CurrentTime : CURRENTTIME;						// The current time
float BlendAmount : BLENDAMOUNT;						// The blend amount param

float MyCustomParameter;								// A custom parameter

sampler LinearClampSampler
{
	Filter = Min_Mag_Linear_Mip_Point;
    AddressU = Clamp;
    AddressV = Clamp;
    AddressW = Clamp;
};

struct VS_OUTPUT
{
    float4 Position  : SV_POSITION;
	float2 Uv : TEXCOORD0;
};

VS_OUTPUT VS_Fullscreen(float4 Position : POSITION)
{
 	VS_OUTPUT Out = (VS_OUTPUT)0;
 	Out.Position = float4(Position.xy,0,1);
	Out.Uv = Position.xy * 0.5f + 0.5f;

	return Out;
}

float4 PS_ApplyPostProcess(VS_OUTPUT In) : SV_TARGET0
{
	float4 sourceValue = InputBuffer.Load(uint3(In.Position.xy,0));

	float4 rslt = float4(sourceValue.xyz * abs(sin((In.Uv.y+CurrentTime*0.2f)*30.0f * (1.0f+MyCustomParameter))),sourceValue.w);
	rslt = lerp(sourceValue, rslt, BlendAmount);

	return rslt;
}


BlendState NoBlend {
  AlphaToCoverageEnable = FALSE;
  BlendEnable[0] = FALSE;
  BlendEnable[1] = FALSE;
  BlendEnable[2] = FALSE;
  BlendEnable[3] = FALSE;
};
DepthStencilState NoDepthState {
  DepthEnable = FALSE;
  DepthWriteMask = All;
  DepthFunc = Less;
  StencilEnable = FALSE;
};
RasterizerState DefaultRasterState
{
	CullMode = None;
	FillMode = Solid;
	DepthBias = 0;
	ScissorEnable = false;
};
technique11 ApplyPostProcess
{
	pass p0
	{
		SetVertexShader( CompileShader( vs_4_0, VS_Fullscreen() ) );
		SetPixelShader( CompileShader( ps_4_0, PS_ApplyPostProcess() ) );

		SetBlendState( NoBlend, float4( 0.0f, 0.0f, 0.0f, 0.0f ), 0xFFFFFFFF );
		SetDepthStencilState( NoDepthState, 0);
		SetRasterizerState( DefaultRasterState );
	}
}
These properties control the core behaviours of the node.
| Parameter | Details |
|---|---|
| Active | Control whether ndi stream is being sent. |
| Shader | The selected shader from that has been imported as a resource |
The properties control the time at which the node is active. See Timeline for editing time segments.
| Parameter | Details |
|---|---|
| Duration |
Control the duration of the node’s time segment.
|
| Node Time | The custom start and end time for the node. |
| Duration (Timecode) | The length of the node’s time segment (in time). |
| Duration (Frames) | The length of the node’s time segment (in frames). |
| Time Segment Enabled | Set whether the node’s time segment is enabled or not in the Timeline. |
| Name | Description | Typical Input |
|---|---|---|
| Active | Enables or disables the effect. Disabling the effect means it will no longer compute, so disabling a node when not in use can improve performance. | Value |