Node Heirarchy and Data Flow
Updated: 28 Nov 2025
Updated: 28 Nov 2025
Notch projects are built using systems of interconnected nodes. Understanding how different nodes connect and interact is essential for building scenes in Notch.
Each node has several pins. These pins can be used to connect different nodes together, by clicking on a pin of one node and then dragging to a pin of another node. There are three different types of pins on a node, for example on this 3D Primitive there is:
Each node’s functions and individual connections is explained in the Nodes section of the Manual. It is important to understand the specifics of various types of nodes in order to work with them effectively.
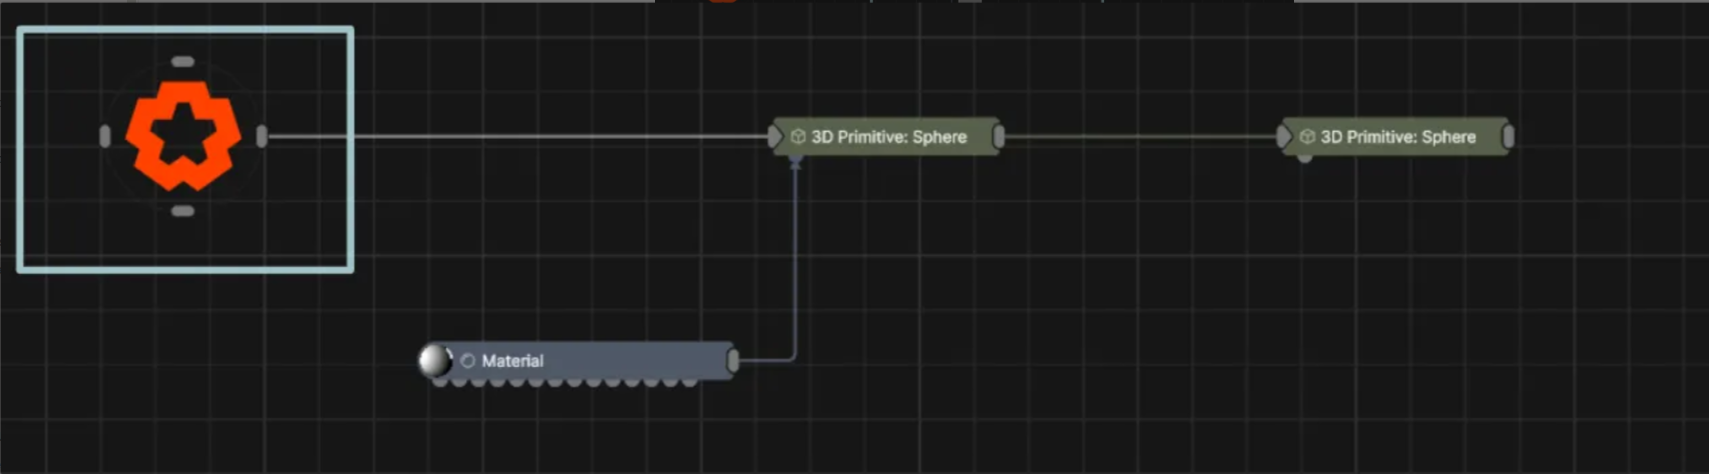
Everything starts with the root node. he root node is the entry point to your scene. For any node to be active in your scene, it must be connected (either directly or via a chain of nodes) to the root node. You can connect nodes to the root node directly by clicking and dragging from the output pins of the root node, or by selecting the node you want to connect and using the keyboard shortcut Ctrl + R. Clicking on the root node will reveal several properties that are key to your scene.
Similarly, there are other root nodes that are needed for certain systems. Particle, Procedural, Field and Physics systems all require their own root node. These system root nodes serve two purposes.

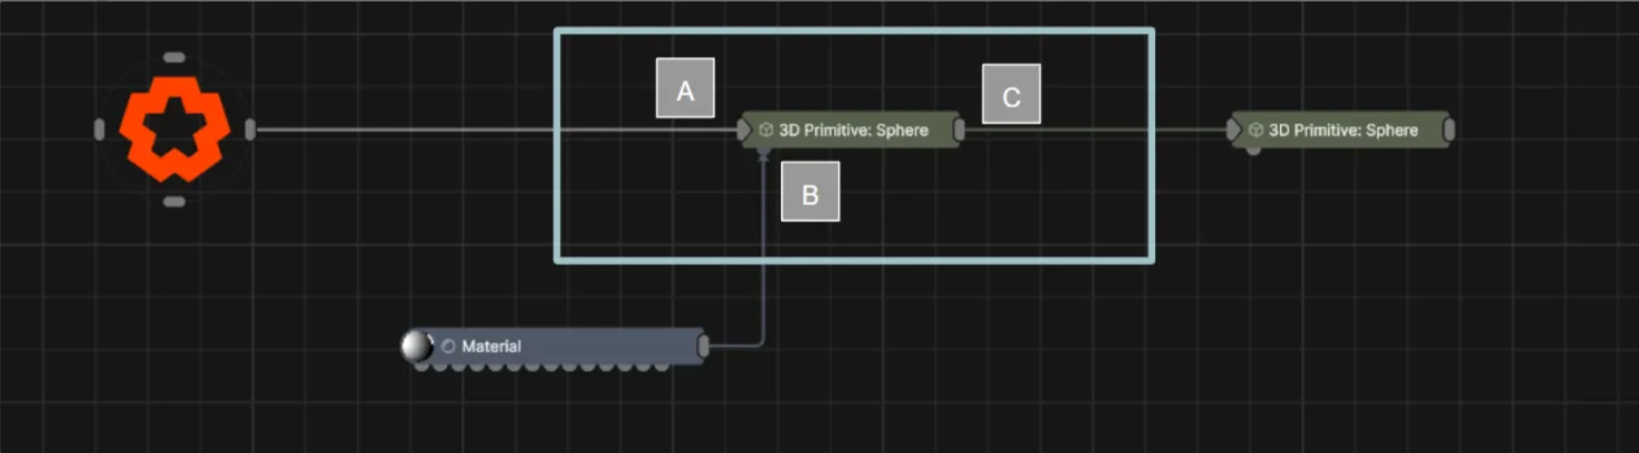
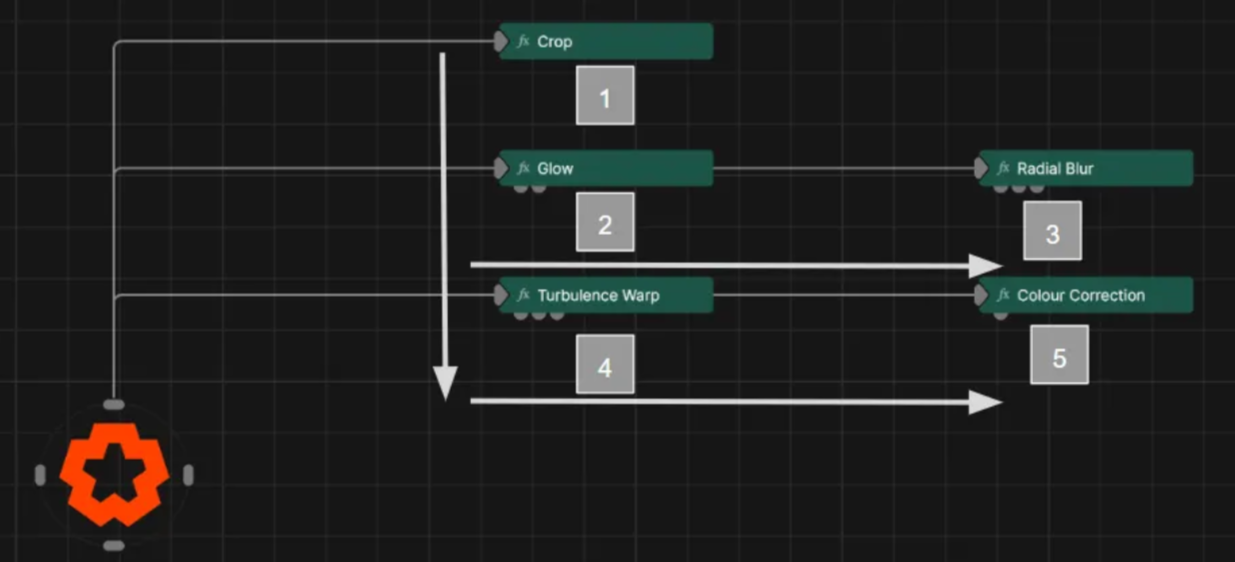
Where nodes share the same parent, the order of operations (the order in which the code for each node is executed) is determined by the nodes position on the nodegraph.
It is important to understand this behaviour as there are cases where the order of operations will dramatically change the overall outcome. Take for example a
This order of operations works top to bottom, left to right.
This means that nodes that are higher in the nodegraph will be positioned before those positioned lower in the nodegraph.
If two nodes are at the same y position (i.e. at the same height) in the nodegraph, the order will be determined by their x position. In this case, the node on the left will be be processed first.
All of the various systems of nodes can be connected and combined in various ways. This is a really powerful way of making the best use of all of Notch’s various systems. For example, a particle system can be used to create a cloner system. Or be used as a generator or an effector to a field system, or a procedural system. This is not just true for particles, but for all sorts of systems inside of Notch.
There are many different ways of combining these systems, and the combining of different systems is really useful for pushing the creative boundaries of Notch and making compelling looks.