Handles
Updated: 11 Sep 2024
Updated: 11 Sep 2024
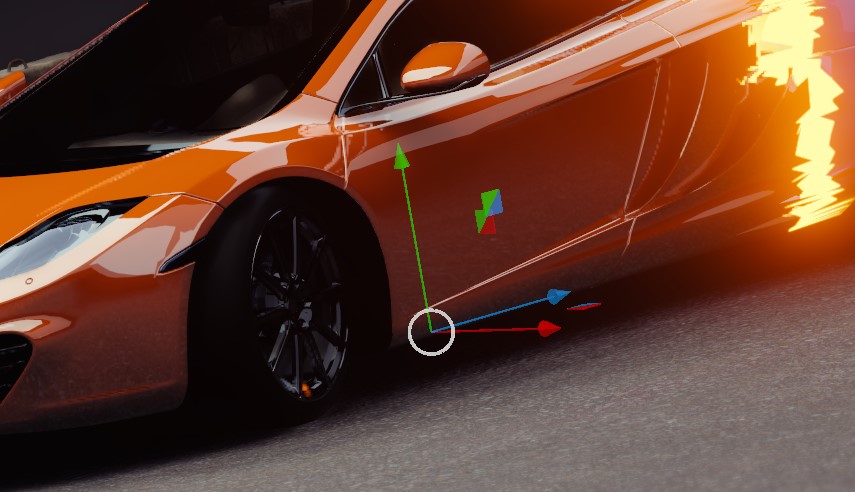
The Viewport handles are the main way you’ll be interacting with and manipulating objects and nodes in the viewport. Each handle type allows you to modify the transforms or base properties of the selected node in differnt ways within the viewport, for easier object placement in your scene. We have handles for both 2D and 3D nodes.
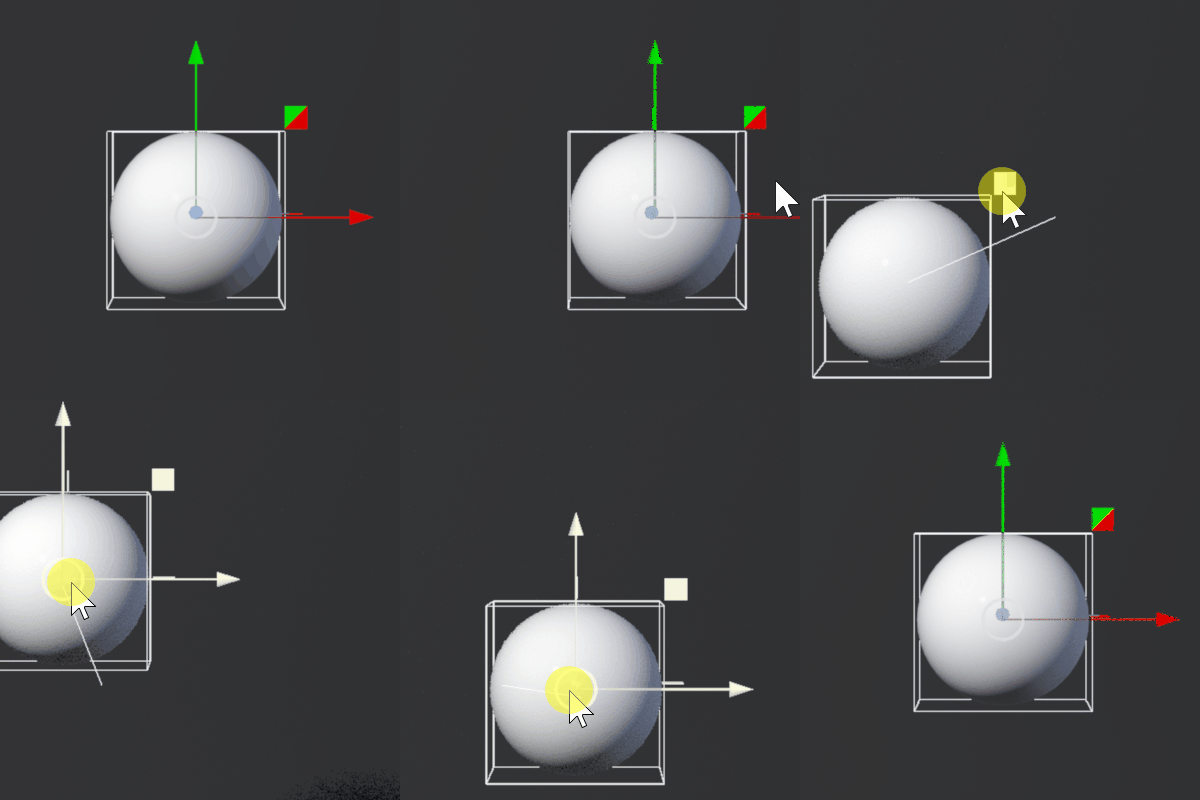
This tool allows you to control the Position of the node in 2D or 3D, using the axis handles. Selecting at the center allows you to move the node in screen space.
Modifier keys allow you to further control movement with some quick shortcuts:
Shift to move with the position snapping to every 0.5 units.Ctrl to move precisely, with movement ten times slower than normal.Shift + Ctrl to use snapped movement, but with much smaller steps of 0.05 units.Shortcut: E
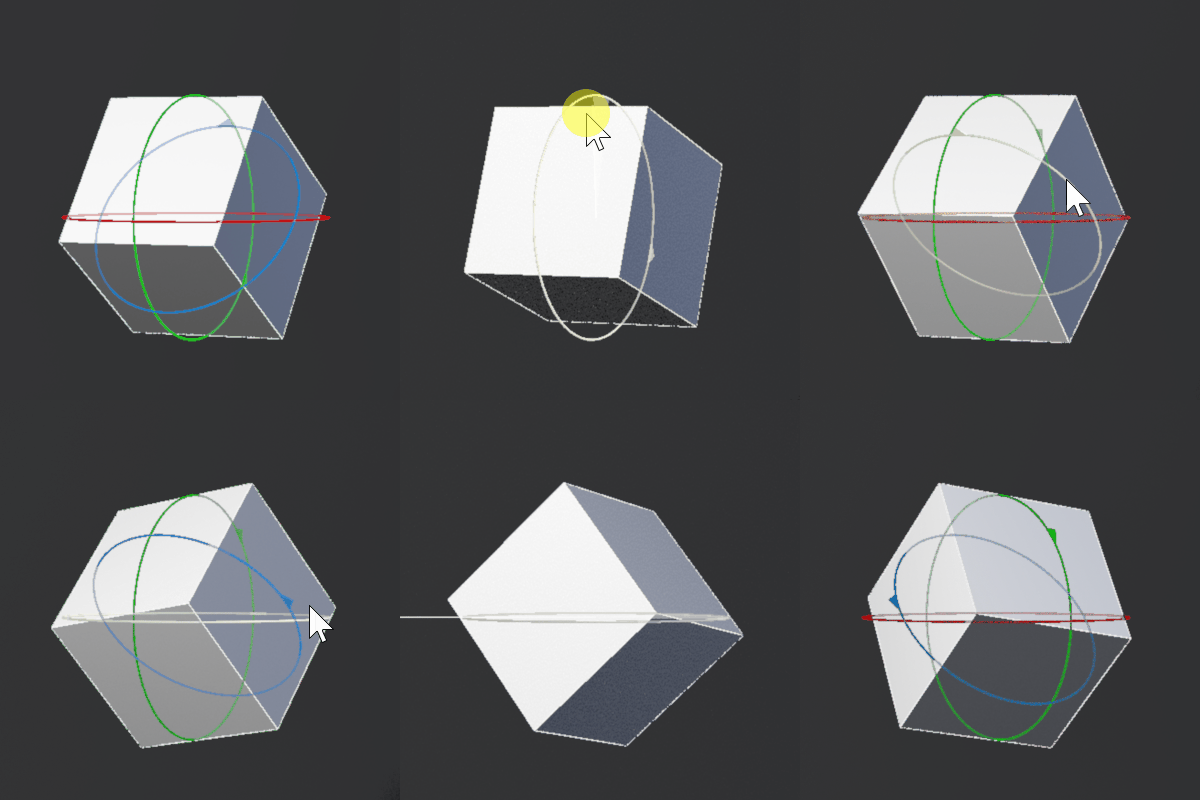
This tool allows you to control the Rotation of the node in 2D or 3D, using the axis rings.
Modifier keys allow you to further control rotation with some quick shortcuts:
Shift to move with the rotation snapping to every 15 degrees.Ctrl to move precisely, with movement ten times slower than normal.Shift + Ctrl to use snapped movement, but with much smaller steps of 3.75 units.Shortcut: R
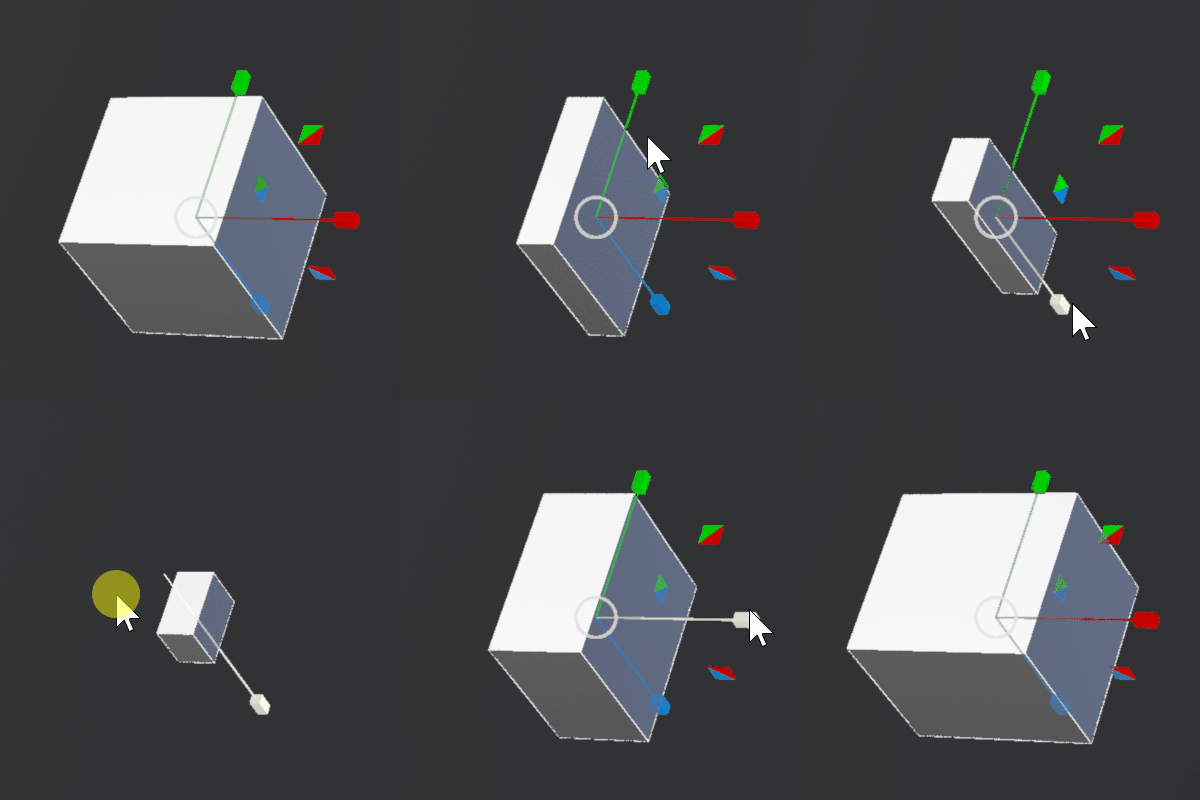
This tool allows you to control the Scale of the node in 2D or 3D, using the axis handles. Selecting at the center allows you to scale uniformly.
Modifier keys allow you to further control scale with some quick shortcuts:
Shift to move with the scale snapping to every 1 unit, or every 0.1 units when scaling down.Ctrl to move precisely, with scale ten times slower than normal.Shift + Ctrl to use snapped movement, but with much smaller steps of 0.1 when scaling up, and 0.01 units when scaling down.Shortcut: T
This tool allows you to place a node onto the surface of other objects in the scene. Useful for quickly Building out a scene in 3D from a couple of assets and a ground plane.
Modifier keys allow you to further control placement with some quick shortcuts:
Scroll to uniformly scale the object after placing.RMB to place with random rotationShortcut: Y
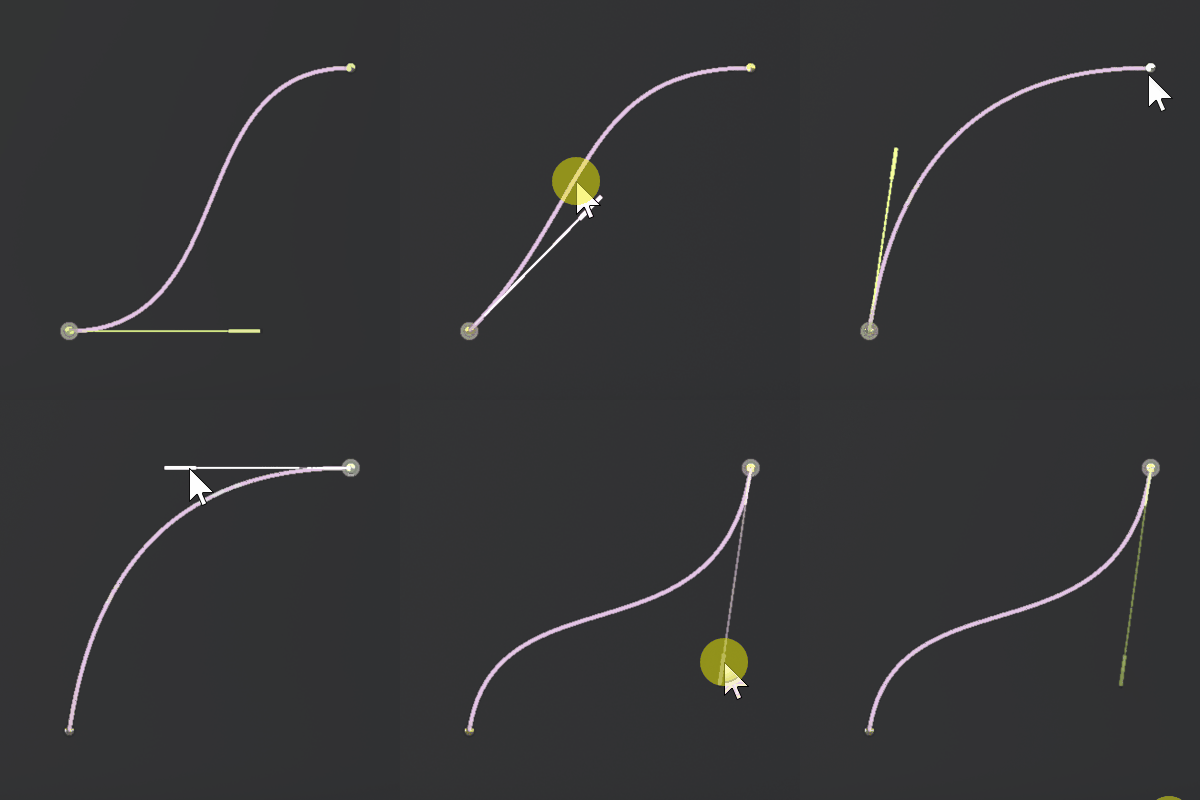
Only available when a Spline is selected, this mode allows you to edit the transforms of a bezier curves anchor and control points.
Shortcut: U
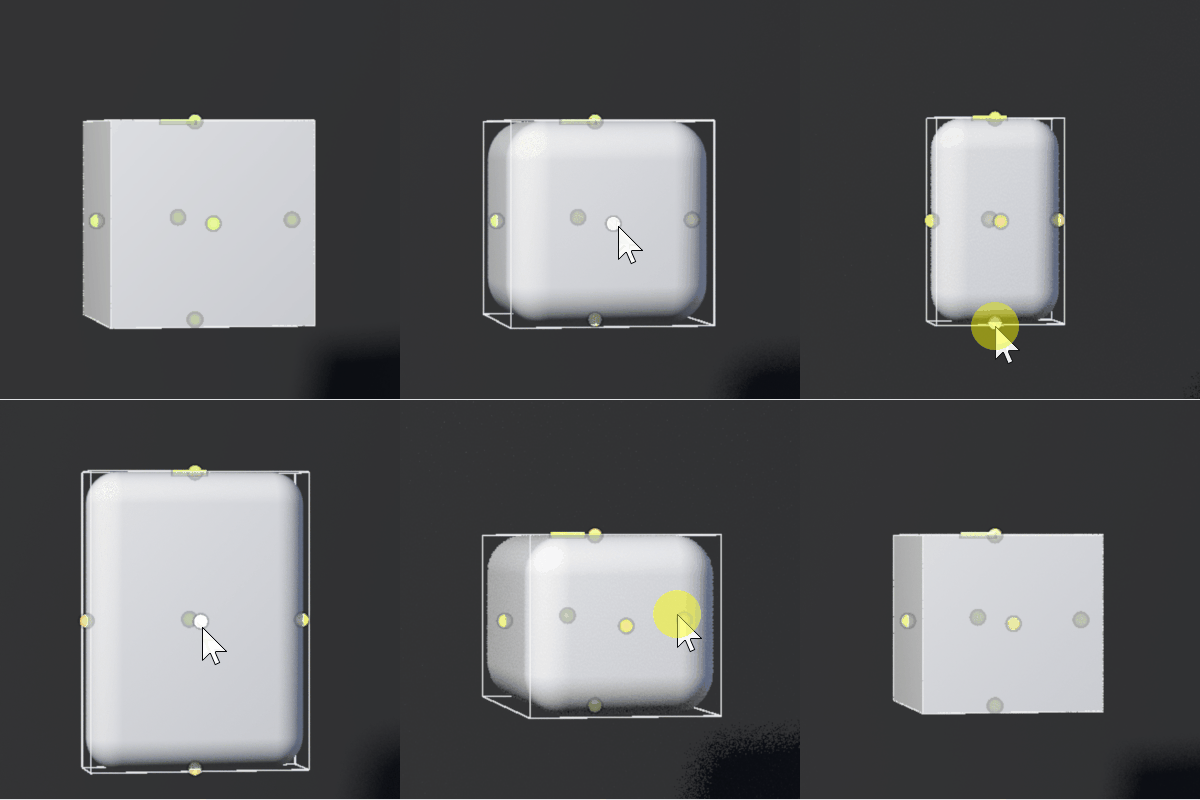
Only available when a Primitive is selected, allows you to visually edit the size and shape of a primitive from the viewport.
Shortcut: U
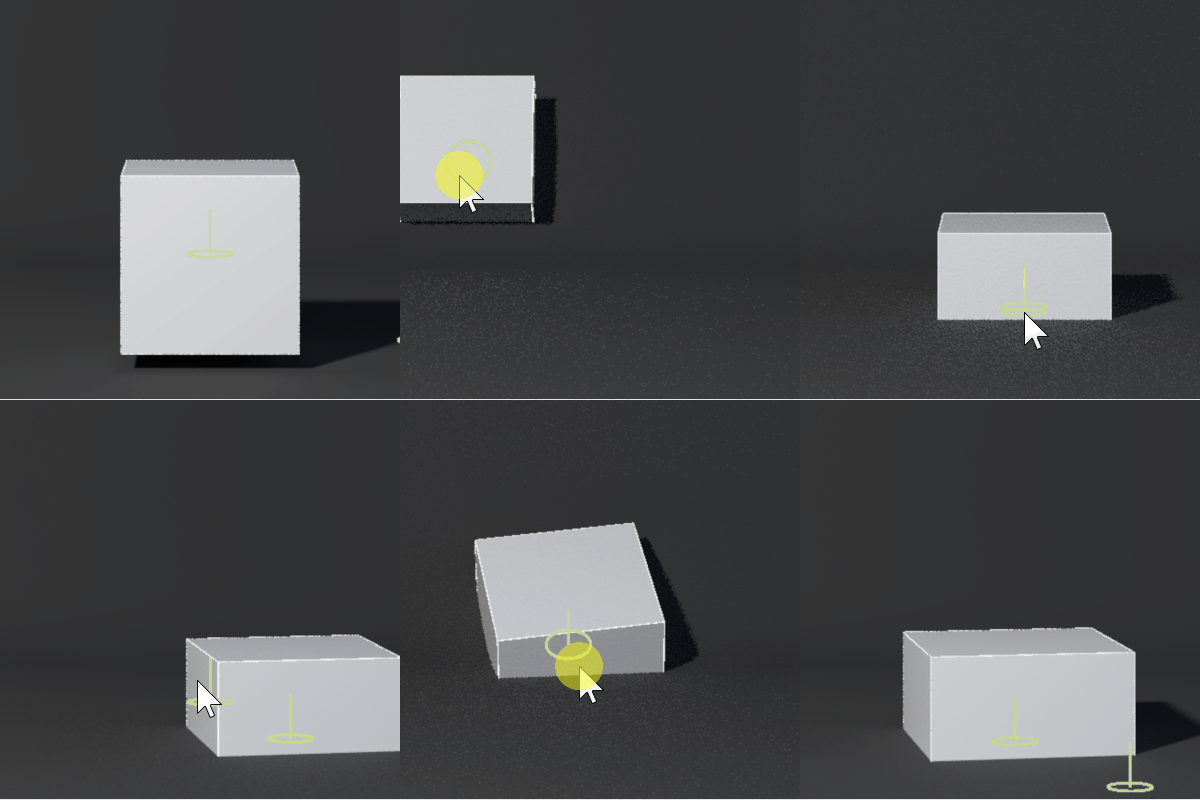
Allows you to freely edit an objects transforms from the viewport, without needing to select the handles directly.
Shortcut: D
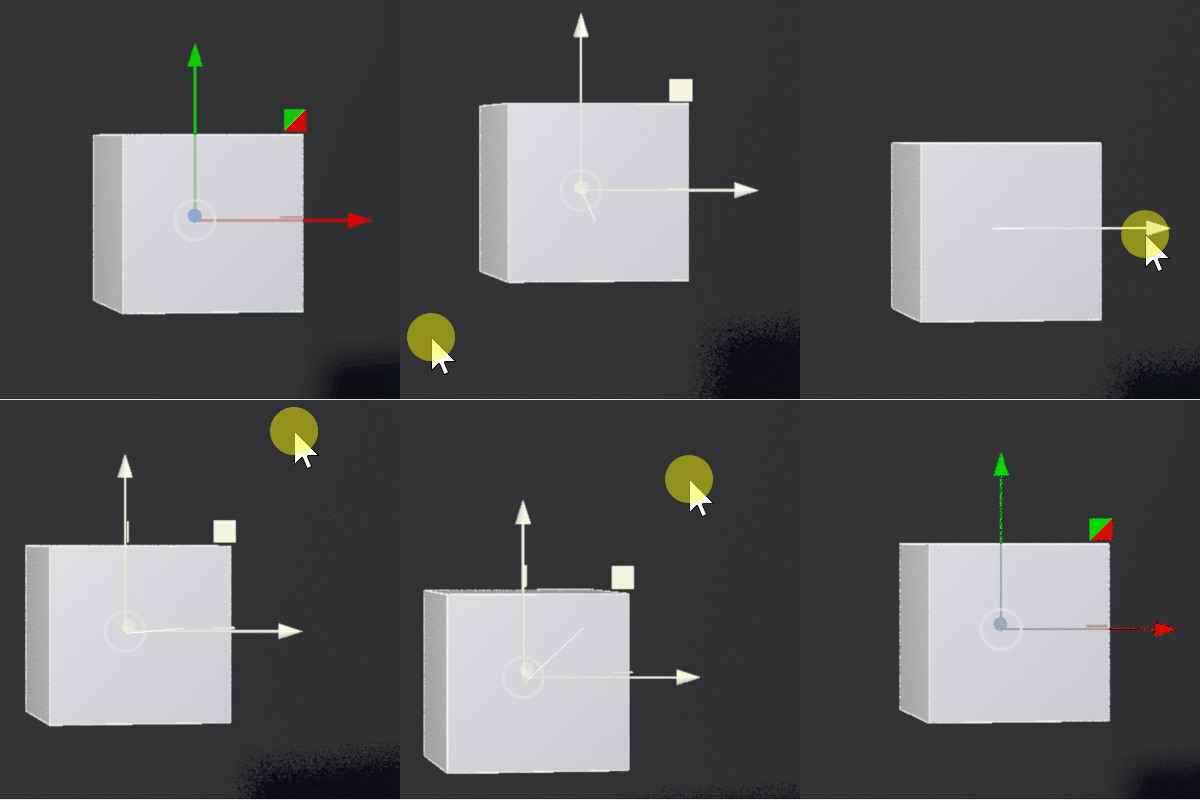
You can cycle the handle modes with Tab
Coordinate spaces allow you to control the orientation of the handles in the scene for a node, without affecting the nodes orientation at all. Different modes can make it easier to precisely orient and place an object in the scene.
| Icon | Label | Description |
|---|---|---|
| Parent | The nodes handles will orient themselves based on their parents orientation. | |
| Local | The nodes handles will orient themselves based on the objects current orientation. | |
| World | The objects handles will always orient themselves along the world axes. |
You can cycle the coordinate spaces withCtrl+Tab