Timeline
Updated: 24 Dec 2025
Updated: 24 Dec 2025

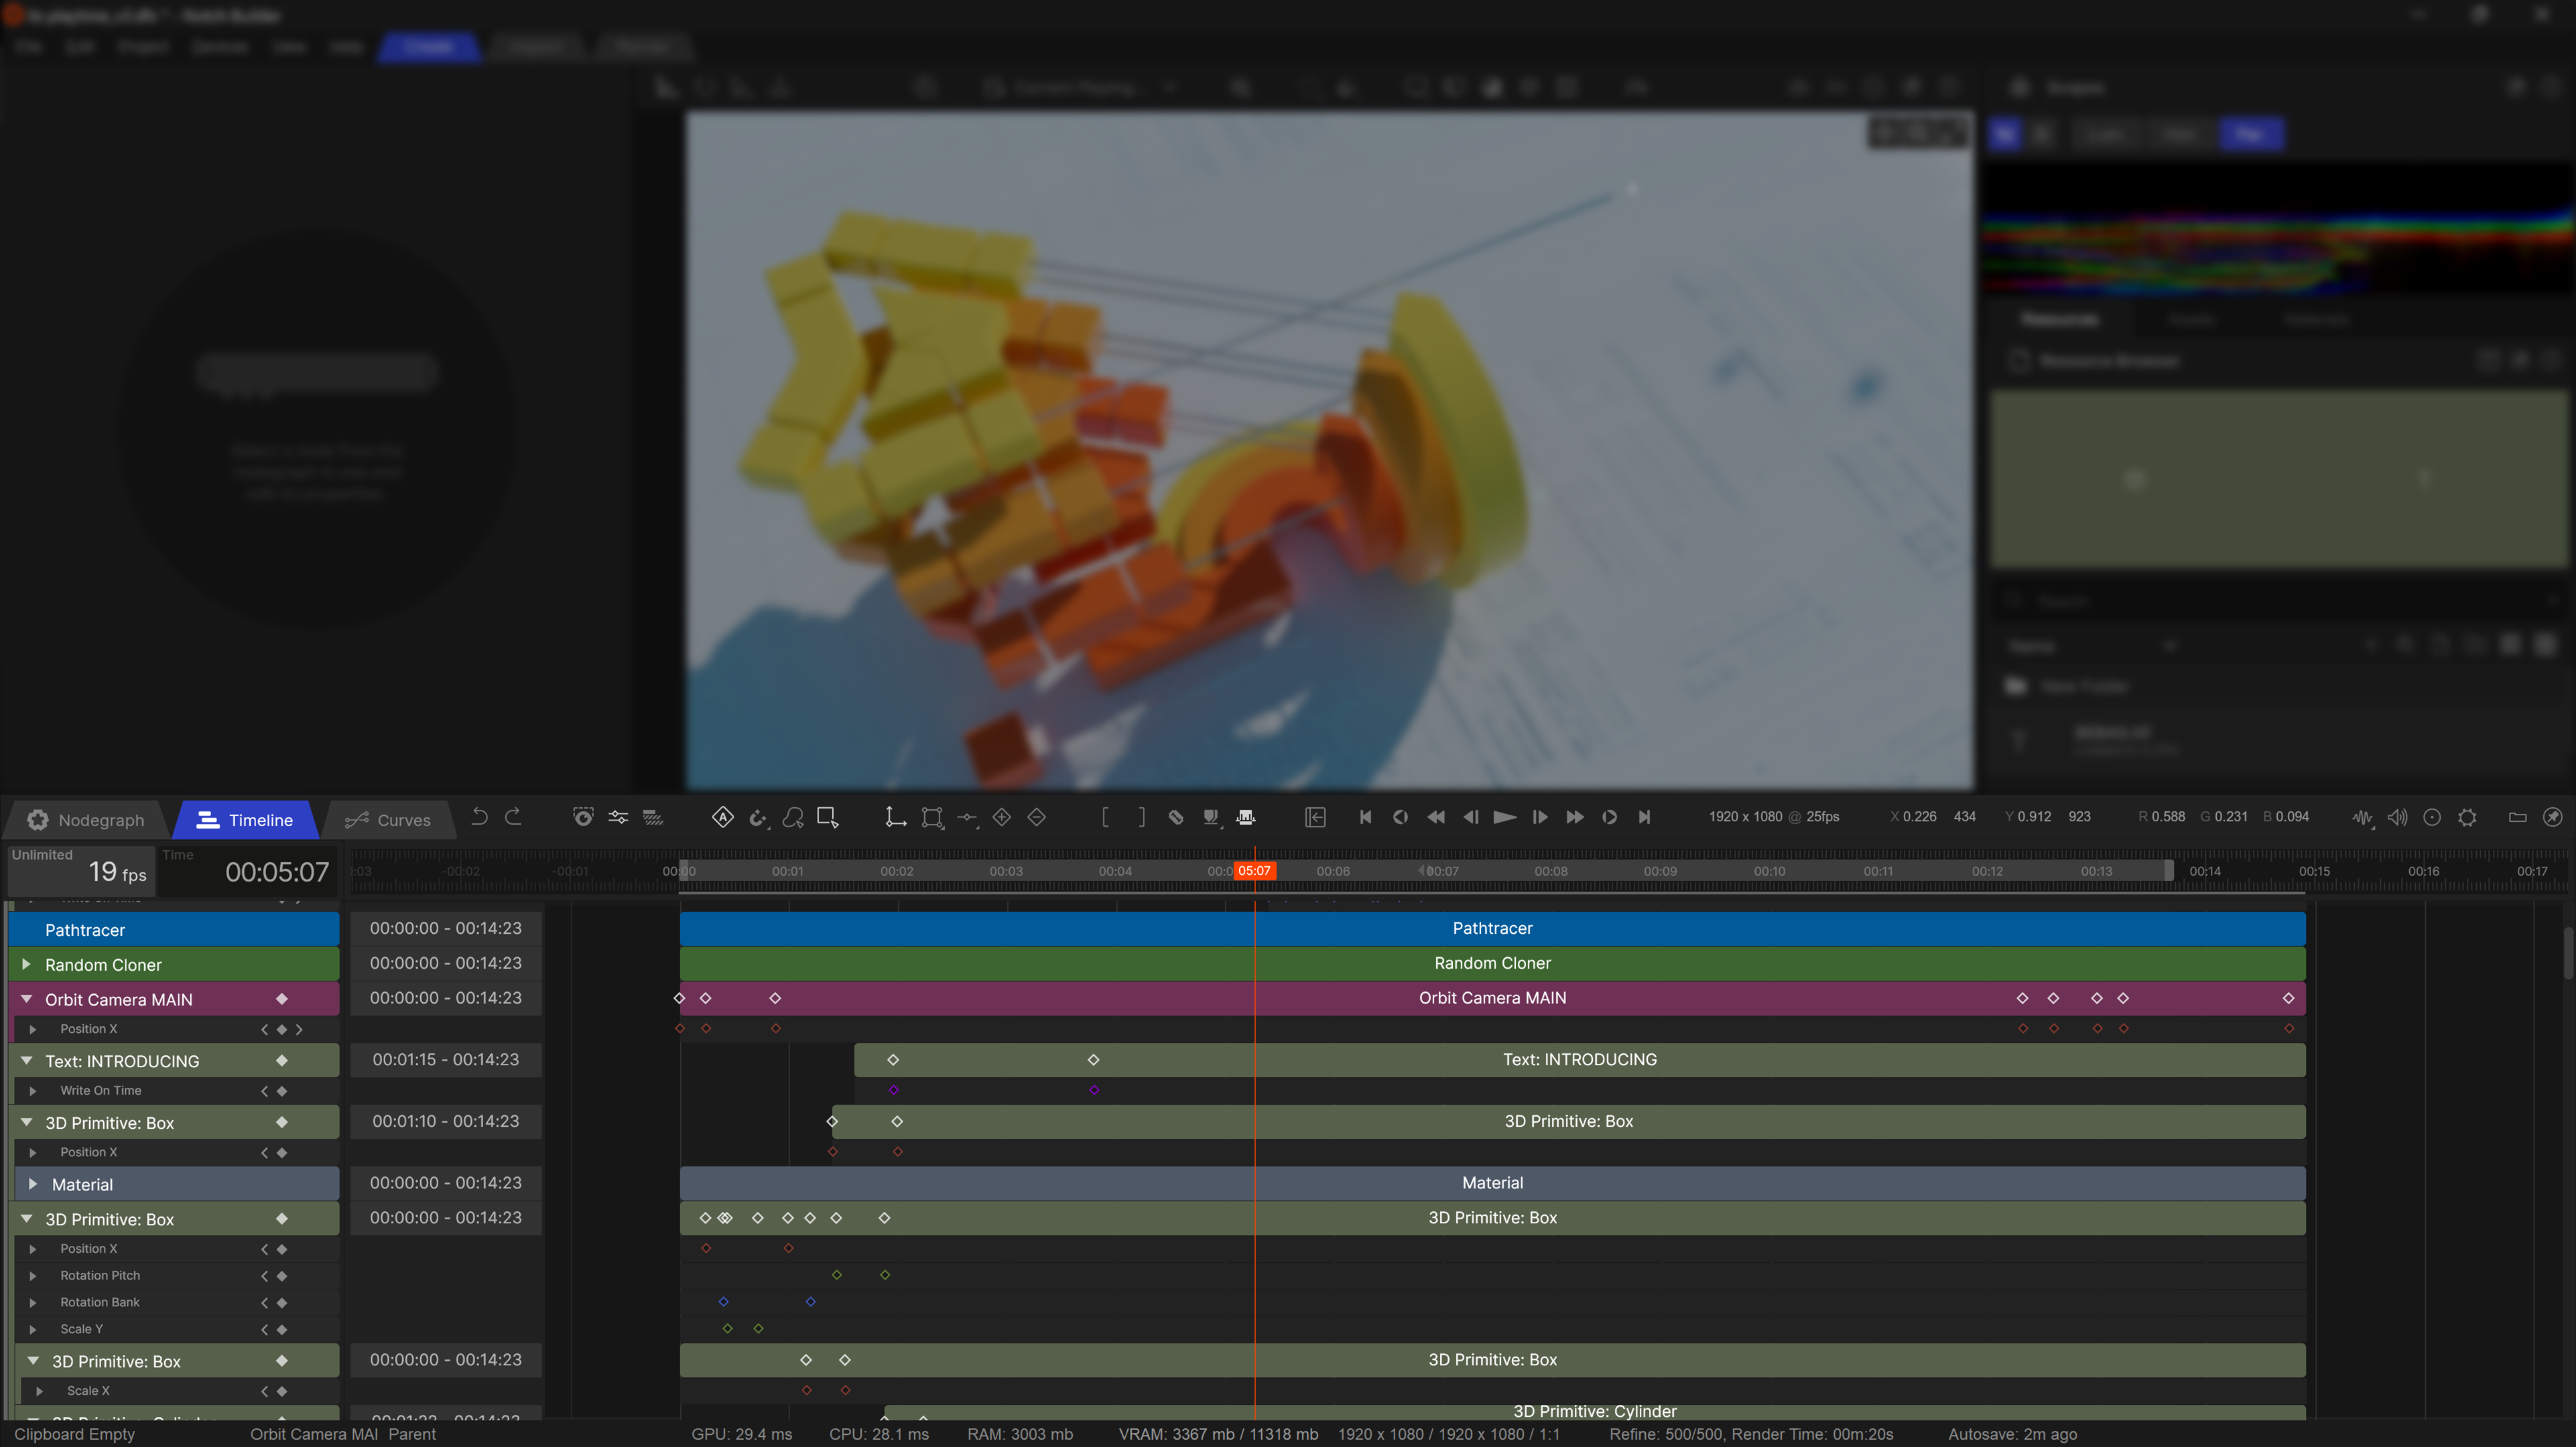
The timeline is the main view for cutting together and animating your effects. From here you can cut time segments, retime keyframes, and do basic curve editing.
| Icon | Label | Description |
|---|---|---|
| Undo | Undo the last action taken | |
| Redo | Redo the last undo action | |
| Hide Key Curves | quickly hides the keyframe curves on any property in the timeline. | |
| Auto Key | Enables Autokey. This means that once a key has been set on a property, any changes to that property will automatically add a new keyframe at that time. | |
| Snapping | See Snapping | |
| Freehand Lasso | Selection will be made using a freehand shape drawn by the mouse. | |
| Rectangular Lasso | Selection will be made using a box drawn by the mouse. | |
| Move Tool | See Tools | |
| Transform Tool | See Tools | |
| Key Interpolation Mode | See Keyframing | |
| Add Key | Adds a keyframe to all available curves at current time | |
| Remove Key | Removes all keyframes at the current time. | |
| Trim Start | Trim the start time of the currently selected node to the playhead | |
| Trim End | Trim the end time of the currently selected node to the playhead | |
| Split Time Segment At Current Time | Splits the selected time segment at the current time of the playhead. | |
| Timeline Markers | See Markers | |
| Toggle Range | Enables the looping range. Useful for repeating a particular area of the timeline while working on an effect. | |
| Collapse Time Composition / Node List | Hides the Composition List Panel |
These options control what kind of snapping will be used when moving keys or segments in the timeline.
| Label | Description |
|---|---|
| Snap to Keys | Moving Time Segments or Keyframes will snap to keyframes on other visible keyframes in the Timeline. |
| Snap to Segments | Moving Time Segments or Keyframes will snap to visible Time Segment Beginnings and Ends |
| Snap to Grid | Moving Time Segments or Keyframes will snap to the time grid steps. |
| Snap to Markers | Moving Time Segments or Keyframes will snap to Time Markers added to the project. |
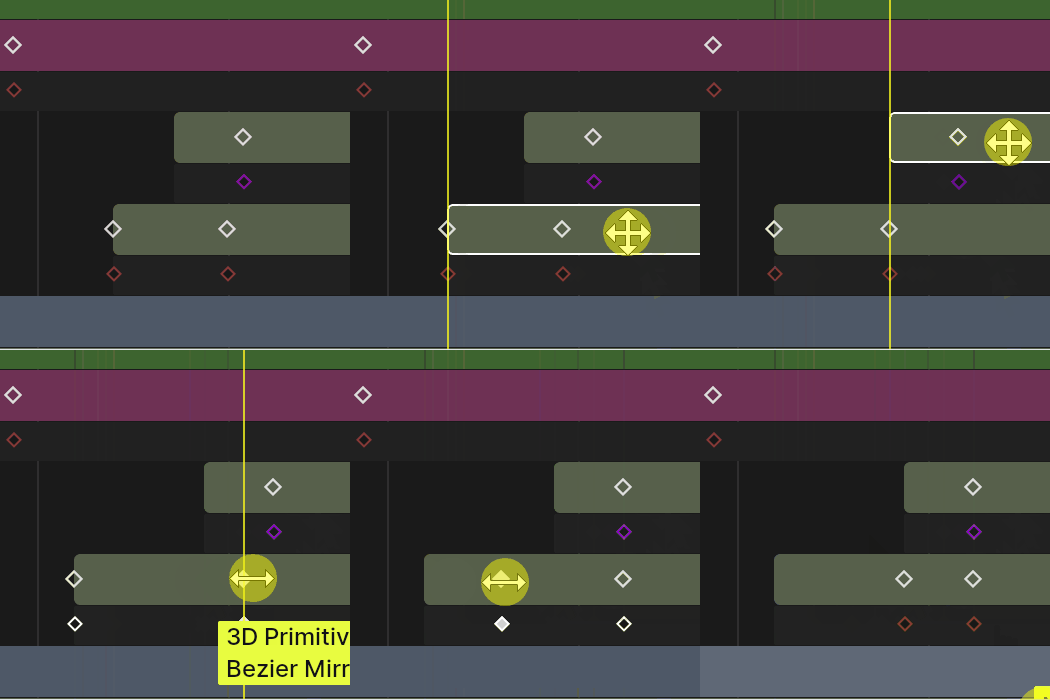
The move tool simply allows you to use the mouse to drag select and move time segments and keys in the frame.
Shortcut: X

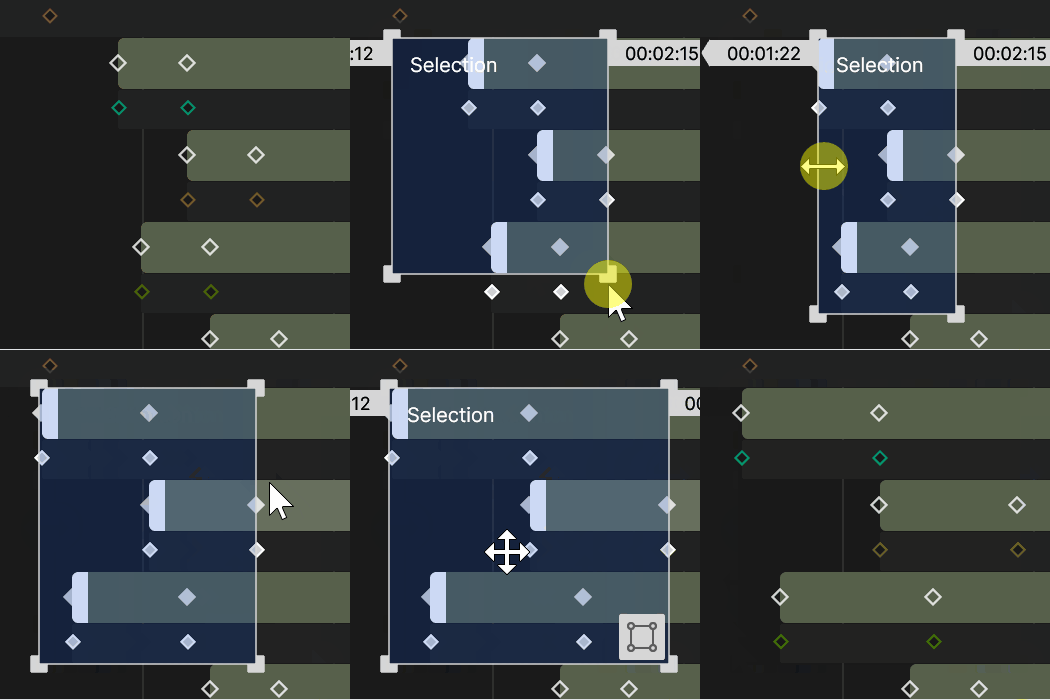
The Transform Tool allows you to adjust the timing of keyframe animations. Drag a region around the selected keys or time bars, and adjust the box size to re-time them.
Shortcut: V

Markers allow you to to split your scene into sections visually, to help seperate different phases of an effect on the timeline.
Especially useful when working editing to music, to mark visually in the timeline where the verses and choruses lie in the timeline.

Timeline markers can be imported onto the timeline from a .csv file. Once a .csv file is inside of your project resources, drag and drop it onto the timeline.
To do this your .csv file can either be formatted as either:
Frame number:
#,Name,Start M1,Candle,288 M2,Light,312 M3,In,383 M4,A,394 M5,Room,408
Or timecode (HH::MM::SS::FF)
#,Name,Start M1,Candle,00:00:04:48 M2,Light,00:00:05:12 M3,In,00:00:06:23 M4,A,00:00:06:34 M5,Room,00:00:06:48
To export timeline markers from Notch for use somewhere else: Go to the timeline tab, right click anywhere inside the timeline panel and select “Export All Markers”. Choose a file name and location and hit save.
| Label | Description | Shortcut |
|---|---|---|
| Toggle Marker | Toggles whether a time marker is active at the current time. | CTRL + M |
| Remove Marker | Remove a Timeline marker at the current time. | |
| Go To Previous Marker | Jump the playhead to the next marker. | Ctrl + Alt + Left Arrow |
| Go To Next Marker | Jump the playhead to the previous marker. | Ctrl + Alt + Right Arrow |
Pinning allows you to keep certain nodes visible in the timeline and curves at all times. This can make it easier to focus on certain keyed and edited properties in the curve editor.
These options control the playhead in Builder. They are available in all views, And each have a shortcut for speeding up workflows
| Icon | Label | Description | Shortcut |
|---|---|---|---|
| Jump To Start Of Composition | Moves the playhead to the start of the current composition. | Home |
|
| Jump to Previous Key | Moves the playhead to the previous active keyframe, either in the whole scene or for the selected node if keyframes are available. | CTRL + Left Arrow |
|
| Rewind One Second | Moves the playhead backwards in time one second. | Shift + Left Arrow |
|
| Rewind One Frame | Moves the playhead backwards in time one frame. | Left Arrow |
|
| Pause / Play | Toggles Playback in the scene. | Space |
|
| Forward One Frame | Moves the playhead forwards in time one frame. | Right Arrow |
|
| Forward One Second | Moves the playhead forwards in time one second. | Shift + Right Arrow |
|
| Jump To Next Key | Moves the playhead to the next active keyframe, either in the whole scene or for the selected node if keyframes are available. | Ctrl + Right Arrow |
|
| Jump To End Of Composition | Moves the playhead to the end of the current composition. | End |
These options allow you to control how audio is visualised in the timebar. Without an audio file in the composition, no waveform will be shown.
The expanded view can be a useful way to animate to wave forms, with a largr audio bar to work with you can time


You can edit the frame rate by clicking on the FPS Box. this will open the FPS settings to control the Min/Max Fps, and whether to lock to this FPS or not. Setting the Min/Max is generally useful when rendering to video, where you need to see consistent results every frame. the Min FPS can also be useful to make sure Simulations (such as fields) generate with a consistent time step.
This panel shows the list of nodes in the scene, ordered by their hierarchy. You can also edit the time ranges the compositions and their contained nodes are active for.
| Icon | Label | Description |
|---|---|---|
| Solo | Solos the current Composition in the project. With ‘Compositions As Separate Effects’ enabled, only one composition can be solo’d or enabled at a time. | |
| Enable / Disable | Toggle where the selected node is active. Inactive/Disabled nodes do not run, and do not contribute to the scene. | |
| Pinning | Toggle whether this node is pinned. | |
| Keyframe | Shows whether this node has any keys. | |
| Enable / Disable Time Bars | Hides or shows a selected nodes time bars. | |
| Expand / Contract Embed | Expands the embedded node to show all its contained nodes. |
 By expanding an individual properties keyframes, you gain access to smaller curve editor to the Timeline, so you can make quick changes to your keyframes without switching views.
Keyframes allow you to animate the value of a property over time, by setting values on certain frames as ‘keys’ to be moved between. Notch will then interpolate between these values, based on the vairous modes available.
Uses a bezier curve to control how the keyframes move from one keyframe to another. Great for creating custom transitions, and dynamic animations.
| Icon | Label | Description |
|---|---|---|
| Auto Clamp | Automatically generate smooth tangents between points, but clamp the tangents so that cannot go above or below the previous or next keys | |
| Auto | Automatically generate smooth tangents between points | |
| Mirror | Tangents angle and magnitude are linked, so changes in magnitude and angle are replicates on both sides of the keyframe. | |
| Aligned | Tangents always follow the same angle, although magnitude is independent. | |
| Broken | Tangents have no relation to each other. |
Uses 3 parameters (Tension, Continuity, and Bias) to influence the transitions between two curves.
| Label | Description | Example |
|---|---|---|
| Tension | Controls the Smoothness of the curve through the keyframe. -1 gives a rounder curve, while 1 gives a linear curve. | gif |
| Continuity | Control the Sharpness of the curve at the keyframe. -1 gives a linear interpolation, while 1 inverts the corners | gif |
| Bias | Shifts the overshoot to before or after the curve. | gif |
Useful for… people who like TCB curves. A bit legacy these days.
Useful for quickly adding a quick transitional animation to a keyframe.
| Label | Description | Example |
|---|---|---|
| Ease | accelerates from this keyframe at the beginning then decelerates at the end. | |
| Ease In | Starts slow, but accelerates from the from this keyframe into the next. | |
| Ease Out | Starts fast, but deccelerates from this keyframe to the next | |
| Bounce | Bounces out of the current position then bounces in. | |
| Bounce In | animates a simple 3 step bounce out from the current position. | |
| Bounce out | Animates a simple 3 bounce into the next keyframe. | |
| Elastic | Elastically springs from one keyframe to another, with a little overshoot. | |
| Elastic In | Reverse springs into the next positon | |
| Elastic Out | Snaps to the next position, and animates slightly to settle into the new position. |