Nodegraph
Updated: 3 Mar 2026
Updated: 3 Mar 2026
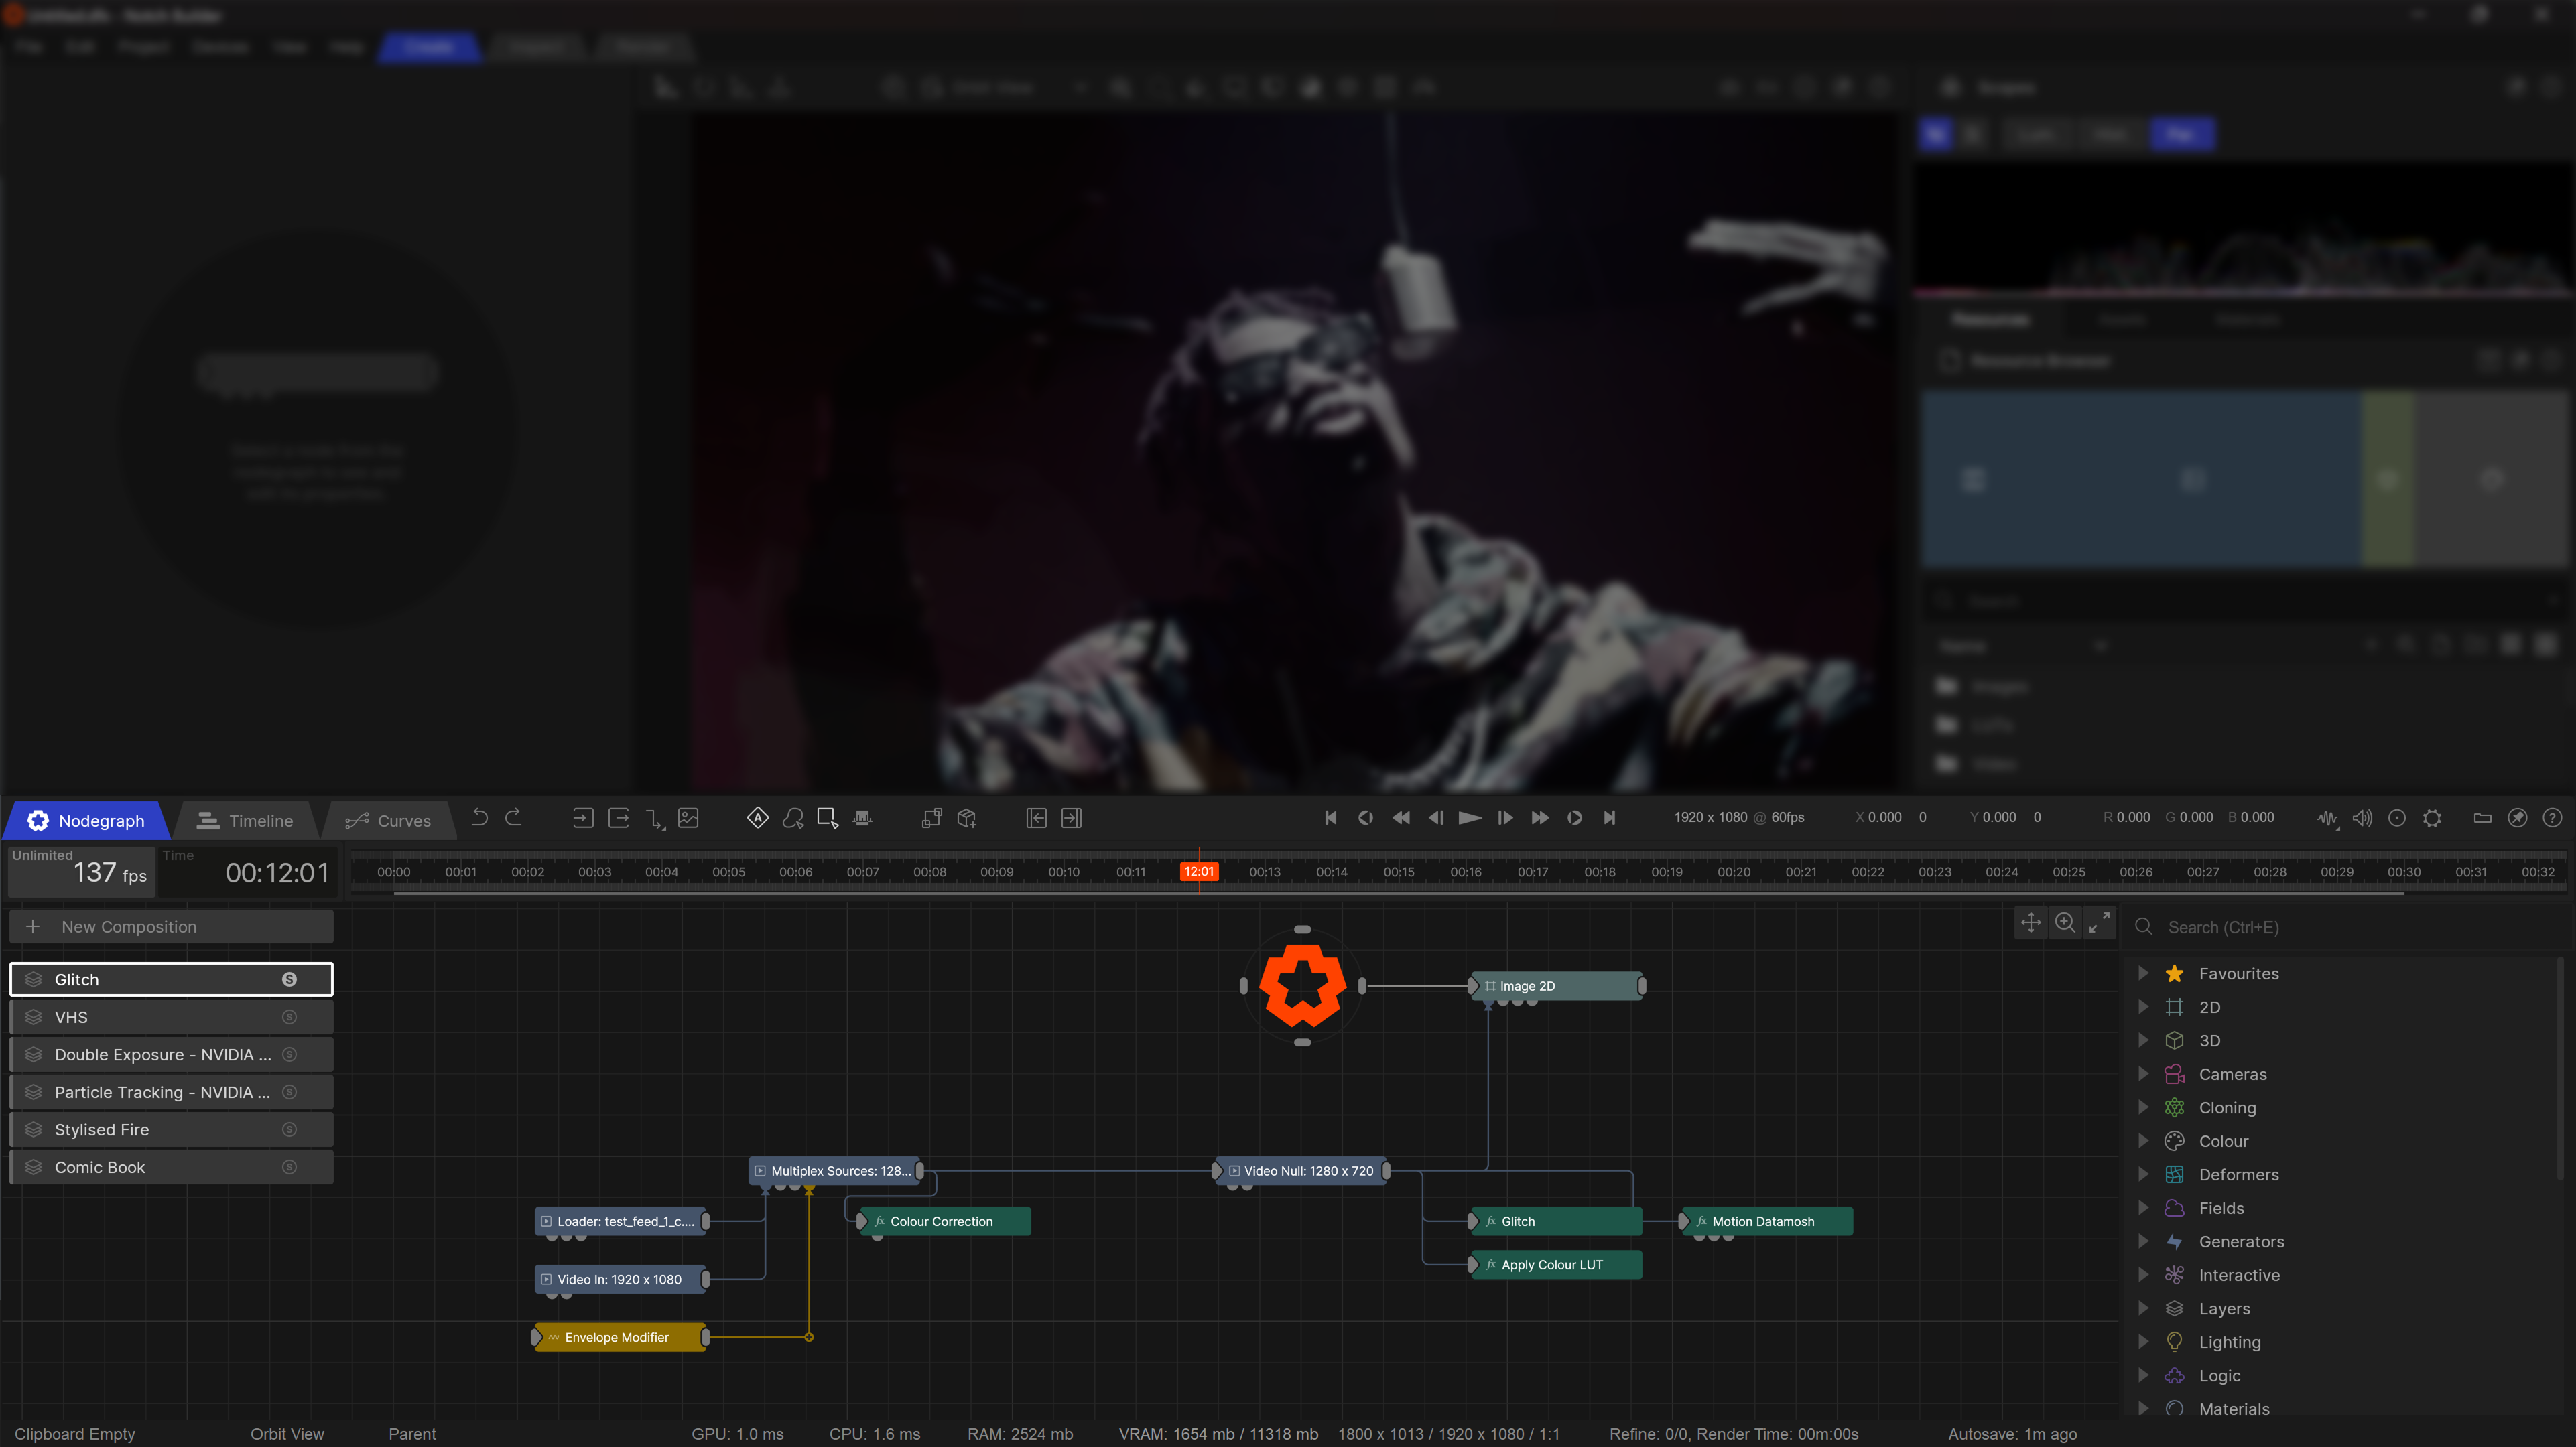
The Nodegraph is the main scene view for creating and combining the nodes in Notch. From here you can combine the different node systems together to create your render.
Where the magic happens. Every node which makes up your scene exists in this nodegraph.
The Nodegraph has a number of tools available to make putting nodes together as easy as possible.
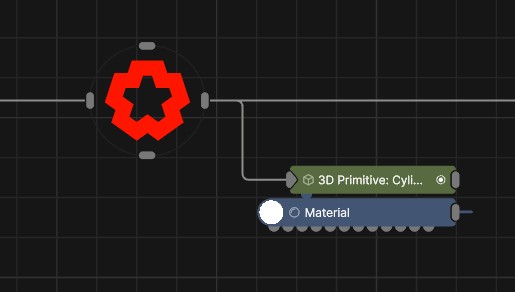
Nodes will align themselves with the other nodes in the scene, drawing red matching lines as they go.
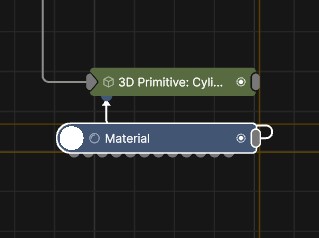
Small arrangement icons will appear when 3+ nodes are selected. these will allow you to automatically align the selected nodes into a simpler groupings either horizontally, vertically, or into a 2D grid.

The floating search (Shortcut Ctrl+Space) allows you to search for any node in the node list, and add it into the Nodegraph. Double-clicking the left mouse button on empty space in the Nodegraph also opens the Floating Search panel for adding nodes.
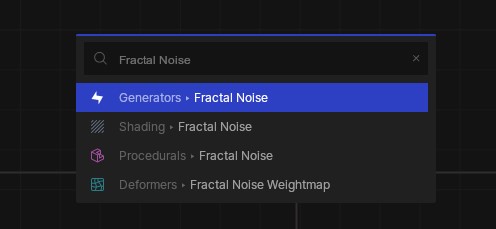
The floating find (Shortcut Ctrl+F) allows you to search for any node that already exists in your Nodegraph.

Nodes can be embedded into other nodes, for clean up or as a stepping stone in building assets. Hit the plus icon to expand and contract.
For more information on Embedded Nodes and assets, check out Assets and Embedded Nodes.
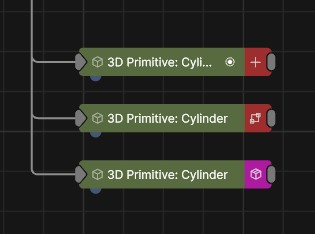
Nodes with a small broadcast icon are the active one of their group. This is usually applied to cameras and renderers, where multiple nodes can be in the nodegraph but only one is used.
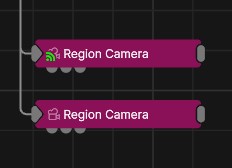
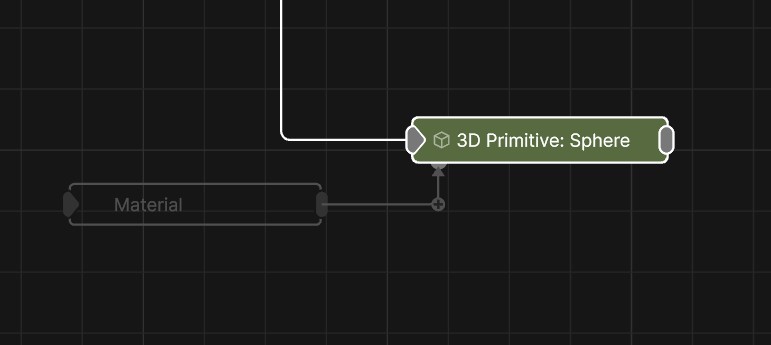
Hints allow you to quickly build up a nodegraph by suggesting commonly connected nodes to be added right away. Clicking on the node will automatically add it to the nodegraph. Deselecting the node will no longer show the hint. To see the hints again for a node, simply double click the nodes output.
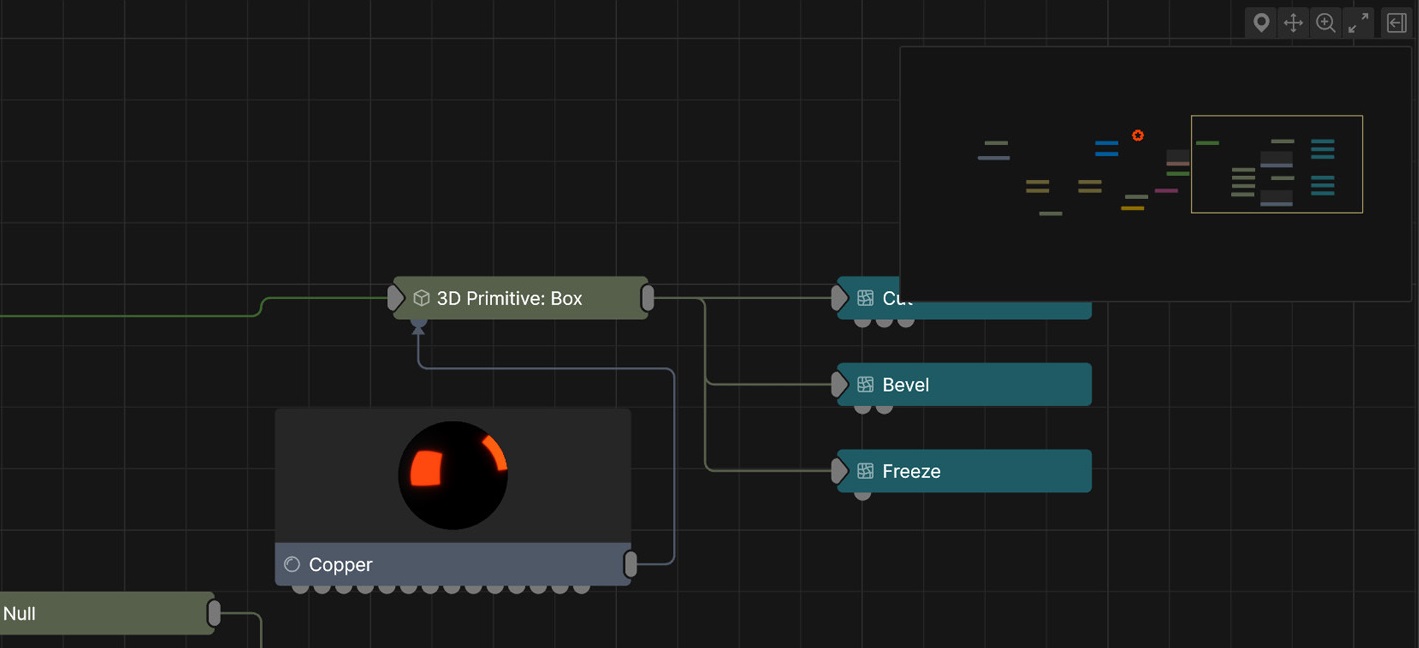
The minimap provides a compact, simplified overview of your nodegraph, displaying nodes without connections or labels. Click to pan, scroll to zoom, and right-click to access size and position presets or hide the minimap. The inner rectangle represents the viewing area of the larger nodegraph.
| Icon | Label | Description |
|---|---|---|
| Undo | Undo the last action taken. | |
| Redo | Redo the last undo action. | |
| Hide Input Connections | Hide all the input connections for all nodes in the nodegraph. | |
| Hide Output Connections | Hide all the output connections for all nodes in the nodegraph. | |
| Node Links | Control how the connection lines are drawn. | |
| Display Exposed Node Links | Control hether the lines drawn from the exposed node to nodes with exposed properties are drawn. | |
| Hide Thumbnails | Collapses all the thumbnails for nodes in the nodegraph. | |
| Auto Key | Enables Autokey. This means that once a key has been set on a property, any changes to that property will automatically add a new keyframe at that time. | |
| Freehand Lasso | Selection will be made using a freehand shape drawn by the mouse. | |
| Rectangular Lasso | Selection will be made using a box drawn by the mouse. | |
| Toggle Range | Enables the looping range. Useful for repeating a particular area of the timeline while working on an effect. | |
| Make Instanceable | Makes the currently selected node instanceable. See Embedded Nodes for more… | |
| Create Asset | Convert the selected node into an asset. See Building Assets for more… | |
| Collapse Node List | Hides the Node List to allow for more space in the nodegraph. |
These options control the playhead in Builder. They are available in all views, And each have a shortcut for speeding up workflows.
| Icon | Label | Description | Shortcut |
|---|---|---|---|
| Jump To Start Of Composition | Moves the playhead to the start of the current composition. | Home |
|
| Jump to Previous Key | Moves the playhead to the previous active keyframe, either in the whole scene or for the selected node if keyframes are available. | CTRL + Left Arrow |
|
| Rewind One Second | Moves the playhead backwards in time one second. | Shift + Left Arrow |
|
| Rewind One Frame | Moves the playhead backwards in time one frame. | Left Arrow |
|
| Pause / Play | Toggles Playback in the scene. | Space |
|
| Forward One Frame | Moves the playhead forwards in time one frame. | Right Arrow |
|
| Forward One Second | Moves the playhead forwards in time one second. | Shift + Right Arrow |
|
| Jump To Next Key | Moves the playhead to the next active keyframe, either in the whole scene or for the selected node if keyframes are available. | Ctrl + Right Arrow |
|
| Jump To End Of Composition | Moves the playhead to the end of the current composition. | End |
These options allow you to control how audio is visualised in the timebar. Without an audio file in the composition, no waveform will be shown.
The Expanded View can be a useful way to animate to waveforms, with a larger view to make changes in the waveform clearer.


You can edit the frame rate by clicking on the FPS Box. this will open the FPS settings to control the Min/Max Fps, and whether to lock to this FPS or not. Setting the Min/Max is generally useful when rendering to video, where you need to see consistent results every frame. the Min FPS can also be useful to make sure Simulations (such as fields) generate with a consistent time step.
The Composition list allows you to swap between the different compositions in the project. Compositions are the different scenes which make up a project, which can be treated separately or as part of one large effect.
Selecting the composition will also select that compositions root node, from which you can rename or recolour the composition in the list.
Compositions can be deleted, duplicated, and renamed from the right mouse button menu.
| Icon | Label | Description |
|---|---|---|
| Solo | Isolates only this composition. Default behaviour with compositions as seperate effects. | |
| Hide / Show | Toggle whether the selected Compositions are Active. Only functions with Layers as seperate effects disabled. |
This window contains a list of all the nodes available in Notch. You can go through the dropdown list of grouped nodes, or use the search bar to find specific nodes.