Substance Material
Updated: 3 Jun 2026
Add an imported SBSAR material from Substance.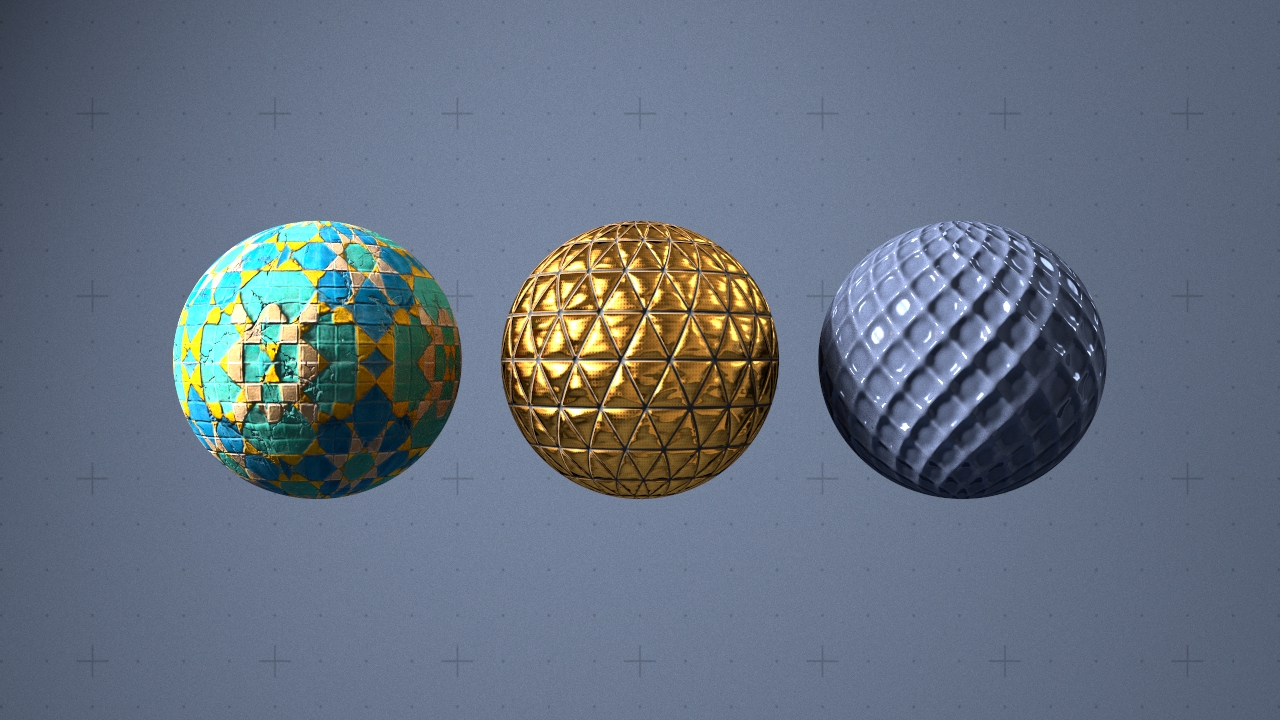
Updated: 3 Jun 2026
Add an imported SBSAR material from Substance.
Notch allows the use of materials made with Substance Designer from Adobe. The Substance Designer Material once assigned to an object will behave like a standard Notch material. All options are identical, but with the ability to modify the texture on the fly according to the Substance parameters.
For more information about Substance Designer, visit their website.
By default, textures are not automatically cached. To do this, right-click on the node in the nodegraph and select Substance Material Options > Cache Substance Textures. A new material node will be generated with the textures from substance applied, and the textures will be added to the resource view.
It isn’t a necessity to cache the textures, this is only if you want to use one of the generated textures as a normal texture, and apply a filter to it for example.
The output material can be applied to any node which accepts a material input, such as 3D Objects, Particle Trails, or a Procedural Raytracer.
| Parameter | Details |
|---|---|
| Substance SBS | Substance SBS File to generate textures from. |
| Substance SBS Preset | Preset in the Substance SBS file to use. |
| Output Width | Output width (pixels) of the generated textures. |
| Output Height | Output height (pixels) of the generated textures. |
| Parameter | Details |
|---|---|
| Preview in Viewport | Toggle a preview of the Material on a sphere in the Viewport |
These properties control the core behaviours of the material using Physically Based Rendering (PBR) properties from a A Bidirectional Reflectance Distribution function. Changing the properties below can make a material appear more reflective, more dirty, or add more detail to the material surface. By using textures (either through the relevant inputs, or in the texture section), each of these properties can be modulated over a surface, for more complex material effects.
| Parameter | Details |
|---|---|
| Colour | The colour of the material. |
| Brightness | The brightness of the material. |
| Specular Intensity | The intensity of the specular reflection. |
| Specular Colour | The colour of the specular reflection. |
| Specular Anisotropy | Controls the anisotropy of the specular reflection. |
| Specular Falloff | Controls the falloff of the specular reflection. |
| Diffuse Fresnel | Controls the fresnel effect on the diffuse reflection. |
| Normal Map Mode |
Changes the format of the input normal map.
|
| Emissiveness | How much of a glow is emitted around the object. |
| Emissive Scattering | Controls how much Emissive lighting is scattered in the scene. |
| Emissive Lights Scene | Controls how much Emissive lighting contributes to lighting the scene. |
| Use Displacement | Enables the use of displacement mapping for the material. *Requires an input displacement map |
| Opacity Mode |
Controls the opacity mode of the material, and how it blends with the scene.
|
| Translucency |
Controls the translucency mode of the material.
|
| Diffuse Lightmap | Enables an input diffuse lightmap for the material. |
| Ambient Occlusion | Enables the input ambient occlusion map of the material. |
Settings related to the textures used in the material.
| Parameter | Details |
|---|---|
| Colour Texture | Defines the base color of the material’s surface. It represents the surface color under neutral, uniform lighting. |
| Diffuse Map | Specifies the color of light that scatters off the surface in all directions. It is functionally similar to the Colour Texture and is a core component of a material’s appearance. |
| Specular Map | Controls the color and intensity of shiny reflections (specular highlights). Brighter areas on the map indicate a more reflective and shinier surface. |
| Emissiveness Map | Determines which parts of a material appear to glow or emit their own light. Brighter values cause the surface to act as a light source. |
| Metallicness Map | A grayscale map to define how ‘metal-like’ a surface is. White values represent pure metal, while black values represent non-metals. |
| Roughness Map | A grayscale map that controls the roughness of the surface. Black represents a smooth, mirror-like surface with sharp reflections, while white represents a rough surface with blurry, diffuse reflections. |
| Normal Map | Adds surface detail like bumps and scratches without adding more polygons to the model. It simulates how light would interact with a more complex surface, creating the illusion of depth. |
| Displacement Map | Physically displaces the vertices of the model’s geometry based on the map’s values. Unlike a Normal Map, this creates real geometric detail that affects the model’s silhouette. |
| Alpha Map | A grayscale map that controls the transparency of the material. Black areas are fully transparent, white areas are fully opaque, and gray values create semi-transparency. |
| Ambient Occlusion Map | Adds subtle, soft shadows to areas that are occluded from ambient light, such as creases and crevices. This enhances realism and adds perceived depth to the model. |
| Subsurface Colour Map | Defines the color of light after it has scattered beneath the surface of a translucent material, such as skin, wax, or marble. |
| Subsurface Weight Map | Controls the intensity of the subsurface scattering effect across the material, defining how much light penetrates and scatters within the surface. |
| UV Texture Filter Mode |
Determines the algorithm used for sampling texture pixels when viewed at different angles and distances.
|
| Texture Mip Bias | An offset that adjusts which mipmap level is used for a texture. Negative values can sharpen distant textures, while positive values can blur them. |
These properties control how the material applies to the mesh UVs.
| Parameter | Details |
|---|---|
| Colour Texture UV | Select the UV for the Colour Texture. |
| Diffuse Map UV | Select the UV for the Diffuse Map Texture. |
| Specular Map UV | Select the UV for the Specular Map Texture. |
| Emissiveness Map UV | Select the UV for the Emissiveness Map Texture. |
| Metallicness Map UV | Select the UV for the Metallicness Map Texture. |
| Roughness Map UV | Select the UV for the Roughness Map Texture. |
| Normal Map UV | Select the UV for the CoNormal Map Texture. |
| Displacement Map UV | Select the UV for the Displacement Map Texture. |
| Alpha Map UV | Select the UV for the Alpha Map Texture. |
| Ambient Occlusion Map UV | Select the UV for the Ambient Occlusion Map Texture. |
| Subsurface Colour Map UV | Select the UV for the Subsurface Colour Texture. |
| Subsurface Weight Map UV | Select the UV for the Subsurface Weight Texture. |
| UV Scale X | Scale the UV texture along the X axis. |
| UV Scale Y | Scale the UV texture along the Y axis. |
| UV Offset X | Offset the UV texture along the X axis. |
| UV Offset Y | Offset the UV texture along the Y axis. |
| Diffuse UV Scale X | Scale the Diffuse UV texture along the X axis. |
| Diffuse UV Scale Y | Scale the Diffuse UV texture along the Y axis. |
| Diffuse UV Offset X | Offset the Diffuse UV texture along the X axis. |
| Diffuse UV Offset Y | Offset the Diffuse UV texture along the Y axis. |
| Texture Wrap Mode U |
Controls how textures used by the material are wrapped when the U value range exceeds 0 to 1.
|
| Texture Wrap Mode V |
Controls how textures used by the material are wrapped when the V value range exceeds 0 to 1.
|
| Diffuse Texture Filter Mode |
Controls how textures used by the material are filtered.
|
| Diffuse Texture Wrap Mode U |
Controls how textures used by the material are wrapped when the U value range exceeds 0 to 1.
|
| Diffuse Texture Wrap Mode V |
Controls how textures used by the material are wrapped when the V value range exceeds 0 to 1.
|
| UV Remap Filtering | Enables filtering for remapping UV’s. Only functions with eligible textures. |
These properties control the rendering settings for the material.
| Parameter | Details |
|---|---|
| Lit |
Determines if the material is affected by lights in the scene. When disabled, the material appears fully lit by its own colour and texture, regardless of scene lighting.
|
| Reflections Mode |
Controls how the material generates reflections from its surroundings.
|
| Shadows |
Defines how the object interacts with shadows in the scene.
|
| Render Visibility |
Controls the object’s visibility to different types of rays in the renderer, which is useful for advanced effects.
|
| Raytracing Settings |
Determines whether the material uses the scene’s global raytracing depth settings or custom values.
|
| Max. Diffuse Depth | Limits the number of times a ray can bounce off diffuse surfaces, affecting indirect lighting quality. |
| Max. Glossy Depth | Limits the number of times a ray can reflect off glossy or specular surfaces. |
| Max. Refraction Depth | Limits the number of times a ray can pass through refractive (transparent) surfaces. |
These properties control a rim lighting effect, a Light which sits just behind the subject and adds a wrapping of liht around the mesh edges.
| Parameter | Details |
|---|---|
| Polygon Sidedness |
The orientation of the polygon’s faces.
|
| Flip Polygons | Flips the orientation of the polygon’s faces. |
| Smoothing Angle | The angle difference used to determine a hard edge or a soft curve. |
| Wireframe | Displays the material’s geometry as a wireframe. |
These properties control a rim lighting effect, a Light which sits just behind the subject and adds a wrapping of liht around the mesh edges.
| Parameter | Details |
|---|---|
| Rim Lighting | Simulates Rim Lighting on the material with respect to the camera. |
| Glow | Controls the glow of the Rim Lighting. |
These properties allow you to control how vertex colours are applied to meshes, and to other parts of the PBR pipeline.
| Parameter | Details |
|---|---|
| Vertex Colours - Apply To Colour | Set how the vertex colours apply to the colour of the mesh. |
| Vertex Colours - Apply To Alpha | Set how the vertex colours apply to the alpha of the mesh. |
| Vertex Colours - Apply To Roughness | Set how the vertex colours apply to the roughness of the mesh. |
| Vertex Colours - Apply To Metallicness | Set how the vertex colours apply to the metallicness of the mesh. |
| Vertex Colours - Apply To Emissiveness | Set how the vertex colours apply to the emissiveness of the mesh. |
The properties control the time at which the node is active. See Timeline for editing time segments.
| Parameter | Details |
|---|---|
| Duration |
Control the duration of the node’s time segment.
|
| Node Time | The custom start and end time for the node. |
| Duration (Timecode) | The length of the node’s time segment (in time). |
| Duration (Frames) | The length of the node’s time segment (in frames). |
| Time Segment Enabled | Set whether the node’s time segment is enabled or not in the Timeline. |