Curve Mask
Updated: 2 Feb 2026
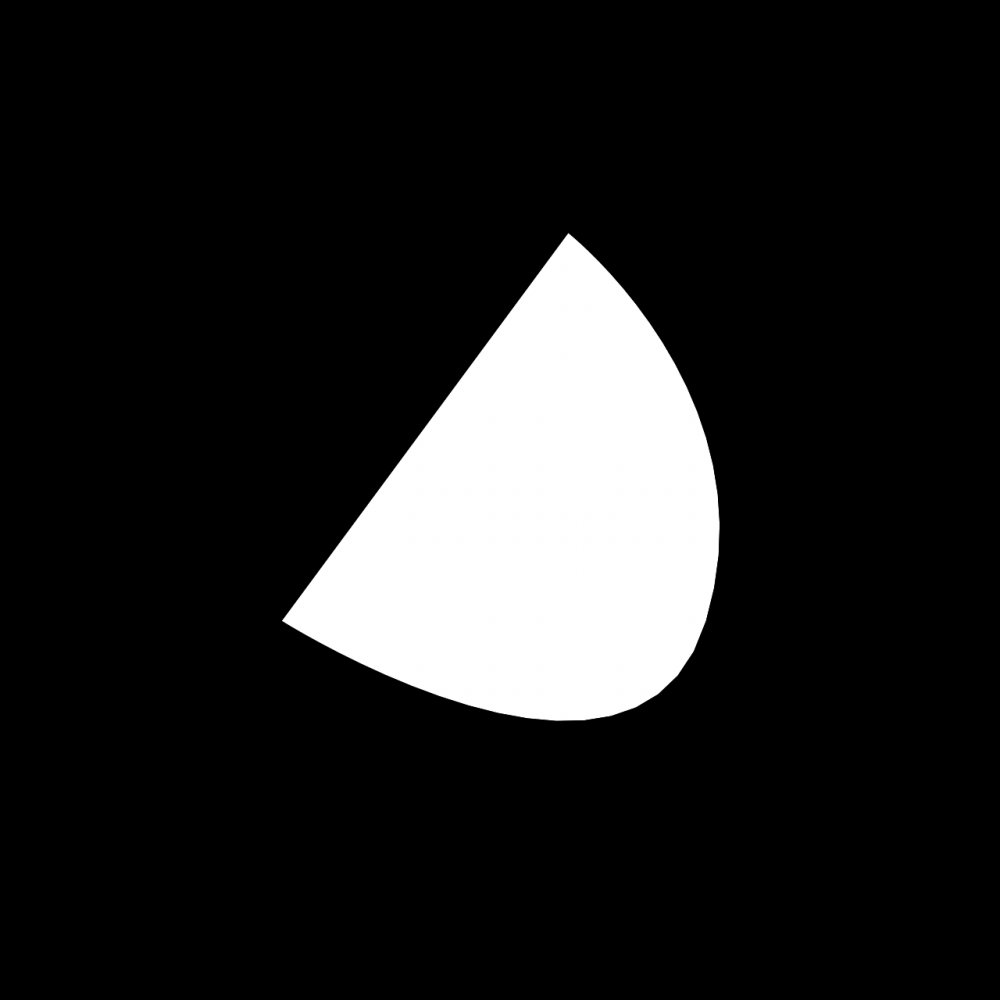
Generates an image using user created shapes.

Updated: 2 Feb 2026
Generates an image using user created shapes.

This node generates a mask by using a shape created using user created points.
With the scene paused and this node selected, you can create new points by left clicking in the viewport. Left click dragging moves the selected point around and right clicking a point will delete it. Using Ctrl left click dragging changes the curve of the line into and out of that point.
To close the mask you need to click on the first point.
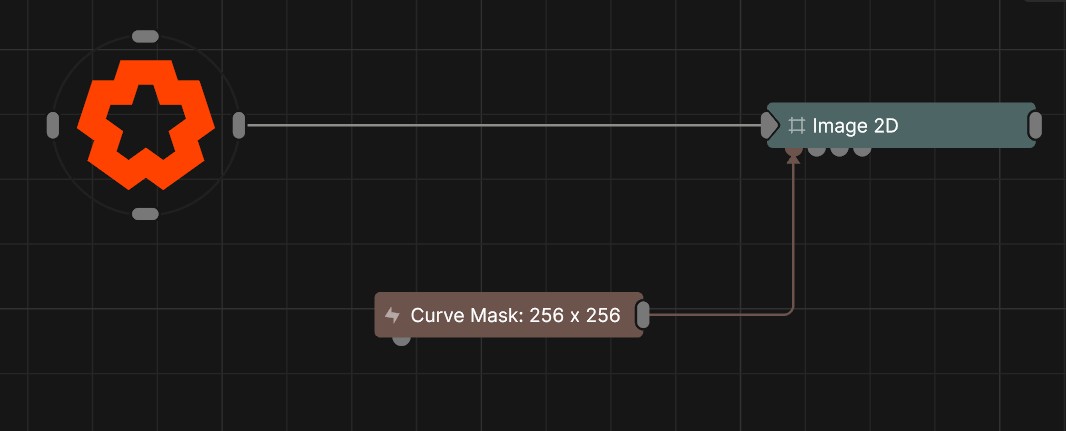
This node can be connected to any node which accepts an image input.
These properties control the core behaviours of the node.
| Parameter | Details |
|---|---|
| Active | Enables or disables the effect. Disabling the effect means it will no longer compute, so disabling a node when not in use can improve performance. |
| Preview In Viewport |
Preview the generated image as an overlay in the viewport.
|
| Width | The resolution of the generated image horizontally. |
| Height | The resolution of the generated image vertically. |
| Update Time Mode |
How the generator updates with relation to the timecode.
|
| Feather | Makes a blur which follows around the edges of the curve mask shape. |
| Animate Points | Allows the points to be keyframe animatable. |
| Editor Colour | Change the colour of the curve mask line, visualised in the viewport. |
| Show Point Properties | Shows the position and bezier controls for all the points individually in the property panel. |
These properties control how the generators are coloured and blended with other images.
| Parameter | Details |
|---|---|
| Colour | Change the colour of the generated image. |
| Blend Amount | The amount the generated image blends with the project, depending on the compositing mode chosen. |
| Blend Mode |
Choose how the image blends with the scene. See Blend Modes for details.
|
Displays attributes for each contour point when Show Point Properties is enabled.
| Parameter | Details |
|---|---|
| Points # X | Controls the X position of the contour point. |
| Points # Y | Controls the Y position of the contour point. |
| Points # Tx | Controls the contour handle in the ‘X’ direction |
| Points # Ty | Controls the contour handle in the ‘Y’ direction |
The properties control the time at which the node is active. See Timeline for editing time segments.
| Parameter | Details |
|---|---|
| Duration |
Control the duration of the node’s time segment.
|
| Node Time | The custom start and end time for the node. |
| Duration (Timecode) | The length of the node’s time segment (in time). |
| Duration (Frames) | The length of the node’s time segment (in frames). |
| Time Segment Enabled | Set whether the node’s time segment is enabled or not in the Timeline. |
| Name | Description | Typical Input |
|---|---|---|
| Colour Ramp | Specify a range of colours the generator can use through its gradient. | Colour Ramp |
| Transform Modifiers | Apply the transforms of another node to this node. | Null |
| Target Node | Modifiy the rotations of the node to always direct the z axis towards the input. | Null |