Paint Clones
Updated: 30 Jan 2026
Gives the user the ability to paint cloned objects onto existing geometry in the viewport.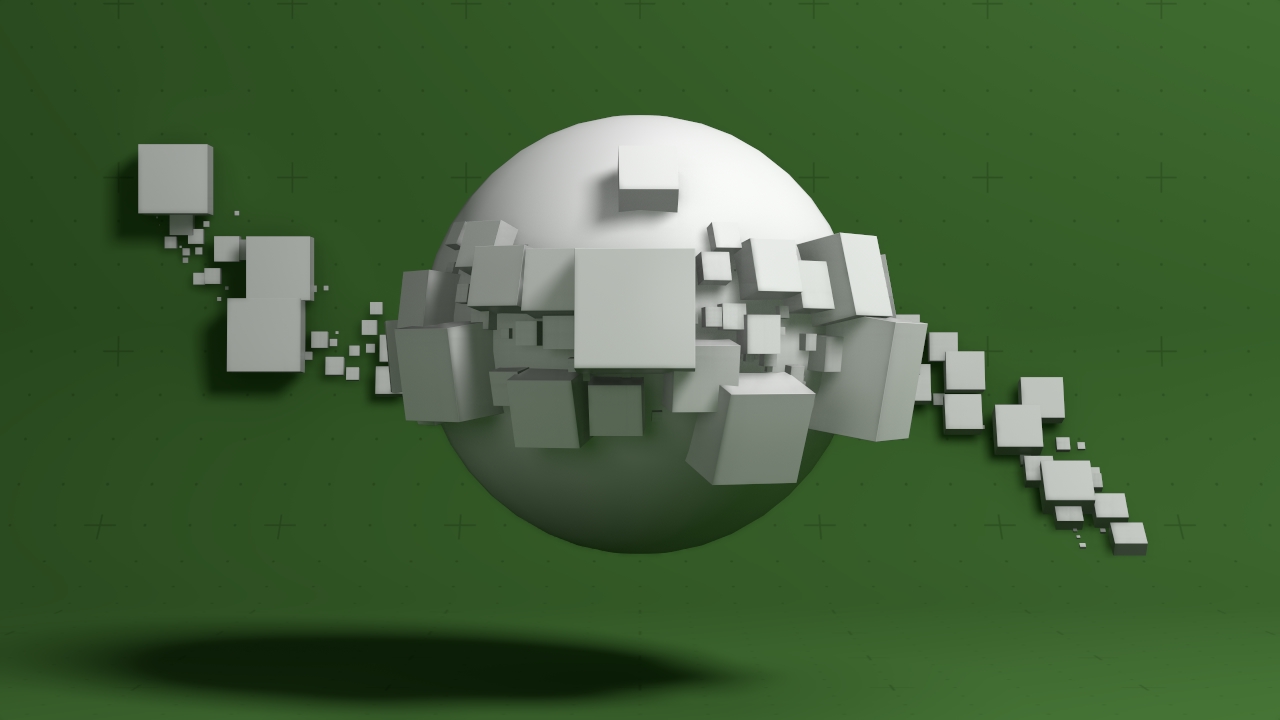

Updated: 30 Jan 2026
Gives the user the ability to paint cloned objects onto existing geometry in the viewport.
This node gives the user the ability to paint cloned objects onto existing geometry in the viewport. Each Paint Clones node owns those clones.
By default you can ‘place’ new clones on to any geometry in the viewport, unless specific surface nodes are connected as inputs into the
‘Surface Nodes’ input on the node.
The following placement operations are provided to place new clones on to geometry surfaces:
Placement
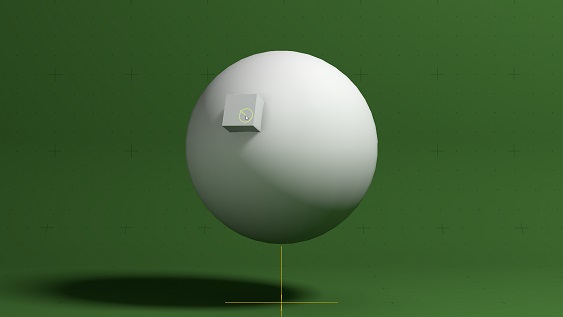
This option allows you to Place new single clones on to surfaces, by first LMB clicking on a surface and click dragging that clone into place.
You can configure which clone is selected to place by setting the ‘Spawn Mode’ property.
The ‘Child Number’ option chooses a specific child node to place and will show a new clone hover geometry before placing if it is
a geometry node (other clonable generative nodes such as Fields or procedurals are also clonable but will not show hover geometry).
Random or iterative modes will not show the hover geometry.
Switching the child to place in ‘Child Number’ mode can be set by changing the ‘Child’ property or using the Up and Down keys
to cycle through them.
You can scale and rotate new clones before placing on a surface by using scroll-wheel and SHIFT + scroll-wheel, just like viewport placement.
You can randomise the rotation of new clones by using RMB.
Painting
This option allows you to Paint many clones at once in a number of ways dependent on the painting option and configuration set.
In these painting methods, painting is initiated by first LMB clicking and click dragging to paint clones.
In all painting modes, you can set the ‘Clone Separation’ property to set how far apart painted clones will place on a surface.
You can either:
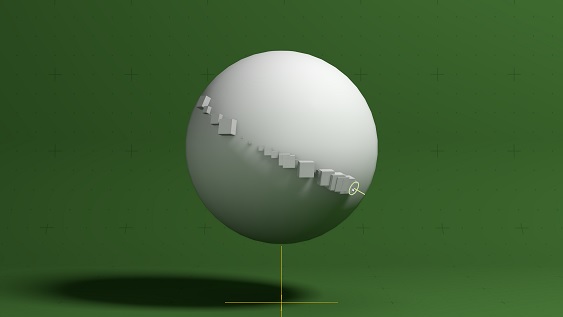
‘Point’ paint clones across a surface giving the control like a pencil in a straight line over a surface.
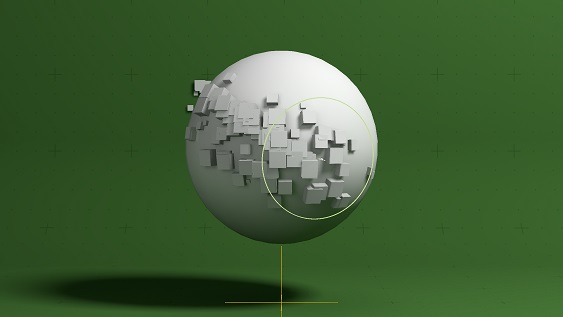
‘Brush’ paint clones across the area of a brush circle defined by its radius, much like spraying clones around a projected area.
To change the brush radius either change the ‘Brush Radius’ property directly or use mouse scroll-wheel to change the radius in the viewport.
To change how many clones are painted in a frame you can set the ‘Spread Flow’ property.
To change at what frequency clones are painted you can set the ‘Spread Rate’ property.
You can erase placed or painted clones by using the Erase Mode.
In Erase Mode you will have a circle with a set radius in the viewport which shows the area of the brush used to erase clones from a surface.
As with the ‘Brush’ mode of painting, you can use the mouse scroll-wheel to change the radius of the erasure brush in the viewport.
LMB clicking and dragging will erase clones under the projected brush area.
You can also erase picked clones by pressing the DELETE key.
You can edit placed or painted clones by using the Edit Mode.
In Edit mode you can select a clone by hovering it in the viewport and LMB clicking it to select it.
The default mode after picking the clone in the viewport is placement via the viewport placement tool, you can place,
uniform scale and heading rotate the clone in this mode.
You can also select the viewport translate, rotate and scale handles and transform a clones transform.
A viewport adjacent ‘Side toolbar’ is also provided for easy access to clone painting features.

Nodes that are to be cloned should be connected to the output of this node.
Any geometry node including 3D Objects, Primitives, Lights, Splines and Other Cloners, Clone Effectors may be connected, these nodes aren’t cloned but will act offset and transform all the clones within their area of effect.
Procedurals and Fields are also more examples of clonable systems that can be placed or painted.
These properties control the core behaviours of the node.
| Parameter | Details |
|---|---|
| Mode |
Change the clone placement mode.
|
| Clone Brush Mode |
When in Painting mode, change the painting method.
|
| Brush Radius | The brush radius when in Painting and Brush mode. |
| Spread Flow | The amount of clones placed around the surface hit point when in Painting and Brush mode. |
| Spread Rate | The frame frequency clones are placed around the surface hit point when in Painting and Brush mode. |
| Clone Separation | The distance between two clone placements on a surface, set this if you do not want them to overlap. |
| Depth Bias Mode |
Change the Depth bias mode, to bias a certain distance from the surface.
|
| Surface Offset | Surface bias distance, at what distance from the hit surface a clone is offset from. |
| Clone Overlap Mode |
Control how a placed clone behaves with respect to surrounding clones already placed.
|
| Clone Scale | Global clone scale for all clones placed with this Paint Clones node (scales after placement or before) |
| Spawn Mode |
Set the spawn mode of child nodes as clones.
|
| Child | The selected child node index (use up/down arrow keys to select this or change the property). |
| New Clone Scale Mode |
Set the scaling mode of new clones placed on a surface.
|
| New Clone Scale | When in Uniform scaling mode, set this property as the scale (also set using scrollwheel in the viewport). |
| Uniform Scale Min & Max | Set the Range of values to randomise the scale uniformally. |
| Randomise Scale | Set the scaling axis that should be randomised, if Random scale is enabled. |
| X Min & Max | Set the Range of values to randomise the X axis. |
| Y Min & Max | Set the Range of values to randomise the Y axis. |
| Z Min & Max | Set the Range of values to randomise the Z axis. |
| New Clone Rotation Mode |
Set the rotation mode of new clones placed on a surface.
|
| New Clone Rotation | When in Align To Normals rotation mode, set this property as the Heading rotation offset (also set using scrollwheel + SHIFT key in the viewport). |
| Randomise Rotation | Set the rotation axis that should be randomised, if Random scale is enabled. |
| H Min & Max | Set the Range of values to randomise the Heading axis. |
| P Min & Max | Set the Range of values to randomise the Pitch axis. |
| B Min & Max | Set the Range of values to randomise the Bank axis. |
| Inherit Surface Colour | Sets mode where each clone inherits the colour of the surface it is painted on. |
| Paint On Clones | Activates the ability to paint on already painted clones attached to this paint clones node. |
| Clear Clones | Clears all clones on this clonepainter node. |
| Parameter | Details |
|---|---|
| Clone Count | Number of clones currently painted. |
The properties control the time at which the node is active. See Timeline for editing time segments.
| Parameter | Details |
|---|---|
| Duration |
Control the duration of the node’s time segment.
|
| Node Time | The custom start and end time for the node. |
| Duration (Timecode) | The length of the node’s time segment (in time). |
| Duration (Frames) | The length of the node’s time segment (in frames). |
| Time Segment Enabled | Set whether the node’s time segment is enabled or not in the Timeline. |
| Name | Description | Typical Input |
|---|---|---|
| Surface Nodes | Attach geometry nodes that can be used as a canvas, if none attached, all nodes in view of camera are used as painting canvas | 3D Object |
| Effectors | Control how the clones behave once spawned. See Effectors. | Plain Effector |
| Transform Modifiers | Apply the transforms of another node to this node. | Null |
| Target Node | Modifiy the rotations of the node to always direct the z axis towards the input. | Null |
| Local Transform Override | Apply the transforms of another node to this node, relative to its parent. | Null |