Deformers
Updated: 20 Nov 2025
Updated: 20 Nov 2025

Deformers are the main geometry modification tools in Builder. Any node which generates a Mesh, Spline, Line or Point, can have Deformers applied to them and the affects generated.
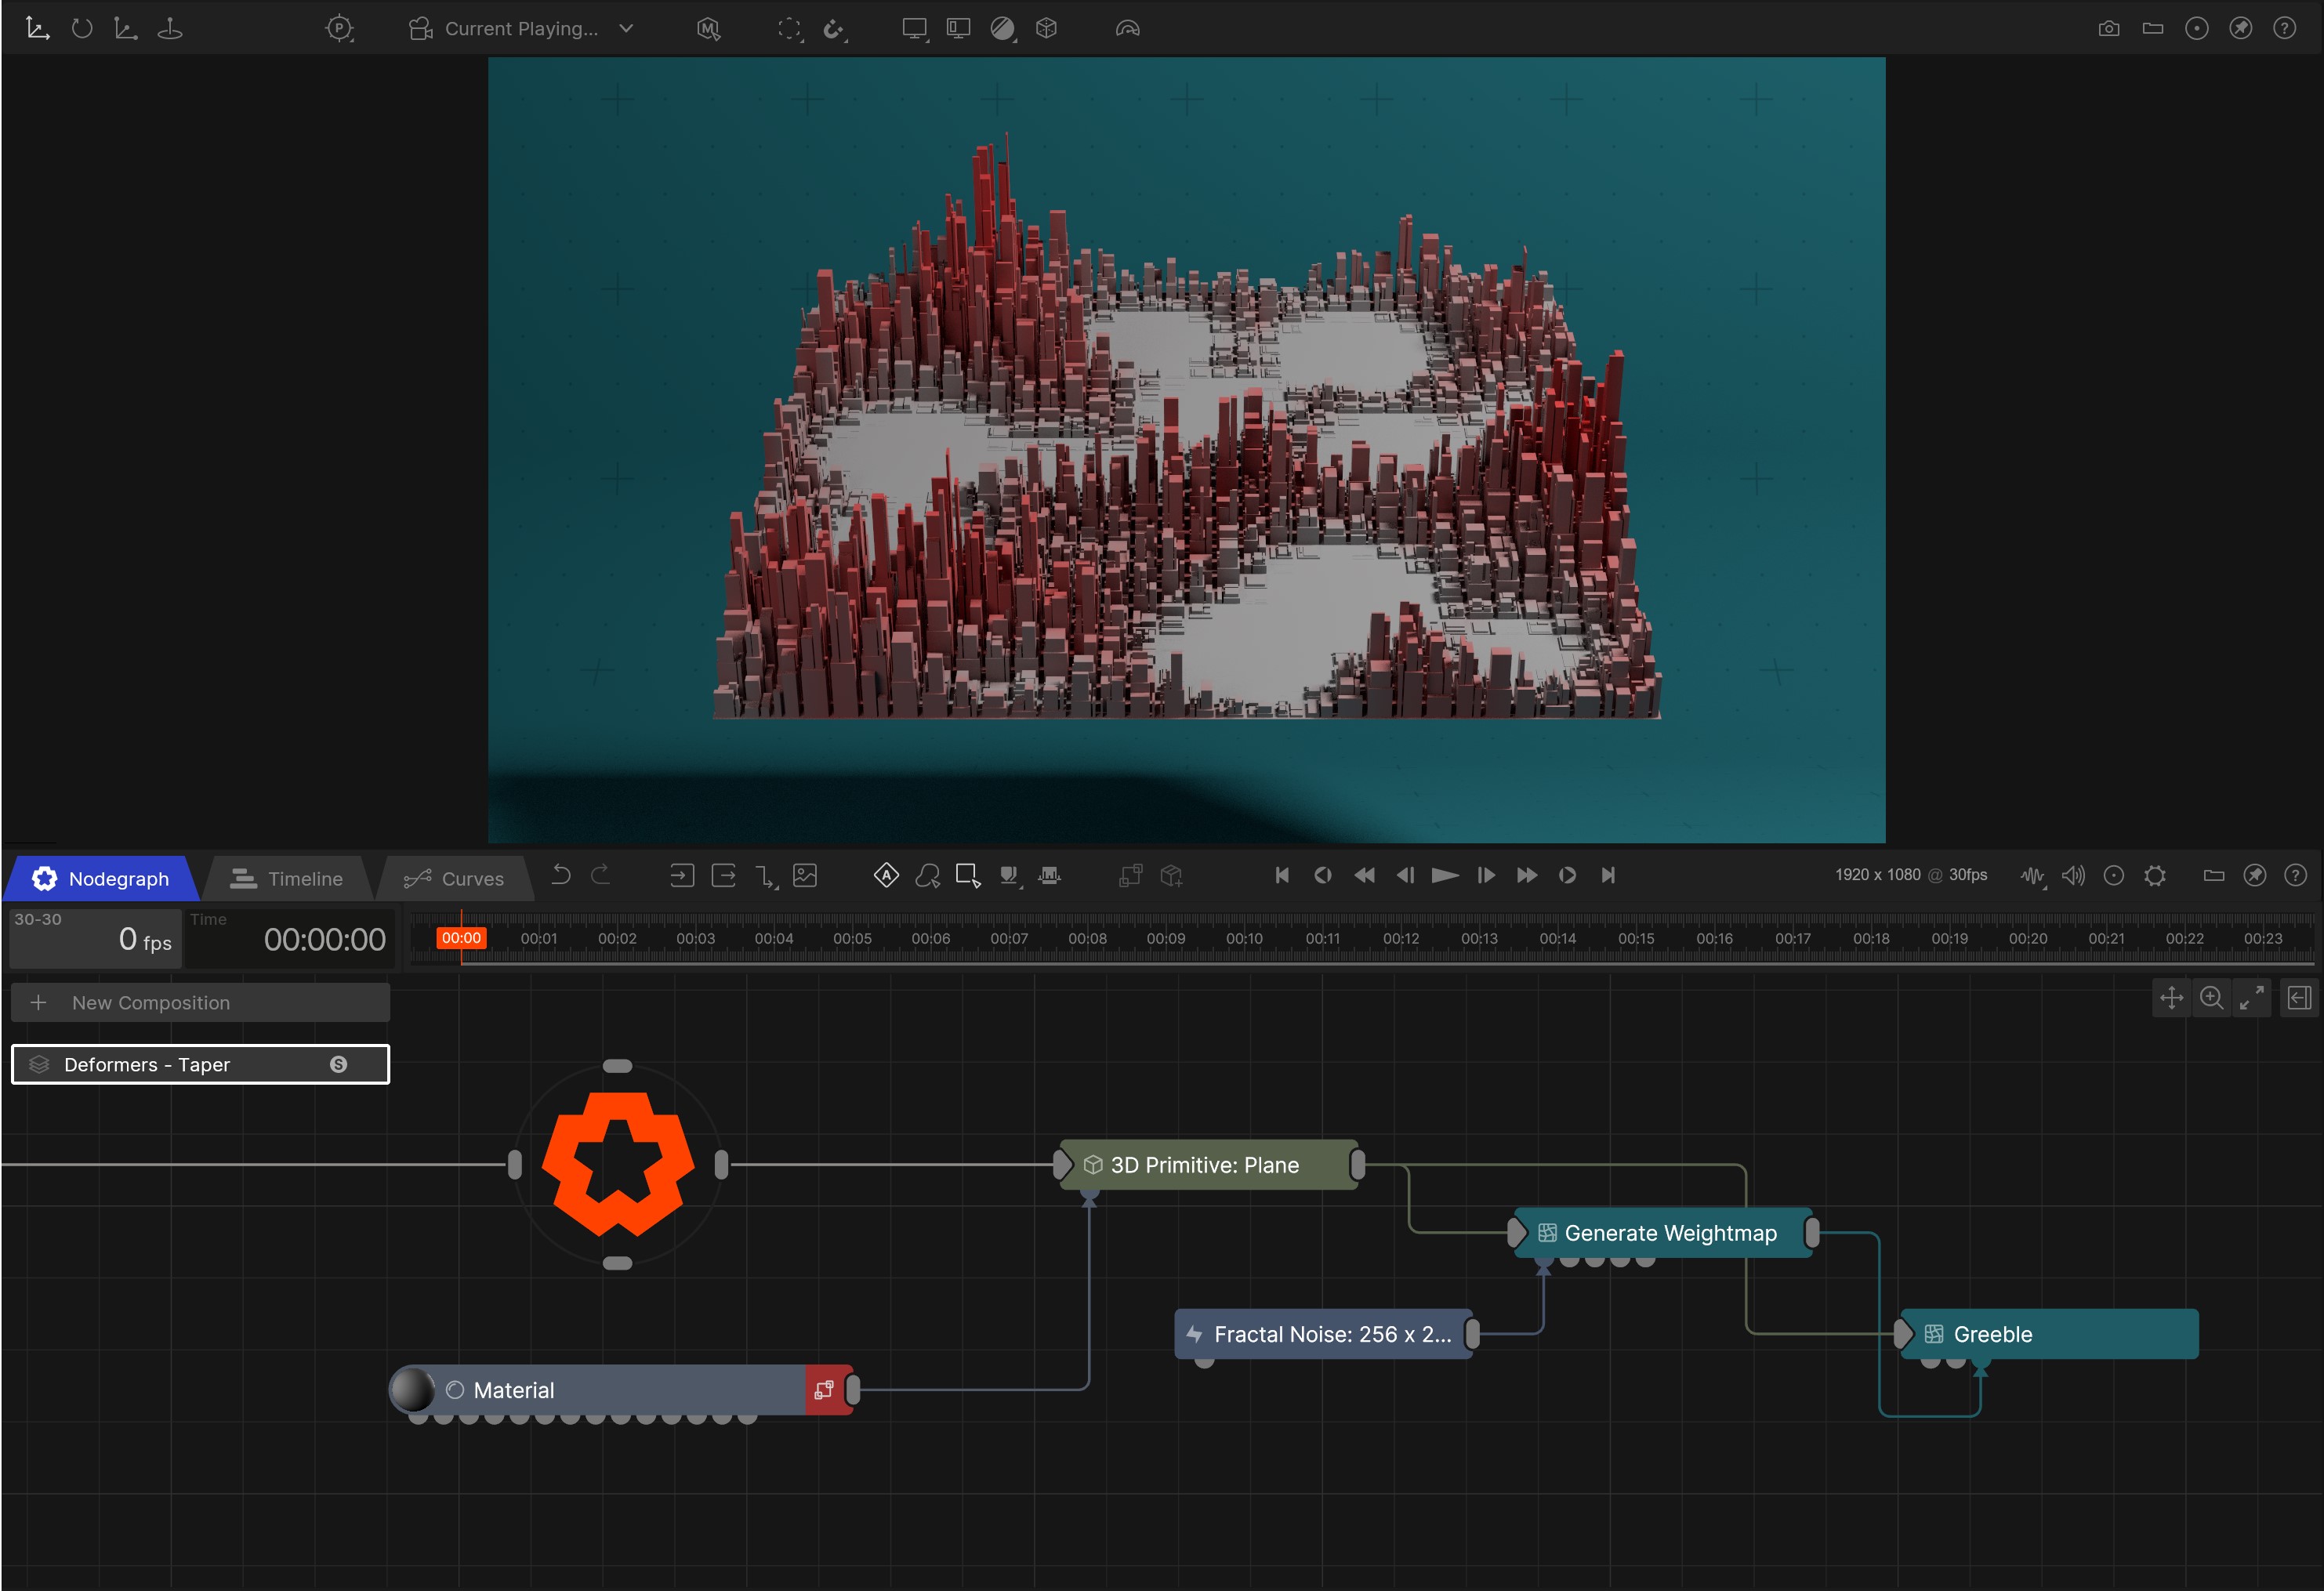
All Deformers can be applied to any node which generates Geometry by connecting it as a child to that node. Deformers are designed to be used together, and use a hierarchical workflow where nodes with a shared parent will be processed based on position in the Nodegraph (top to bottom, left to right). By re-arranging the order in which nodes are processed, you can change the resulting effect on the geometry.
Deformers can also be used to change one type of geometry to another, such as converting Spline Geometry into extruded Mesh Geometry.
These nodes tint the Colours and set new Materials for meshes. Colours will be multiplied on the vertex colours of a mesh. Best used with soft colour changes, as vertex colours rely on dense meshes to produce detailed results. Materials will replace the material chosen for the affected geometry. If you want to blend two materials on a surface, explore the Shading Nodes.
These nodes create and edit Point geometry, such as point clouds. Points can be used as sources for new effects, such as points to draw lines to/from, or to render points in space. Points are raytraced directly, so they are infinitely smooth spheres. For more shapes, look at using Mesh Cloner with these nodes.
These nodes create and modify Spline or Line geometry. They can then be modified by other deformers, converted back to geometry and used as splines directly by other nodes, such as the Spline Emitter.
These nodes create and destroy any type of Geometry. By changing the topology, new shapes and surfaces can be created from the original geometry, for much more complex effects. It’s important to be mindful of the geometry these nodes are applied to - High polygon counts can cause have significant performance and processing costs, and poor topology can generate erratic results.
See Optimisation for more…
These nodes modify the UVs of a mesh. This can be useful for light baking, or controlling where in a deformer system the uvs are set.
These nodes move the Vertices or Anchor Points of connected geometry. These can be great for adding animated effects, or displacements to a mesh without changing the underlying topology and structure of the geometry.
These nodes control where other deformers are effective using per vertex or per polygon weightmaps. These can be connected to any Generated Weightmap input, to focus the areas the deformer affects the geometry. Some nodes, such as the Particle Mesh Emitter, can also use a weightmap to affect how they use the geometry, such as spawning more particles in weighted areas.
You can preview the weightmaps effect on the mesh using the preview weightmap option in the Property Editor.
Weightmaps, like all other nodes in Notch, are processed based on their position in the Nodegraph. So make sure to place your weightmap nodes above the deformers they will apply to, and be mindful of the deformer stack you are creating.

Deformer performance is highly dependant on the polycount of the geometry supplied. As a general rule, you only need as much geometry as you can see. Sub-pixel polygons are not only too small to notice, but can severely hurt performance and upset aliasing techniques. In most cases, you can reduce subdivisions on nodes higher up the deformer stack to resolve the issue, but the Retopologise node can be used to reduce the geometry density on the whole mesh.
Deformers are only updated on change, so one means to optimise a deformer is to keep it static or use a Freeze node to stop updates up to this point in the chain, whilst continuing dynamic updates on the nodes after.