Exposed Parameters
Updated: 27 Oct 2025
Updated: 27 Oct 2025
Exposed Parameters allow external applications to control data in a Notch Block or Standalone Application, allowing Notch content to be reactive and dynamic to the data supplied, in real time.
Exposing a parameter creates a pathway for external apps to override specific properties in the exported Block or App, which can replaces videos, numerical values, and other basic properties.
This allows for Notch content that can both be seamlessly integrated into a sequenced timecode and reactive to real-time data.
Exposed Parameters are only available on RFX licenses. Opening a project with exposed parameters in other licenses will have the exposed parameters removed from the project.
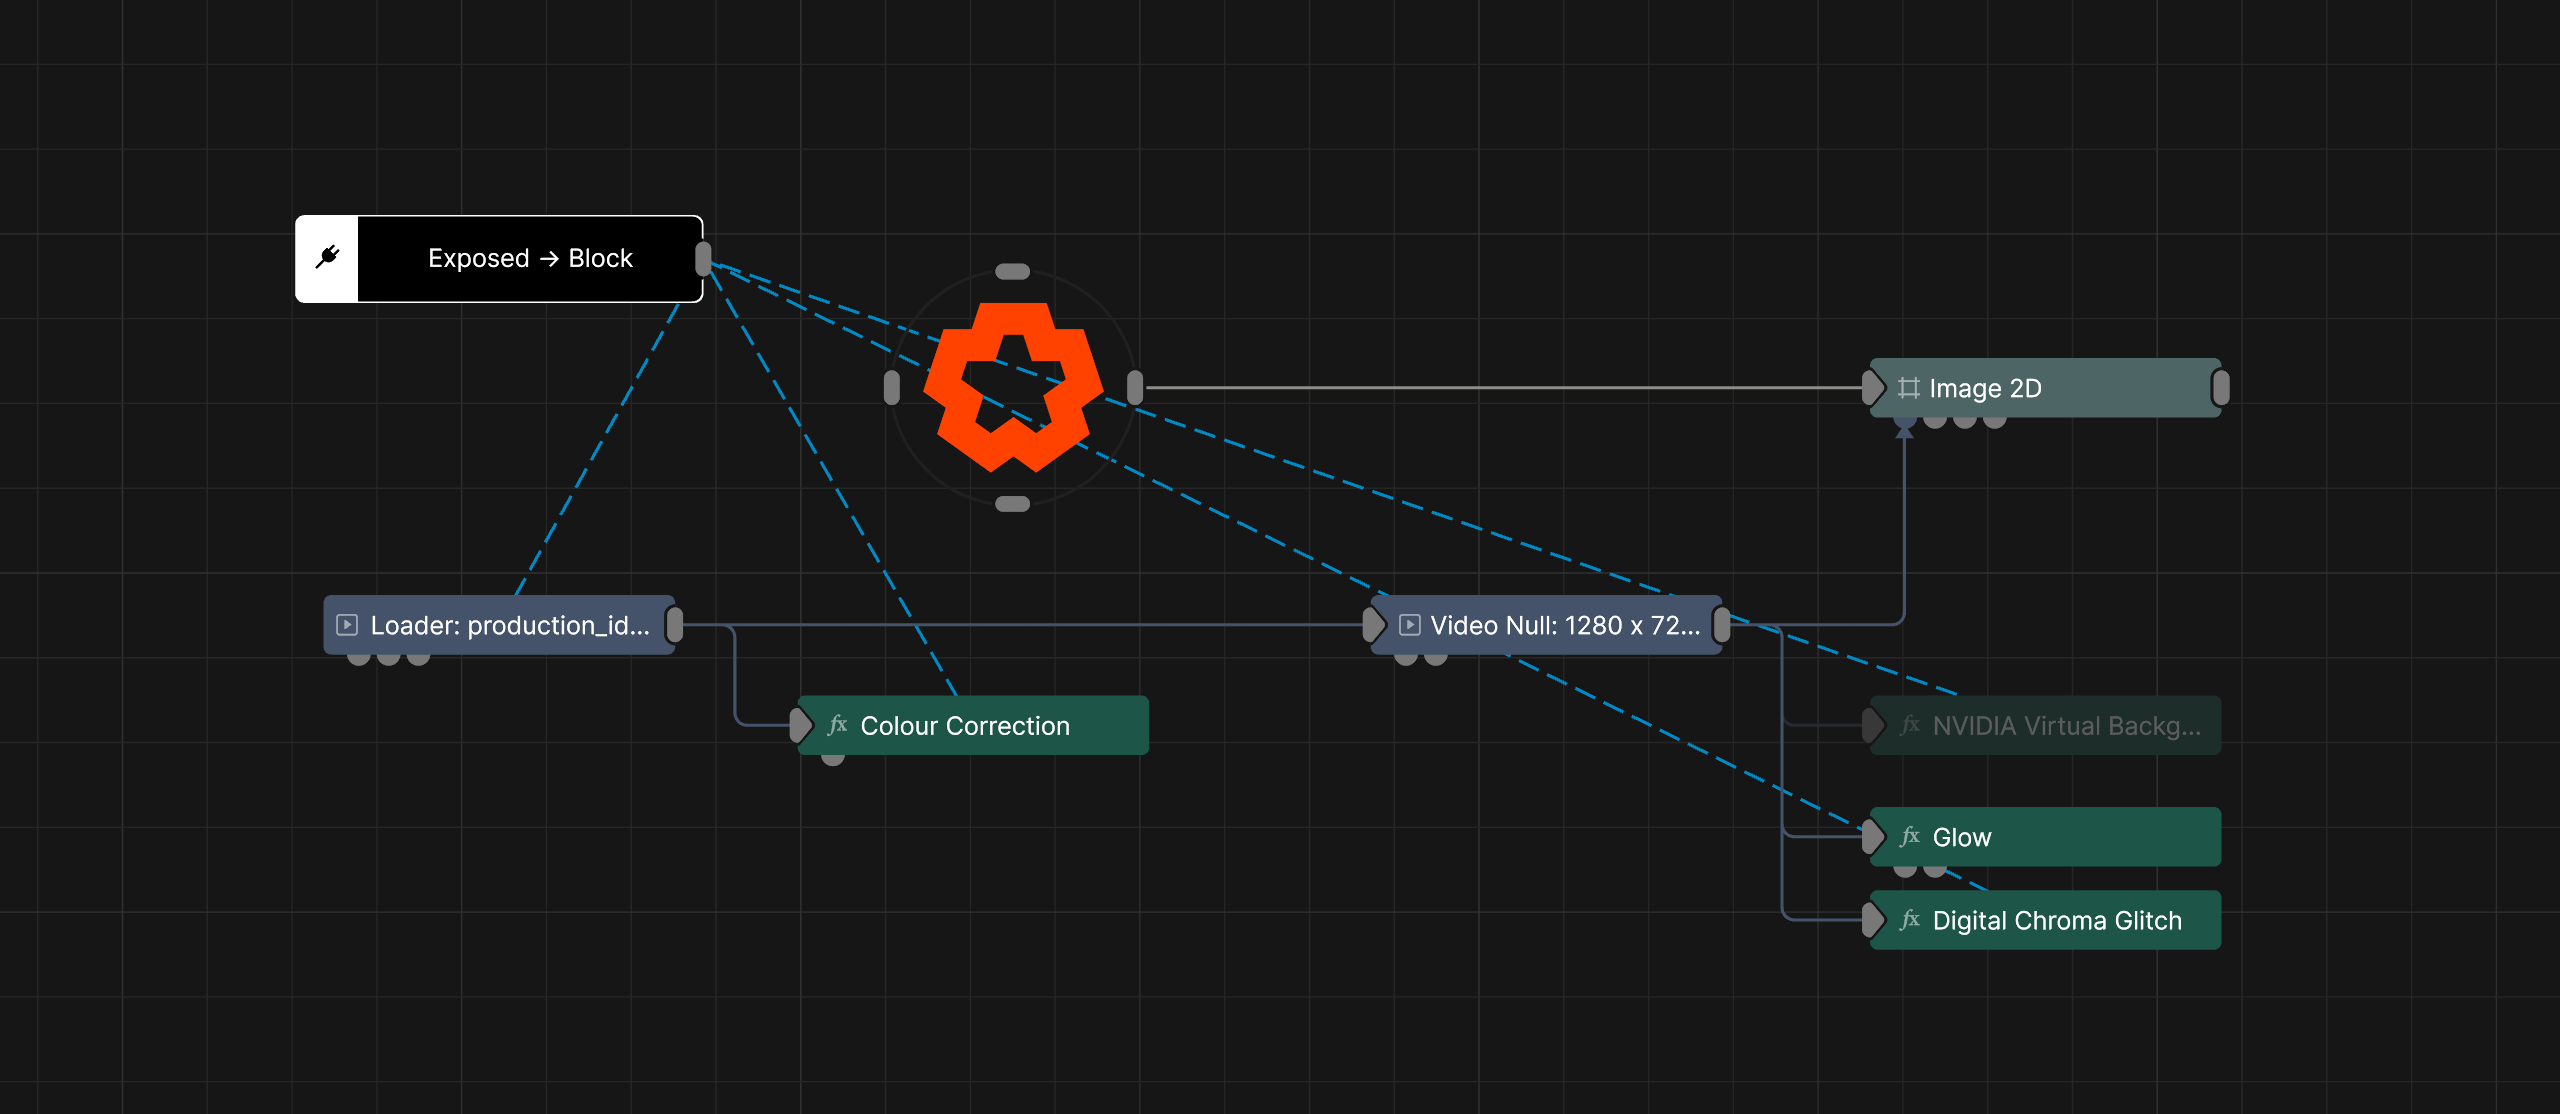
To expose a parameter, mouse over the parameter in the property editor and select [RFX] Expose To Block/Standalone.
Once a property is exposed, the data it represents will be completely overwritten by the data from the Media Server. You can manage all of your Exposed Parameters from the Exposed Node.
When network editing, new exposed parameters won’t be exposed to the live block. You’ll need to save the project, re-export the block/app, and either reload it in the Media Server or restart the standalone application to see the new parameters.
The vast majority of properties in notch can be exposed, including:
The Exposed Node is where you will do all of you exposed property management. Similar to the exposed node for assets, from here you can manage some of the metadata about your exposed property, such as its Name, Property Ranges, and IDs.
| Label | Description |
|---|---|
| Scope | Determines which properties are displayed in the UI for editing. - Global, Shows all exposed properties for all compositions in your project simultaneously. Useful for managing all of the exposed properties in a project at once. - Composition, Shows only the exposed properties for the current composition. Useful for focusing on just the exposed properties in one composition. |
| Show Exposed As | Determines how exposed parameters will be displayed in the exposed nodes panel UI. This setting only determines how the properties are displayed inside of Notch, not the Media Server or Remote. - Groups: Properties will be organised by Group, which can be created and managed by the user. This is how exposed parameters will ultimately be displayed in your Media Server or Remote. - Nodes: Properties will be organised by the node that they were exposed from. |
| Label | Description |
|---|---|
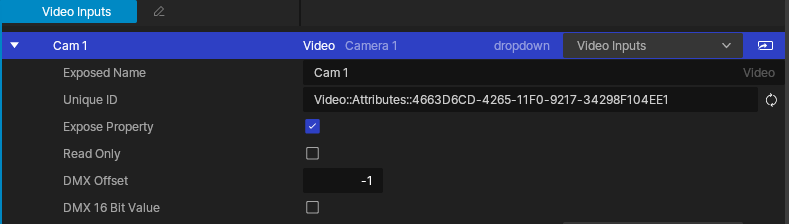
| Exposed Name | This is the name that will appear next to the parameter in your media server or remote. It’s good practice to name it something descriptive and explicit (not that type of explicit). |
| Group | The group the exposed parameter is assigned to, and will appear within. See Groups for more. |
| Go to Node | Will select and auto center your node graph on the node property this parameter relates to - with the property selected. |
| Unique ID | This data is used to differentiate the properties when exposed. By default, all exposed parameters will be given a randomly generated Unique ID, but these can be overridden to match existing setups or to combine properties across compositions. Use the [icon] icon to re-generate a new unique ID for the parameter. See Workflow for more on working with Unique IDs. |
| Slider Min | Sets the minimum value the slider can be set to. |
| Slider Max | Sets the maximum value the slider can be set to. |
| Expose Property | TBC |
| Read Only | Sets the exposed parameter to read only, so it can be read but not written. This allows data from Notch to be passed to an external app. |
| DMX Offset | Pass through a DMX offset for use within the media server. Useful when making frequent changes to your exposed parameters, which can change the IDs generated within the media server used for its own DMX setup. |
| DMX 16 Bit | When Enabled, two DMX entries are treated as one value, doubling the bit depth for the value. This is useful for extending the range of possible values in some unique cases. |
Groups can be created by clicking on the dropdown menu on a property, and selecting “Create Group”.
Properties can be re-assigned to different groups through the same group dropdown menu, by selecting different groups from the list.
Once created, a group can be renamed by clicking on the pencil icon next to the group name.